Loading ...
Loading ...
Loading ...
5_Turn front bar end for end and insert bolts
througr_holesin m_ddleandon right sidesof
front of saw tabteas i!lustrated . . install
!ockwashers and nuts DON'T SCREW NUTS
ON ALL THE WAY. just get them started on the
sCreWS.
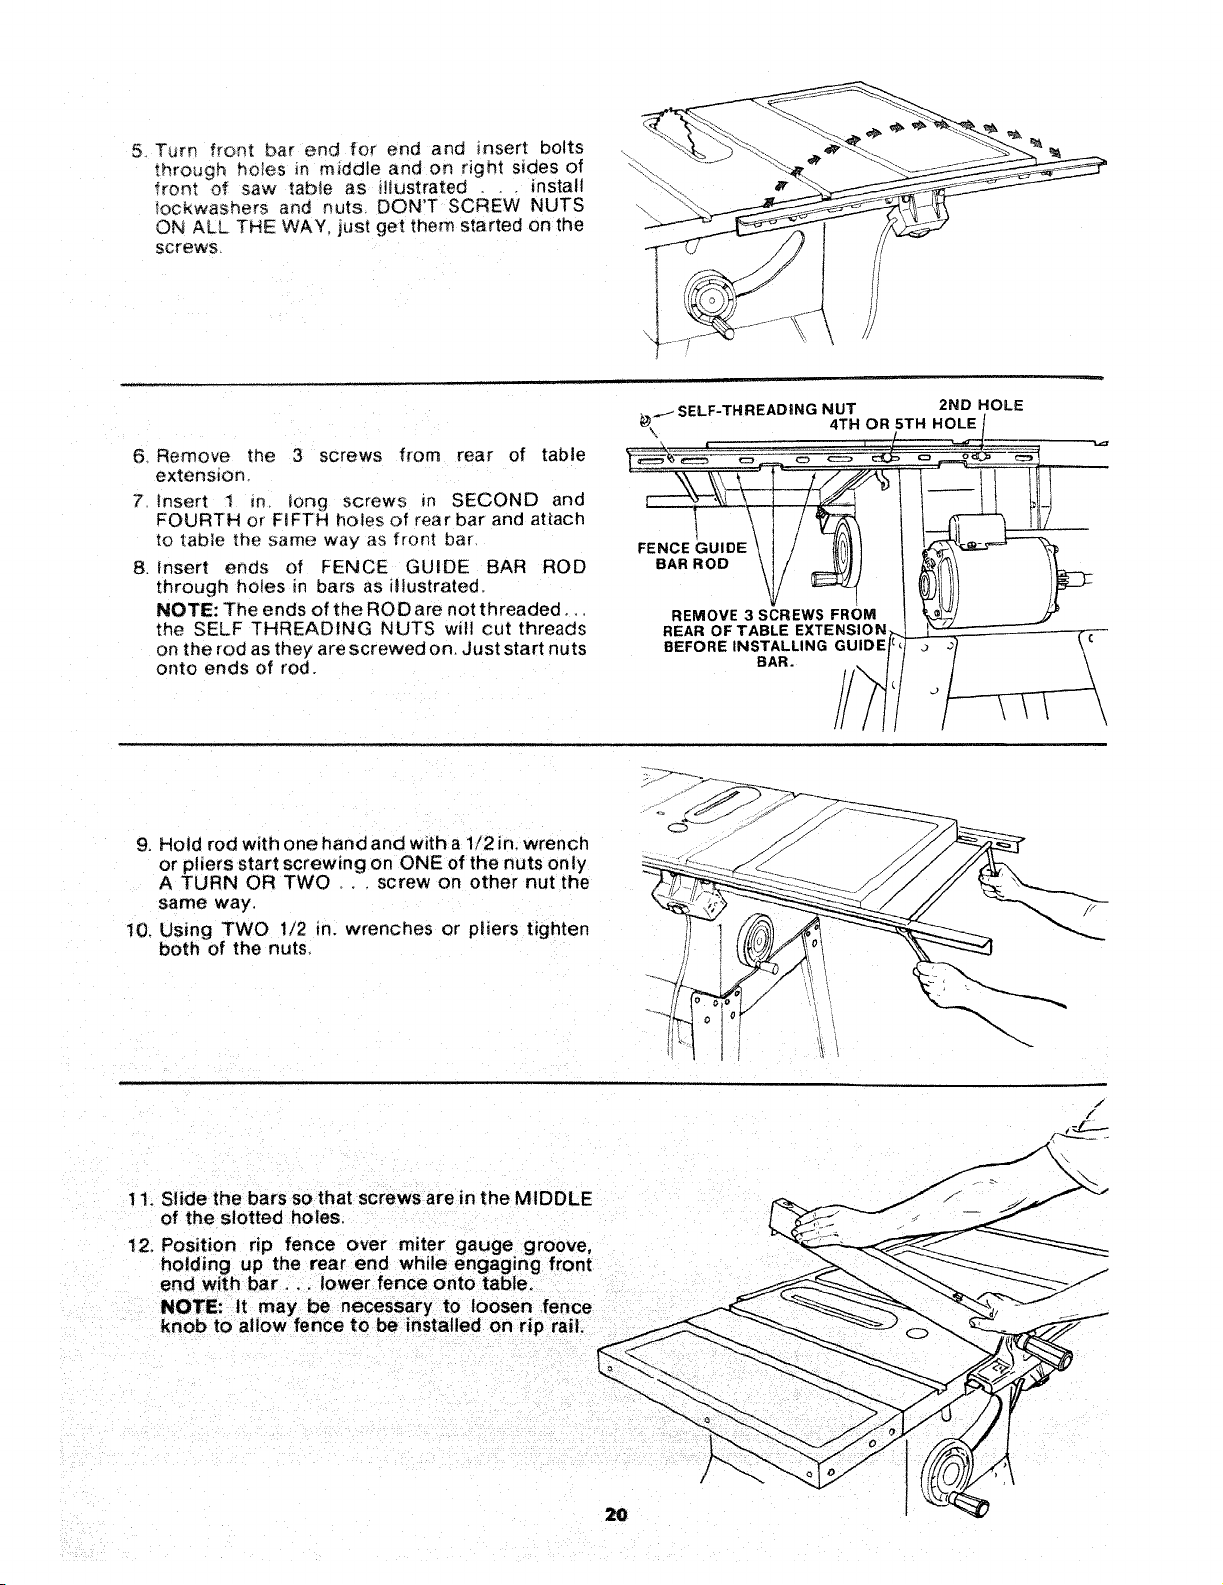
6. Remove the 3 screws from rear of table
extension
7 Insert 1 m _ong screws m SECOND and
FOURTH or FIFTH holes of rear bar and atiach
to table the same way as front bar
8 }nsert ends of FENCE GUIDE BAR ROD
through holes in bars as itlustrated
NOTE: The ends of the ROD are not threaded.
the SELF THREADING NUTS will cut threads
on the rod as they are screwed on. Just start nuts
onto ends of rod.
@..._ SELF-THREADING NUT 2ND HOLE
4TH OR 5TH HOLE
X
FENCE GUIDE
BAR ROD
REMOVE 3 SCREWS FROM
REAR OF TABLE EXTENSION
BEFORE INSTALLING GUIDE
BAR.
9. Hold rod with one hand and with a 1/2 in. wrench
or pliers start screwing on ONE of the nuts only
ATURN ORTWO . . screw on other nut the
same way
t0, Using TWO 1/2 in. wrenches or pliers tighten
both of the nuts.
/
/
t 1. Slide the bars so that screws are in the MIDDLE
of the slotted holes.
12, Position rip fence over miter gauge groove,
holding up the rear end while engaging front
end with bar.,, lower fence onto table.
NOTE: tt may be necessary to loosen fence
knob to allow fence to be installed on rip rail.
Loading ...
Loading ...
Loading ...