Loading ...
Loading ...
Loading ...
Page 18
ENGLISH
PERMANENT CONNECTION
• Connect the ends of the water supply hoses to the HOT and COLD faucets. For
convenience, use the Quick Connection Adapter for connection to the cold water
faucet. See instructions for Quick Connection Adapter use in step 3 (previous
page).
• Tighten the ttings by hand until they are snug, and then tighten them an additional
two-thirds of a turn with a wrench/pliers.
When you fasten the tting, do not fasten it too tightly or apply tape or sealant
to the faucet or water supply inlet. This can damage the tting. After you have
connected the water supply hose to the faucet, ensure that it is connected
securely by pulling the water supply hose downwards.
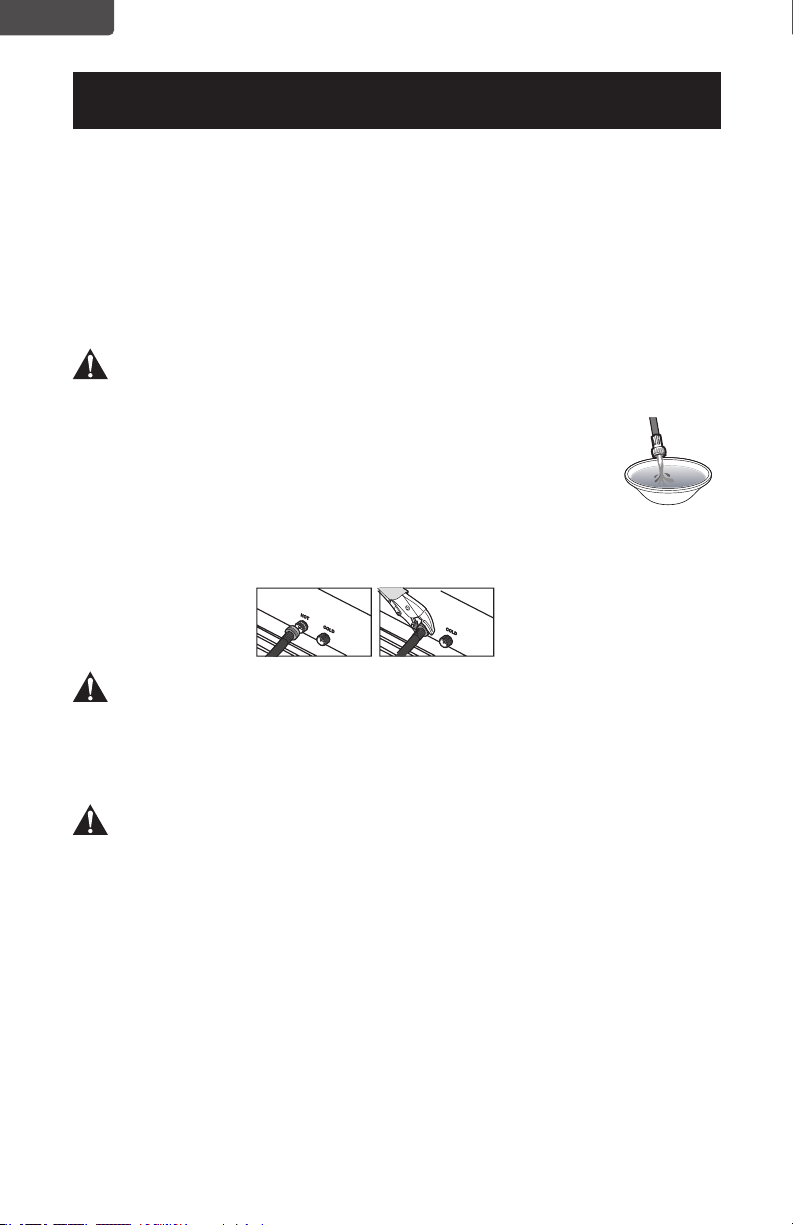
• Place the unconnected end of the hose into a bucket and open
the faucet connected to the water supply hose for 10 or 15
seconds to remove any foreign substances from the hose. Close
the faucet before continuing.
• Connect the end of the water supply hose to the water supply inlet connection at
the top of the washer.
The water supply hose connected to the HOT faucet must be connected to
the HOT water supply inlet and the water hose connected to the COLD water
source must be connected to the COLD water supply inlet.
• Tighten the tting by hand until it is snug, and then tighten them an additional
two-thirds of a turn with a wrench/pliers.
Conrm that the water supply hoses are not twisted or bent. If the hoses are
twisted or bent, the hoses can leak and cause electric shock due to the water
leakage. To ensure the correct water usage, connect both the HOT and COLD
water faucets. If they are not both connected an error can occur.
If you do not want to use the HOT water supply hose, install the water inlet cap into
the HOT water supply inlet hole In this case, you must select cold water as the wash
temperature choice.
Turn on the HOT and COLD water supplies and check all the water supply inlet
connections and the faucets for water leaks.
Step 4: Connect the drain hose
The drain hose is connected to the bottom side of the unit. The other end of the
hose should be positioned using one of the following methods:
SET UP & USE
Cold
Pull down on the white ring
to divide the adaptor into
two parts.
Top part: Faucet fitting
Bottom part: Hose fitting
Rubber gasket
Inner threads for outer threaded faucet.
Outer threads for inner threaded faucet
Cold
Loading ...
Loading ...
Loading ...