Loading ...
Loading ...
Loading ...
6 English
Tools and Parts
Removing the packaging
CAUTION
Remove the carton carefully. Wear gloves to protect against sharp edges.
WARNING
Remove the protective lm covering the product before putting into
operation.
Parts supplied
• Hood assembly with blower and LED lamps already installed.
• Hardware bag with:
Part Qty Part Qty
3.5 x 9.5 mm
2
Torx
®†
T10 adapter
1
5 x 45 mm
2
4.5 x 13 mm
4
8 x 45 mm
2
3
1
⁄4" x 10" (8.3 x 25.4 cm)
rectangular damper
1
Tools/Materials required
• Level
• Drill with
1
⁄8” (3 mm), ½” (13 mm) and 1¼” (30 mm) drill bits
• Pencil
• Wire stripper or utility knife
• Tape measure or ruler
• Pliers
• Caulking gun and weatherproof caulking compound
• Saber or keyhole saw
• Metal snips
• Screwdrivers:
• #2 Phillips
• Flat - blade
Parts needed
• Home power supply cable
• ½” (12.7 mm) UL listed or CSA approved strain relief
• 3 UL listed wire connectors
For 7" (17.8 cm) round vented installations
• 7" (17.8 cm) round mental vent system with wall or roof cap
• Vent clamps
For 3¼" x 10" (8.3 x 25.4 cm) rectangular vented installations
• 3¼" x 10" (8.3 x 25.4 cm) rectangular metal vent system with wall or
roof cap.
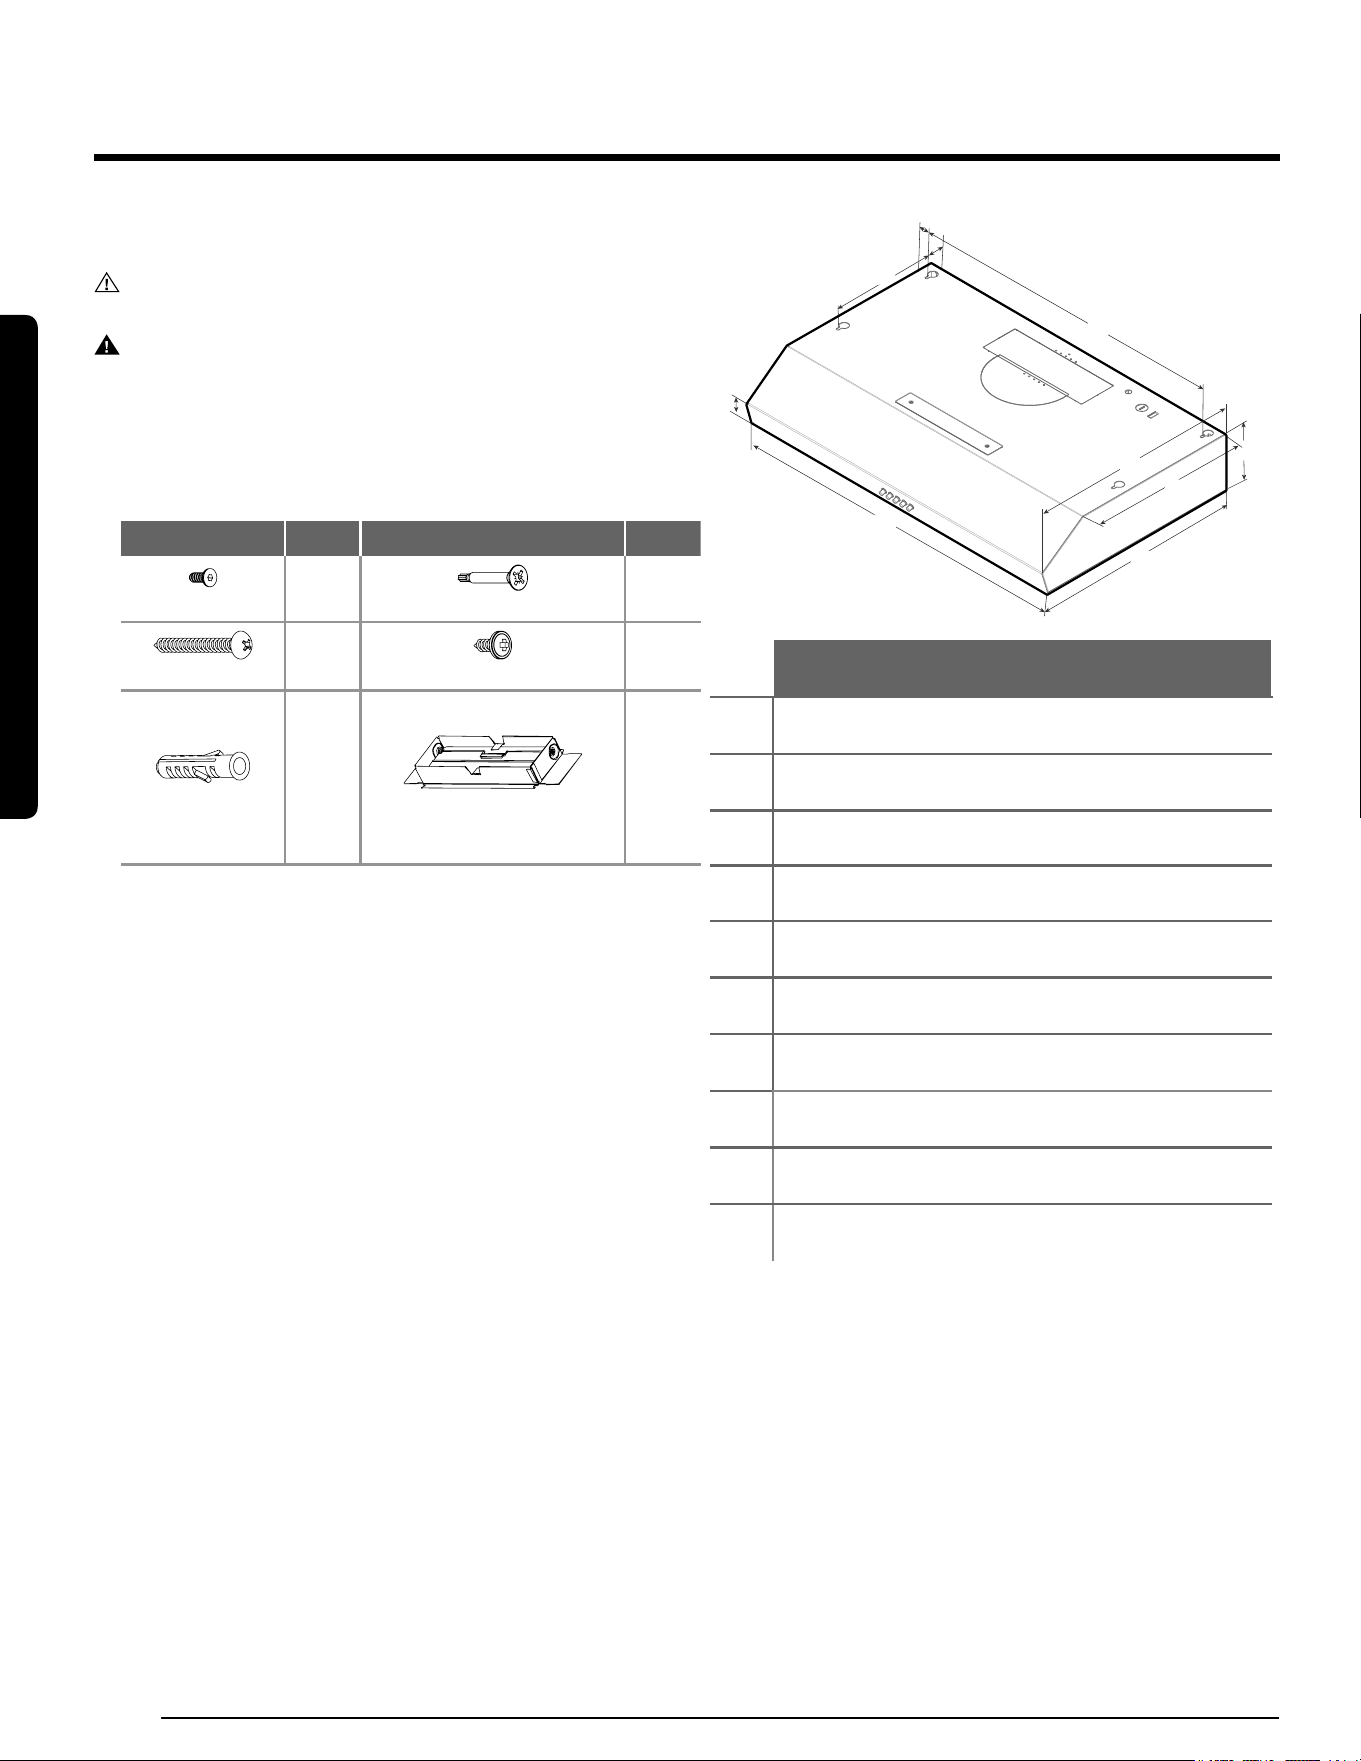
Dimensions and Clearances
A
E
I
F
G
H
C
D
J
B
NK30B3500US/AA
A 30″ (76 cm)
B 18
3
⁄4″ (47.5 cm)
C 5″ (12.5 cm)
D 14½″ (36.7 cm)
E 2″ (5.2 cm)
F 27
15
/
16
″ (70.9 cm)
G 9″ (22.9 cm)
H 1½″ (3.8 cm)
I 1″ (2.5 cm)
J 18
1
/
8
″ (46 cm)
Installation Requirements
Installation Requirements
Loading ...
Loading ...
Loading ...