Loading ...
Loading ...
Loading ...
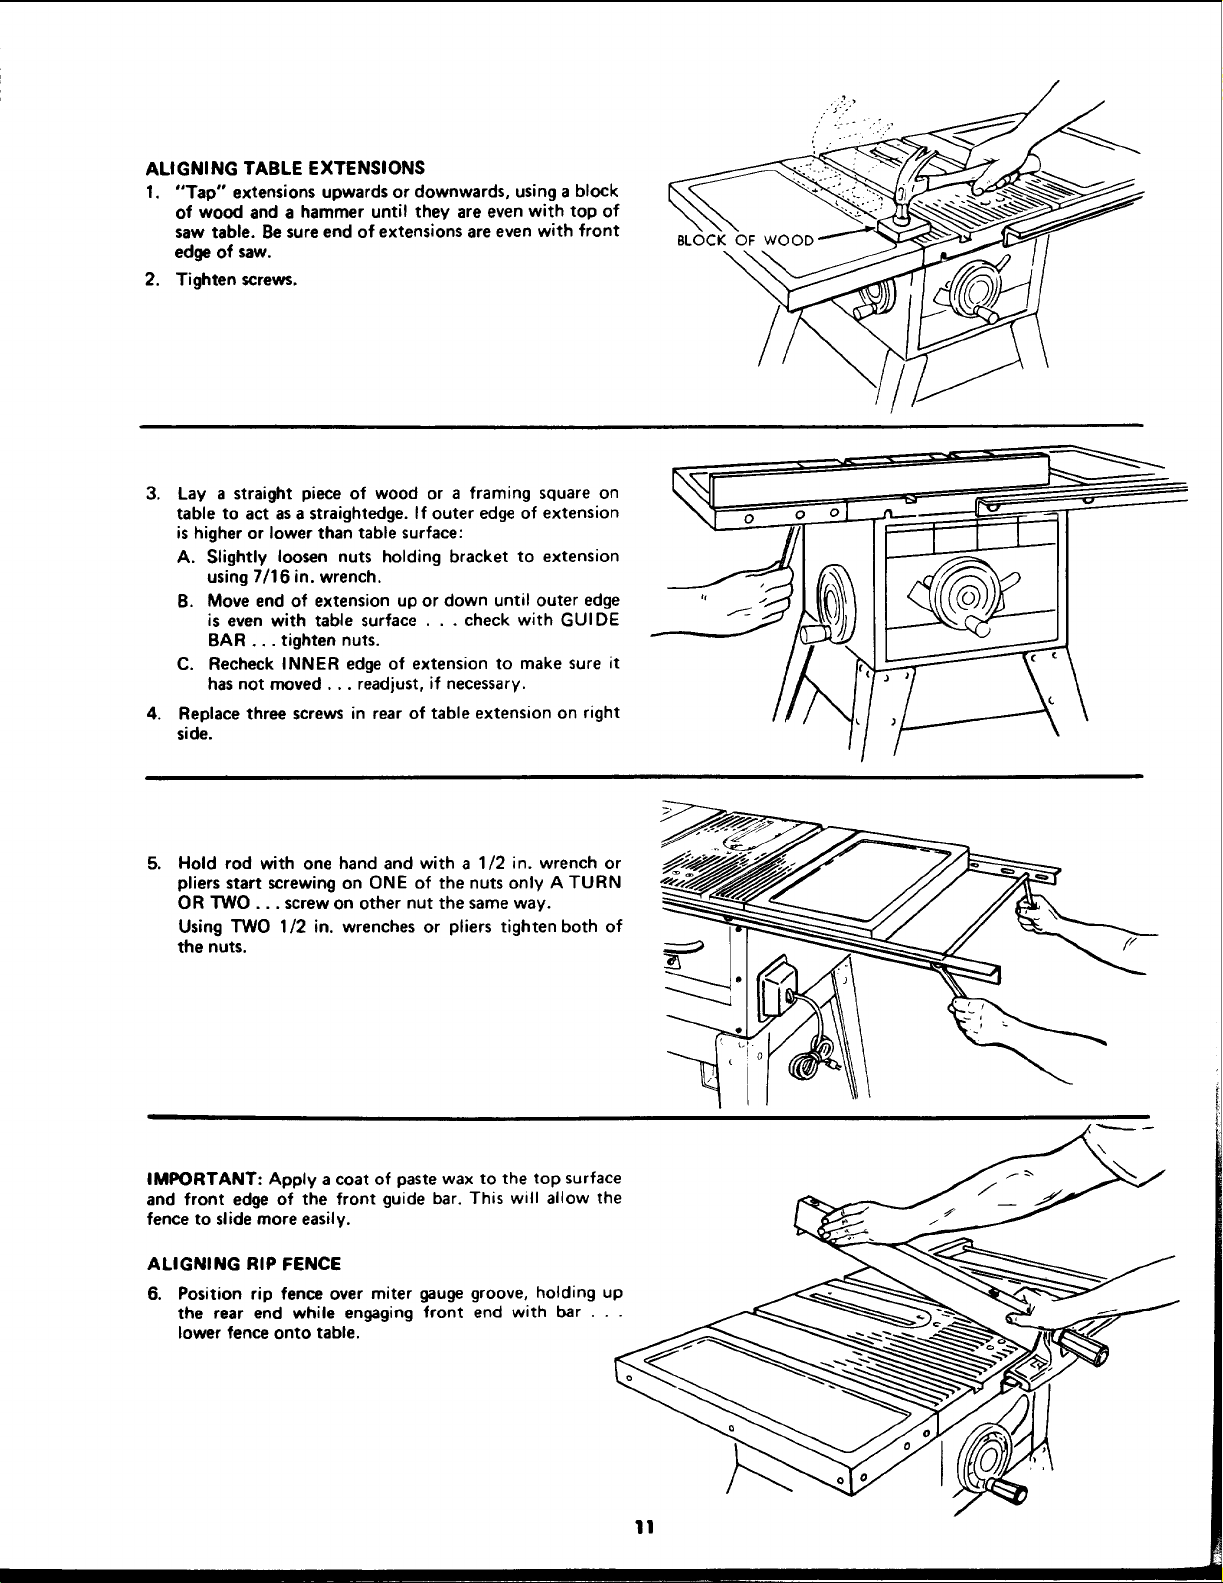
ALIGNINGTABLEEXTENSIONS
1. "Tap" extensions upwards or downwards, using a block
of wood and a hammer until they are even with top of
saw table. Be sureend of extensions are even with front
edge of saw.
2. Tighten screws.
BLOCK OF WOOC
\
3. Lay a straight piece of wood or a framing square on
table to act as a straightedge.Ifouter edge of extension
is higher or lower than table surface:
A. Slightly loosen nuts holding bracket to extension
using 7/16 in. wrench.
B. Move end of extension up or down until outer edge
is even with table surface . . . check with GUIDE
BAR... tighten nuts.
C. Recheck INNER edge of extension to make sure it
has not moved.., readjust, if necessary.
4. Replace three screws in rear of table extension on right
side.
5, Hold rod with one hand and with a 1/2 in. wrench or
pliers start screwing on ONE of the nuts only A TURN
OR TWO... screwon other nut the same way.
Using TWO 1/2 in. wrenches or pliers tighten both of
the nuts.
IMPORTANT: Apply a coat of paste wax to the top surface
and front edge of the front guide bar. This will allow the
fence to slide more easily.
ALIGNING RIP FENCE
6. Position rip fence over miter gauge groove, holding up
the rear end while engaging front end with bar . . .
lower fence onto table.
11
Loading ...
Loading ...
Loading ...