Aromatherapy Digital
Tower Fan
version A - 04 - 2021
PFT42A5BGB
midea.com
USER MANUAL
en
PFT42A5BGB
Warning Notice: Before using
this product, please read this
manual carefully and keep it for
future reference. For additional
support, please call customer
service at 1-866-646-4332.
The design and specifications are
subject to change without prior
notice for product improvement.
Consult with your dealer or
the manufacturer for details.
version A - 04 - 2021 (PREVIEW01)

Page 2
Read This Manual
Inside you’ll find many helpful hints on how to use and maintain your
appliance properly. Just a little preventive care on your part can save you
a great deal of time and money over the life of your appliance. You’ll find
many answers to common problems in the troubleshooting tips - you should
be able to fix most of them quickly before calling service. These instructions
may not cover every possible condition of use, so attention to safety details
is required when operating and maintaining this product.
SAFETY PRECAUTIONS
OWNER’S MANUAL
To prevent injury to the user or other people and property damage, the
instructions shown here must be followed. Incorrect operation due to
ignoring of instructions may cause harm or damage. The different levels of
risk is shown by the following indications.
WARNING
This symbol indicates a hazardous situation which, if
not avoided, could result in death or serious injury.
CAUTION
This symbol indicates a hazardous situation, which, if
not avoided, could result in minor or moderate injury.
This symbol addresses practices not related to
physical injury.
NOTICE
SAFETY PRECAUTIONS ......................................................................................... 2
IMPORTANT INSTRUCTIONS ................................................................................ 3
PARTS AND FEATURES ........................................................................................ 5
ASSEMBLY
INSTRUCTIONS ................................................................................. 6
OPERATION
INSTRUCTIONS ................................................................................ 8
USER SERVICING INSTRUCTIONS ..................................................................... 11
CARE AND MAINTENANCE ................................................................................. 11

Page 3
IMPORTANT INSTRUCTIONS
When using electrical appliances, basic precautions should always be
followed to reduce the risk of fire, electric shock, and injury to persons,
including the following:
1. Do not leave the fan running unattended.
2. Keep electrical appliances out of reach from Children or infirm persons.
Do not let them use the appliances without supervision.
3. This appliance has a polarized plug (one blade is wider than the other).
To reduce the risk of electric shock, this plug is intended to fit in a
polarized outlet only one way. If the plug does not fit fully in the outlet,
reverse the plug. If it still does not fit, contact a qualified electrician. Do
not attempt to defeat this safety feature.
4. If the supply cord is damaged, it must be replaced by manufacturer or its
service agent or a similarly qualified person in order to avoid a hazard.
5. This appliance is not intended for use by persons (including children)
with reduced physical, sensory or mental capabilities, or lack of
experience and knowledge, unless they have been given supervision or
instruction concerning use of the appliance by a person responsible for
their safety. Children should be supervised to ensure that they do not
play with the appliance.
6. When the fan was assembled, the rotor blade guard shall not be taken
off anymore.
• Prior cleaning unplug the fan.
• The rotor guard shall not be dissembled/opened to clean the rotor
blades.
• Wipe the fan enclosure and rotor blade guard with a slightly damp
cloth.
NOTICE
Please read and save these important safety instructions!
WARNING
To reduce the risk of fire or electric shock, Do not use this fan with any
solid-state speed control device.

Page 4
7. This product employs overload protection (fuse). A blown fuse indicates
an overload or short-circuit situation. If the fuse blows, unplug the
product from the outlet. Replace the fuse as per the user servicing
instructions (follow product marking for proper fuse rating) and check
the product. If the replacement fuse blows, a short-circuit may be present
and the product should be discarded or returned to an authorized service
facility for examination and/or repair.
8. Do not operate any fan with a damaged cord or plug. Discard fan or
return to an authorized service facility for examination and/or repair.
9. Do not run cord under carpeting. Do not cover cord with throw rugs,
runners, or similar coverings. Do not route cord under furniture or
appliances. Arrange cord away from traffic area and where it will not be
tripped over.
IMPORTANT INSTRUCTIONS (cont.)
CAUTION
Always plug appliances directly into a wall outlet/receptacle. Never use
with an extension cord or reloadable power tap (outlet/power strip).
Page 5
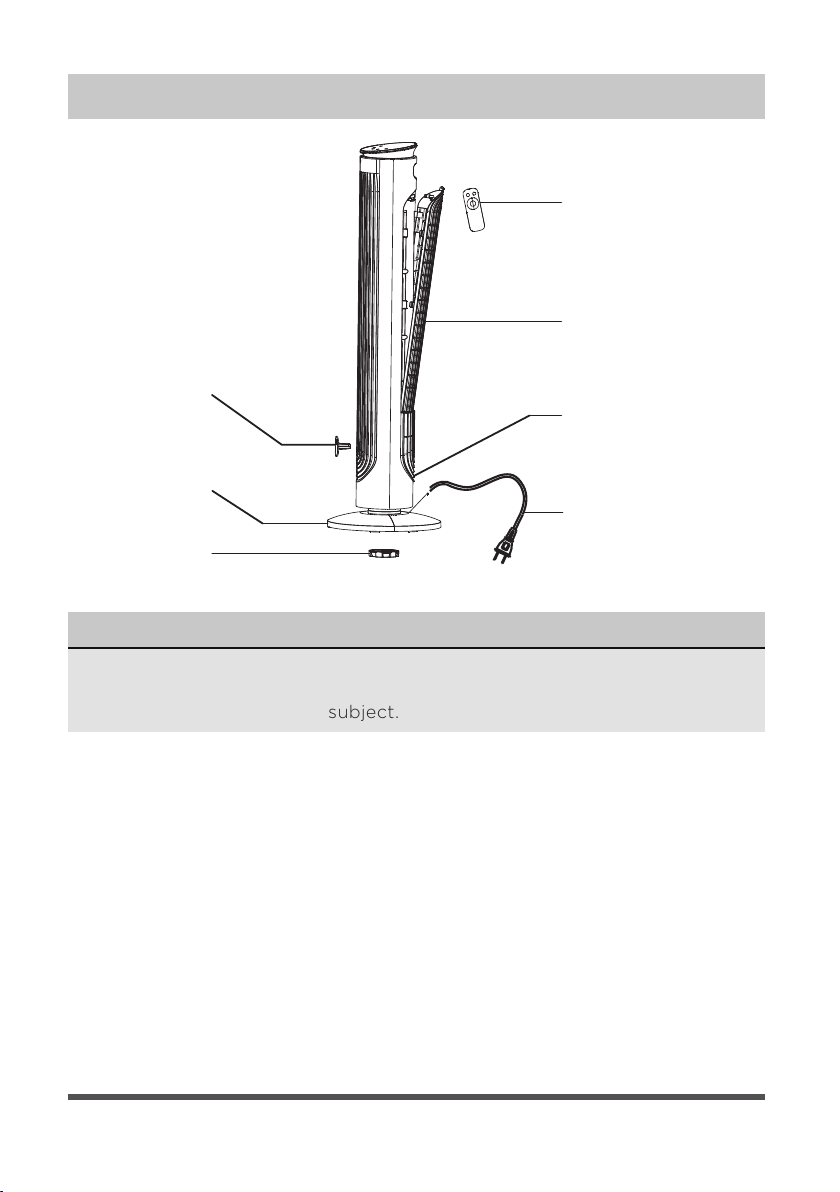
PARTS AND FEATURES
NOTICE
All the pictures in this manual are for explanation purpose only. Any
discrepancy between the real object and the illustration in the drawing
shall be subject to the real subject.
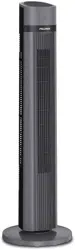
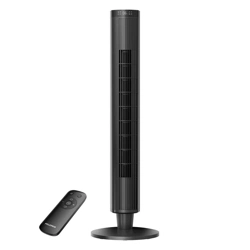
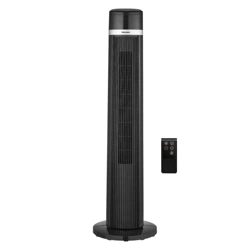
Remote controller
Anti-dust mesh
Body
Power cord
Plastic nut
Base
Essential
Oil Tray
Page 6
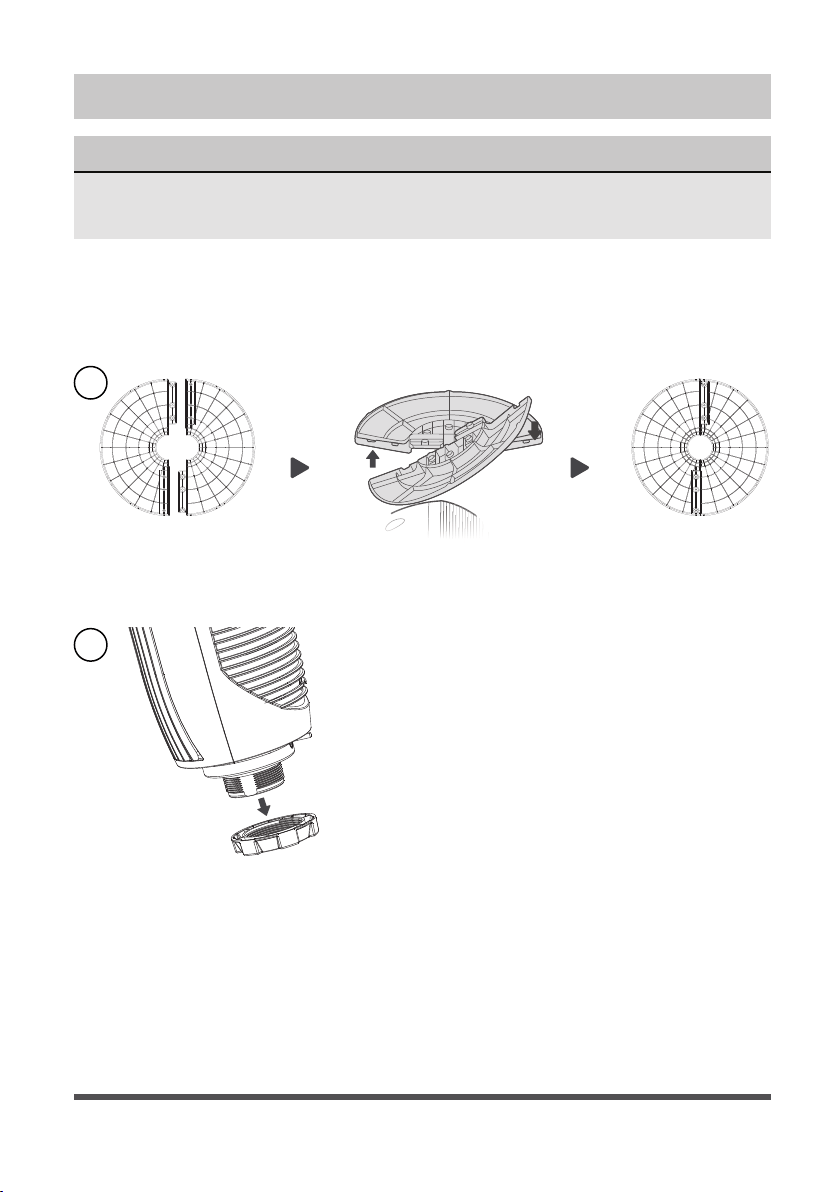
ASSEMBLY INSTRUCTIONS
NOTICE
Please place the machine on the package foam or other soft surfaces
and invert it to avoid scratch mark when install the base.
1. Take out the two parts of the base from packing box. Then, align the
centers of the two parts of the base and place them in a crossed form.
Rotate one of the two bases to align its hole site and make it stuck
correctly.
2. Detach the plastic nut from the fan body.
1
2

Page 7
3. Remove the pole, and then directly fix the fan body to the base with a
plastic nut.
4. Remote Control Storage: When the remote control is not in use, it can
be placed in the position of the handle in the back shell.
3
4
Page 8
OPERATION INSTRUCTIONS
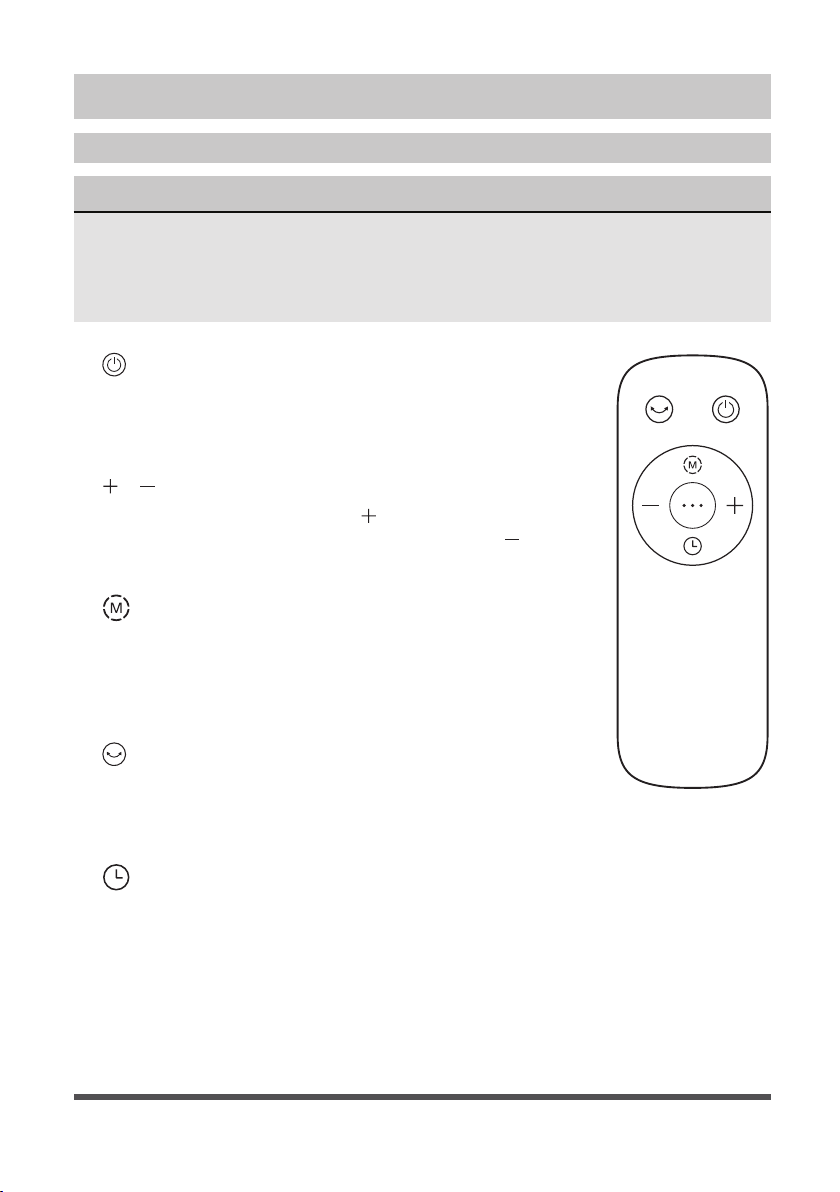
Remote Control Description and Operation
NOTICE
• The remote control should be normally used within 6 meters of the front of the
product and 30 degrees of the deviation angle.
• The battery contains many heavy metals, acids and bases, etc., which may
threaten human’s health. Waste batteries should be recycled separately.
1. ON/OFF KEY:
The “ON” key is for switching on the fan .The fan will
be started at breeze step. Press the “OFF” key if the
fan needs to switch off.
2.
/ SPEED KEY:
When the fan started, press “
” key repeated, the fan
will work with “1-2-3-4-5-1” circulatory. Press “
” key
repeated, the fan will work with “5-4-3-2-1-5” circulatory.
3.
MODE KEY:
When the machine is on, short press this button
to select “normal wind”, “wind changes with
temperature”, “sleep wind”, “natural wind”......
Circulating between the four wind classes.
4.
OSC/LOUVER KEY:
After the fan has started, press this key to select
oscillation mode. The lights on the display can
indicate fan oscillation mode.
5.
TIMING KEY:
Press this timer key repeatedly to set the time for air
delivery. Increase in increments up to “1-2-3-4-5-6-7-
8-9” hours.
Page 9
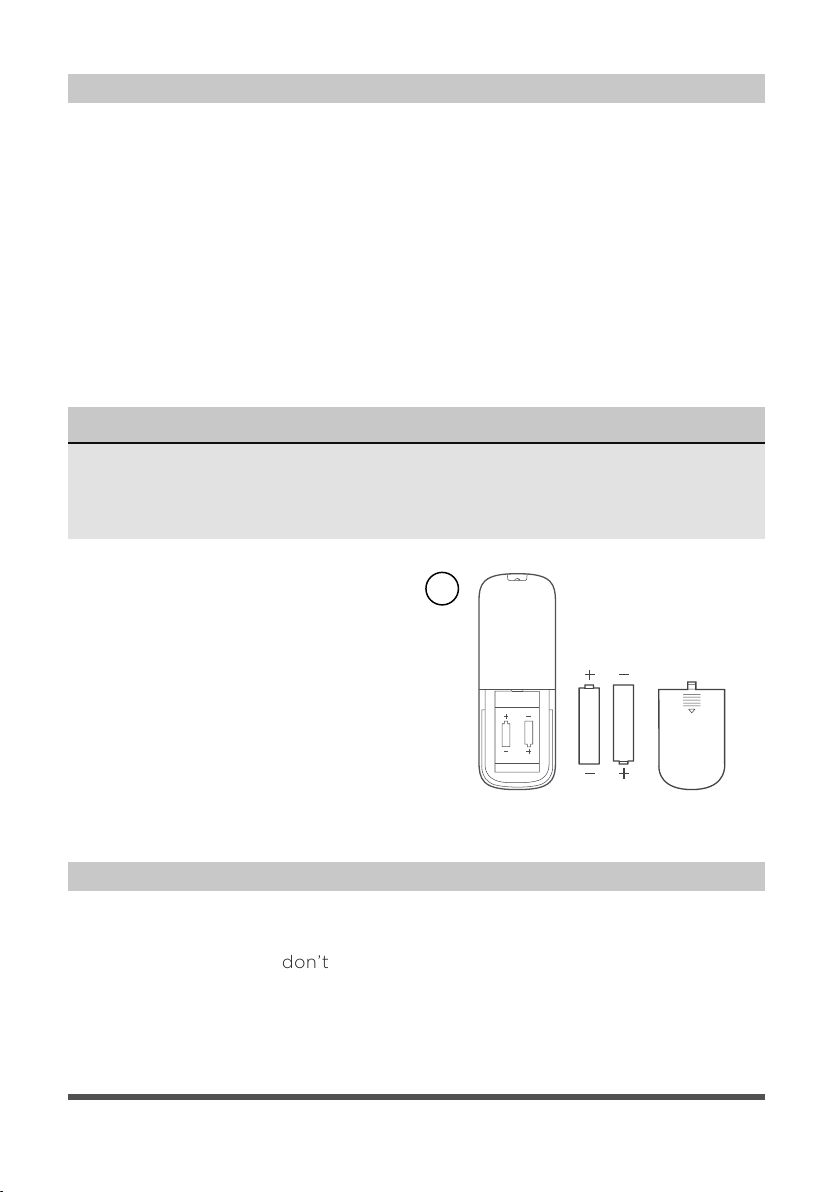
Inserting and Replacing Batteries
• Do not dispose of batteries in fire, batteries may explode or leak.
• Do not mix old and new batteries.
• Do not mix alkaline, standard (carbon-zinc) or rechargeable (nickel-
cadmium) batteries.
• Non-rechargeable batteries are not to be recharged.
• Batteries are to be inserted with the correct polarity.
• Remove batteries when exhausted or when storing product to prevent
damage.
• Batteries must be removed from the remote controller before disposal
and disposed of per local regulations.
AAA Battery, 1.5 V
Battery
NOTICE
• 2 x AAA batteries are not include.
• Use manganese or alkaline batteries of type “AAA”.
• DO not use rechargeable batteries.
1. Slide the battery compartment
Cover.
2. Insert the batteries, and make
sure that the batteries are placed
as shown in the Fig. 1.
3. Slide back the battery cover.
1
Overheat Protection of the Motor
The windings of the motor have a thermal-fuse that burns out and the fan
switches off and temperature of the motor is no longer going up so that
plastic parts of the fan don’t subject to deformation so far so to be burned
by the overheat if the motor is overheat for any unexpected reason.
Page 10
OPERATION INSTRUCTIONS (cont.)
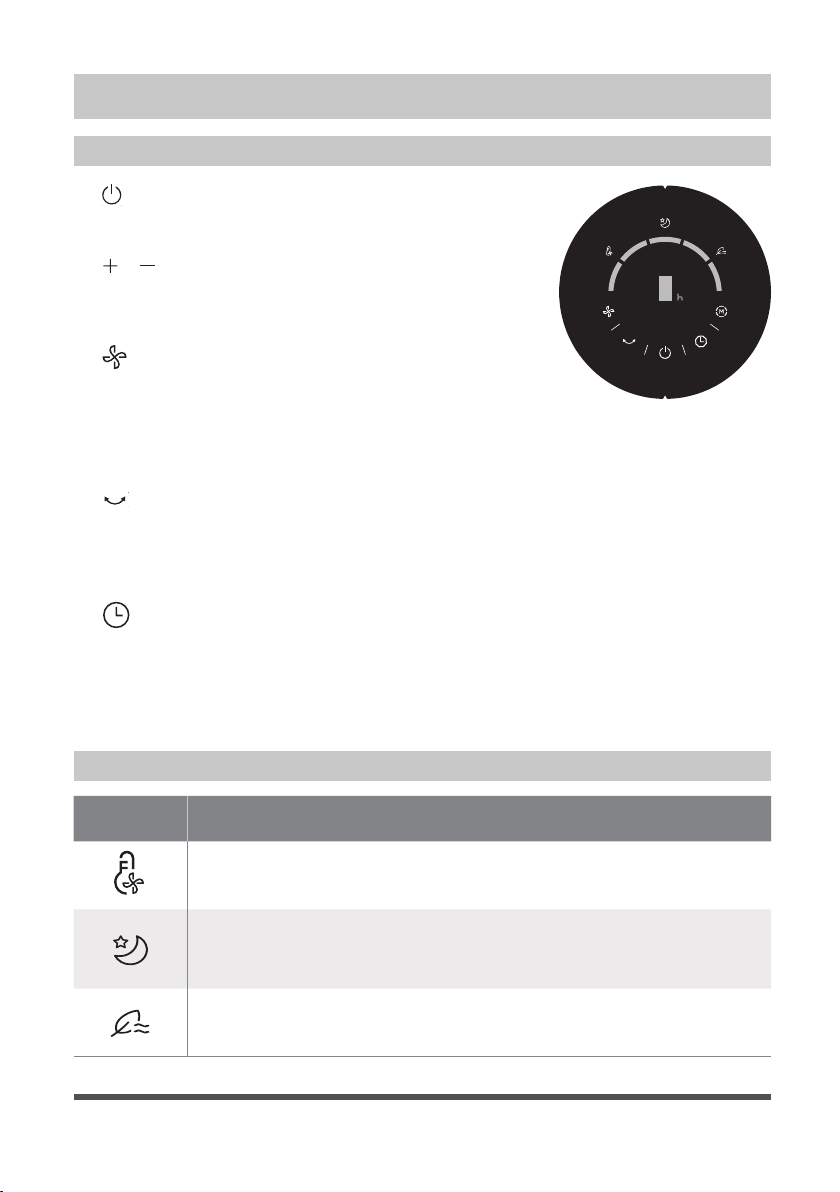
Description of Function Icon
Buttons on Fan Body / Panel Indication
1. ON/OFF KEY:
Press this key to switch on/switch off the fan.
2.
/ SPEED KEY:
When the fan started, press this key repeated,
the fan will work with “1-2-3-4-5-1” circulatory.
3.
MODE KEY:
When the machine is on, short press this button
to select “normal wind”, “wind changes with
temperature”, “sleep wind”, “natural wind”......
Circulating between the four wind classes.
4.
OSC/LOUVER KEY:
After the fan has started, press this key to
select oscillation mode. The lights on the
display can indicate fan oscillation mode.
5.
TIMING KEY:
Press this timer key repeatedly to set the time
for air delivery. Increase in increments up to
“1-2-3-4-5-6-7-8-9” hours.
Icon Function Description
The indicator light is on when the wind changes with
temperature.
Light on, start the sleep wind mode, and the fan will
automatically adjust the gear cycle according to the
established procedure.
The light is on in natural wind mode.
Page 11
CARE AND MAINTENANCE
• Always remove the plug from the power socket.
• Wipe with a soft, damp cloth. Do not use detergents and abrasives.
• Do not allow water or other liquids to enter the internal part of the
motor.
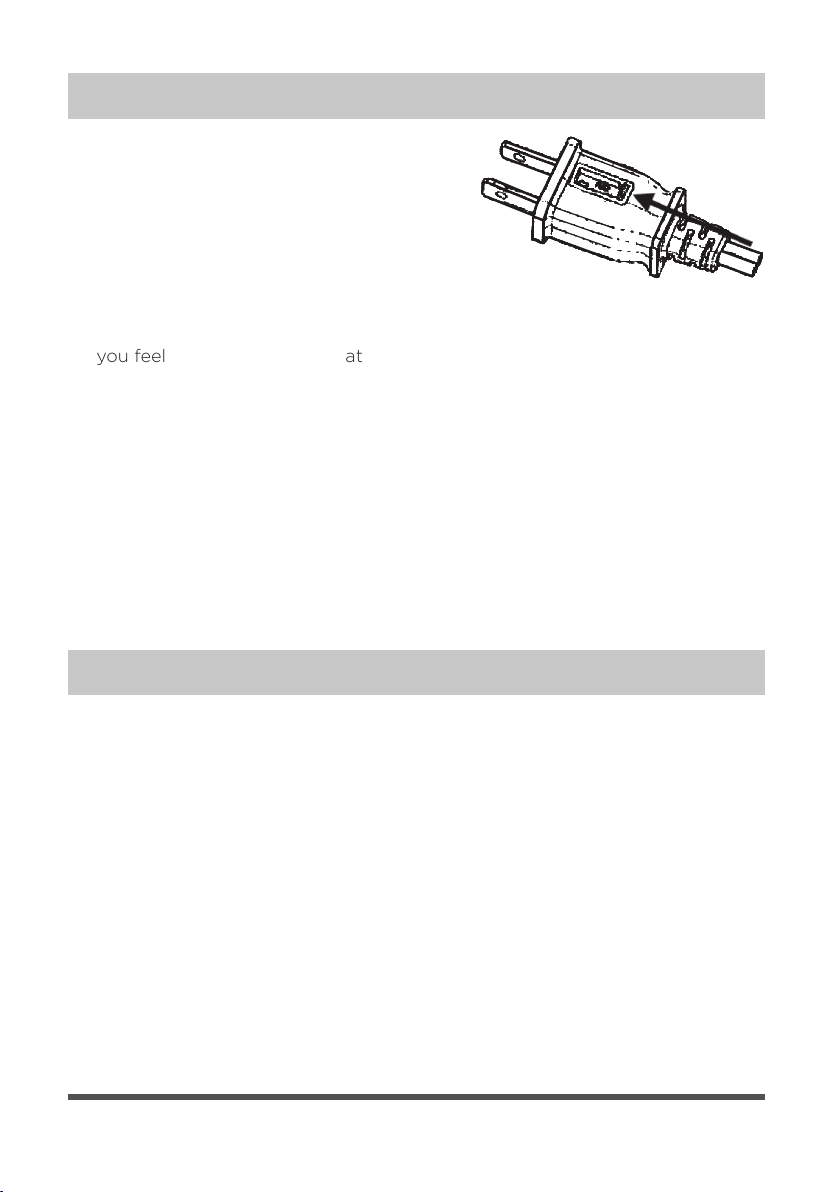
USER SERVICING INSTRUCTIONS
1. Grasp plug and remove from the
receptacle or other outlet device. Do not
unplug by pulling on cord.
2. Open fuse cover. Slide open fuse access
cover on top of attachment plug towards
blades.
3. Remove fuse carefully. Insert the tip of your tool into fuse slot (close with
the terminal), then pry the fuse gradually and slowly, but not overexert. If
you feel tight, you can try it at several times and pry the fuse little by little.
When one side of the fuse has been pryzed, then you can get the fuse out
entirely.
4. Risk of fire. Replace fuse only with 2.5 Amp, 125 Volt fuse.
5. Close fuse cover. Slide closed the fuse access cover on top of attachment
plug.
6. Risk of fire. Do not replace attachment plug. Contains a safety device (fuse)
that should not be removed. Discard product if the attachment plug is
damaged.