Loading ...
Loading ...
Loading ...
CONNECT EXHAUST
, Replace plastic exhaust duct with
rigid metal or flexible metal duct.
• If using an existing exhaust system,
clean lint from entire length of exhaust
system. Make sure exhaust hood is
not plugged with lint.
A properly exhausted dryer will give
you the shortest drying time, lower
your utility bill and extend the life of
the dryer.
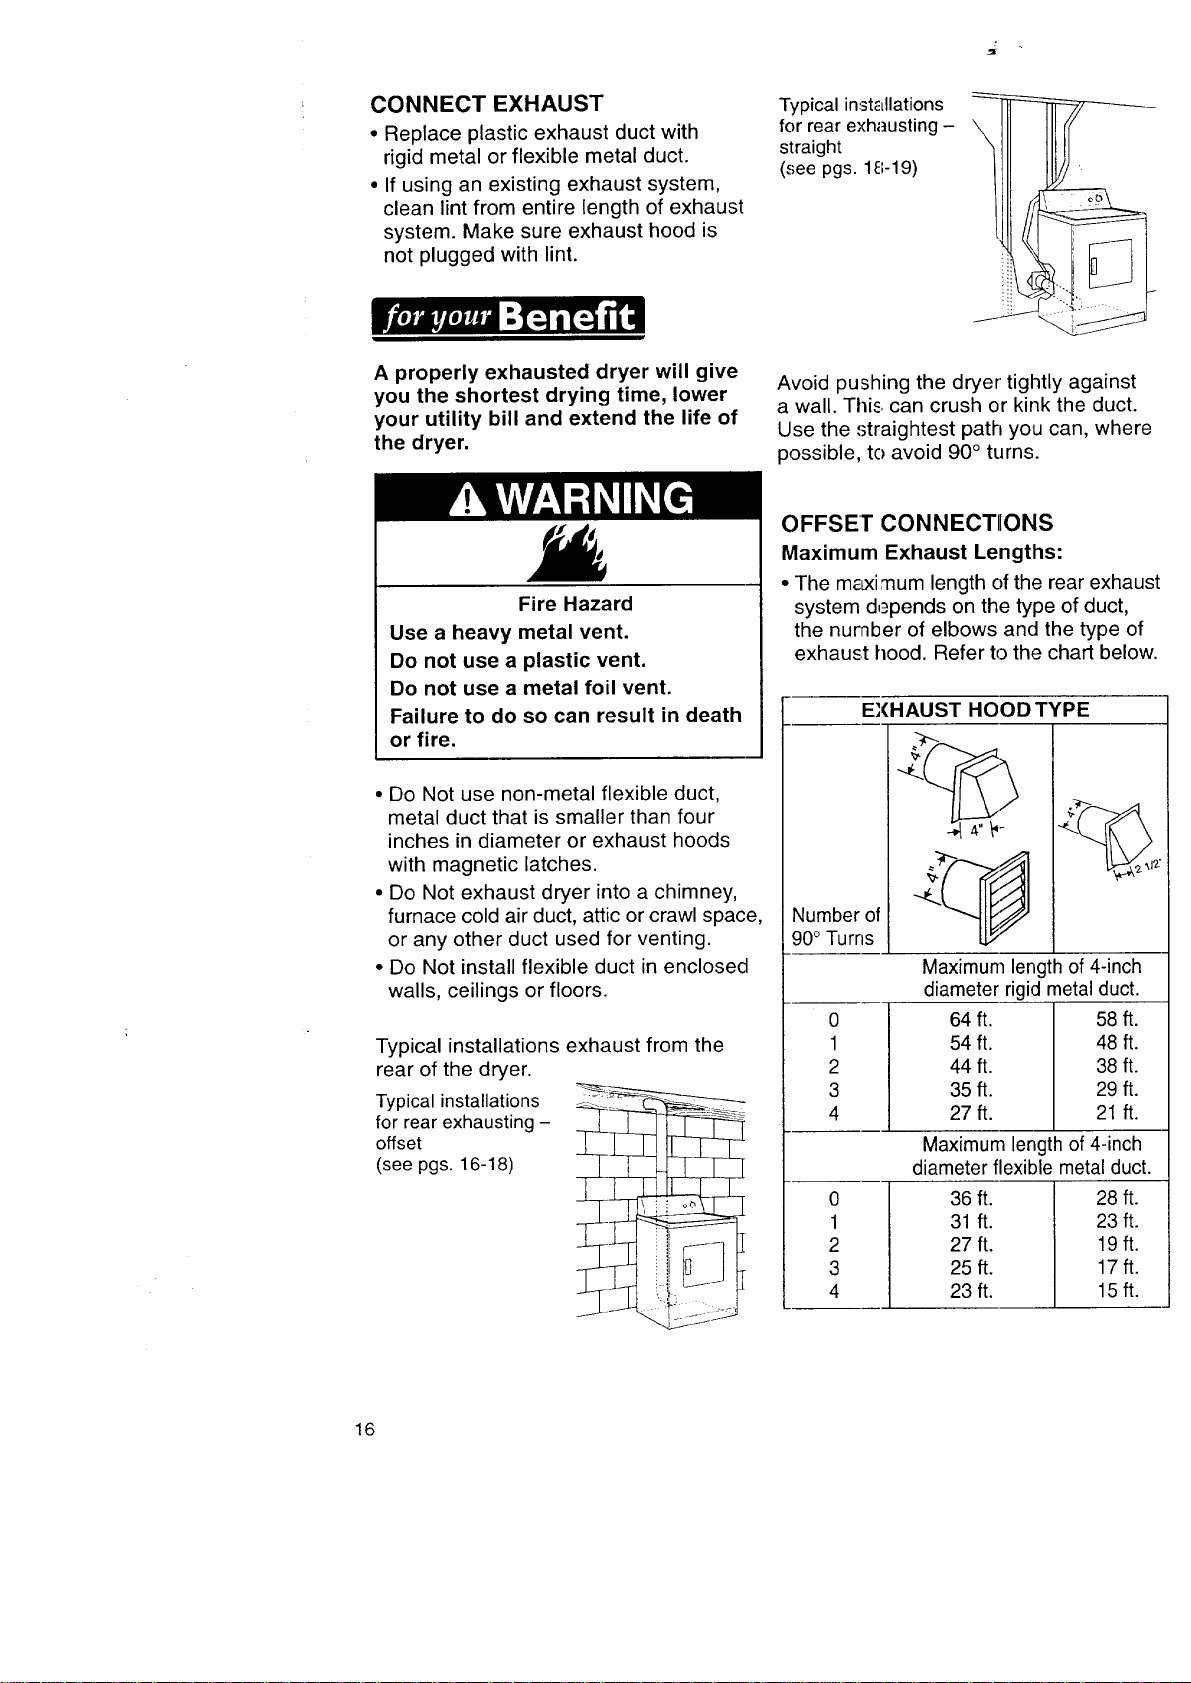
Typical installations
for rear exhausting -
straight
(see pgs. 18-19)
Avoid pushing the dryer tightly against
a wall. This can crush or kink the duct.
Use the straightest path you can, where
possible, to avoid 90 ° turns.
Fire Hazard
Use a heavy metal vent.
Do not use a plastic vent.
Do not use a metal foil vent.
Failure to do so can result in death
or fire.
• Do Not use non-metal flexible duct,
metal duct that is smaller than four
inches in diameter or exhaust hoods
with magnetic latches.
• Do Not exhaust dryer into a chimney,
furnace cold air duct, attic or crawl space,
or any other duct used for venting.
• Do Not install flexible duct in enclosed
walls, ceilings or floors.
Typical installations exhaust from the
rear of the dryer.
Typical installations _
for rear exhausting -
offset
(see pgs. 16-18) | I ___L___]
_[
OFFSET CONNECTIIONS
Maximum Exhaust Lengths:
• The m&xi mum length of the rear exhaust
system depends on the type of duct,
the number of elbows and the type of
exhaust hood. Refer to the chart below.
EXHAUST HOOD TYPE
Number of
90° Turns
0
1
2
3
4
Maximum length of 4-inch
diameter rigid metal duct.
64 ft. 58 ft.
54 ft. 48 ft.
44 ft. 38 ft.
35 ft. 29 ft.
27ft. 21 ft.
0
1
2
3
4
Maximum length of 4-inch
diameter flexible metal duct.
36 ft. 28 ft.
31 ft. 23 ft.
27 ft. 19 ft.
25ft. 17ft.
23 ft. 15 ft.
16
Loading ...
Loading ...
Loading ...