Universal Replacement Instructions
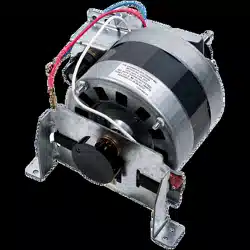
Screw Drive Motor
You will need a 1/4" magnetic nut driver, long-nosed pliers,
and a 5/16 long-shafted magnetic nut driver.
1. Disconnect power to the opener.
2. Remove the cover.
3. Remove endpanels.
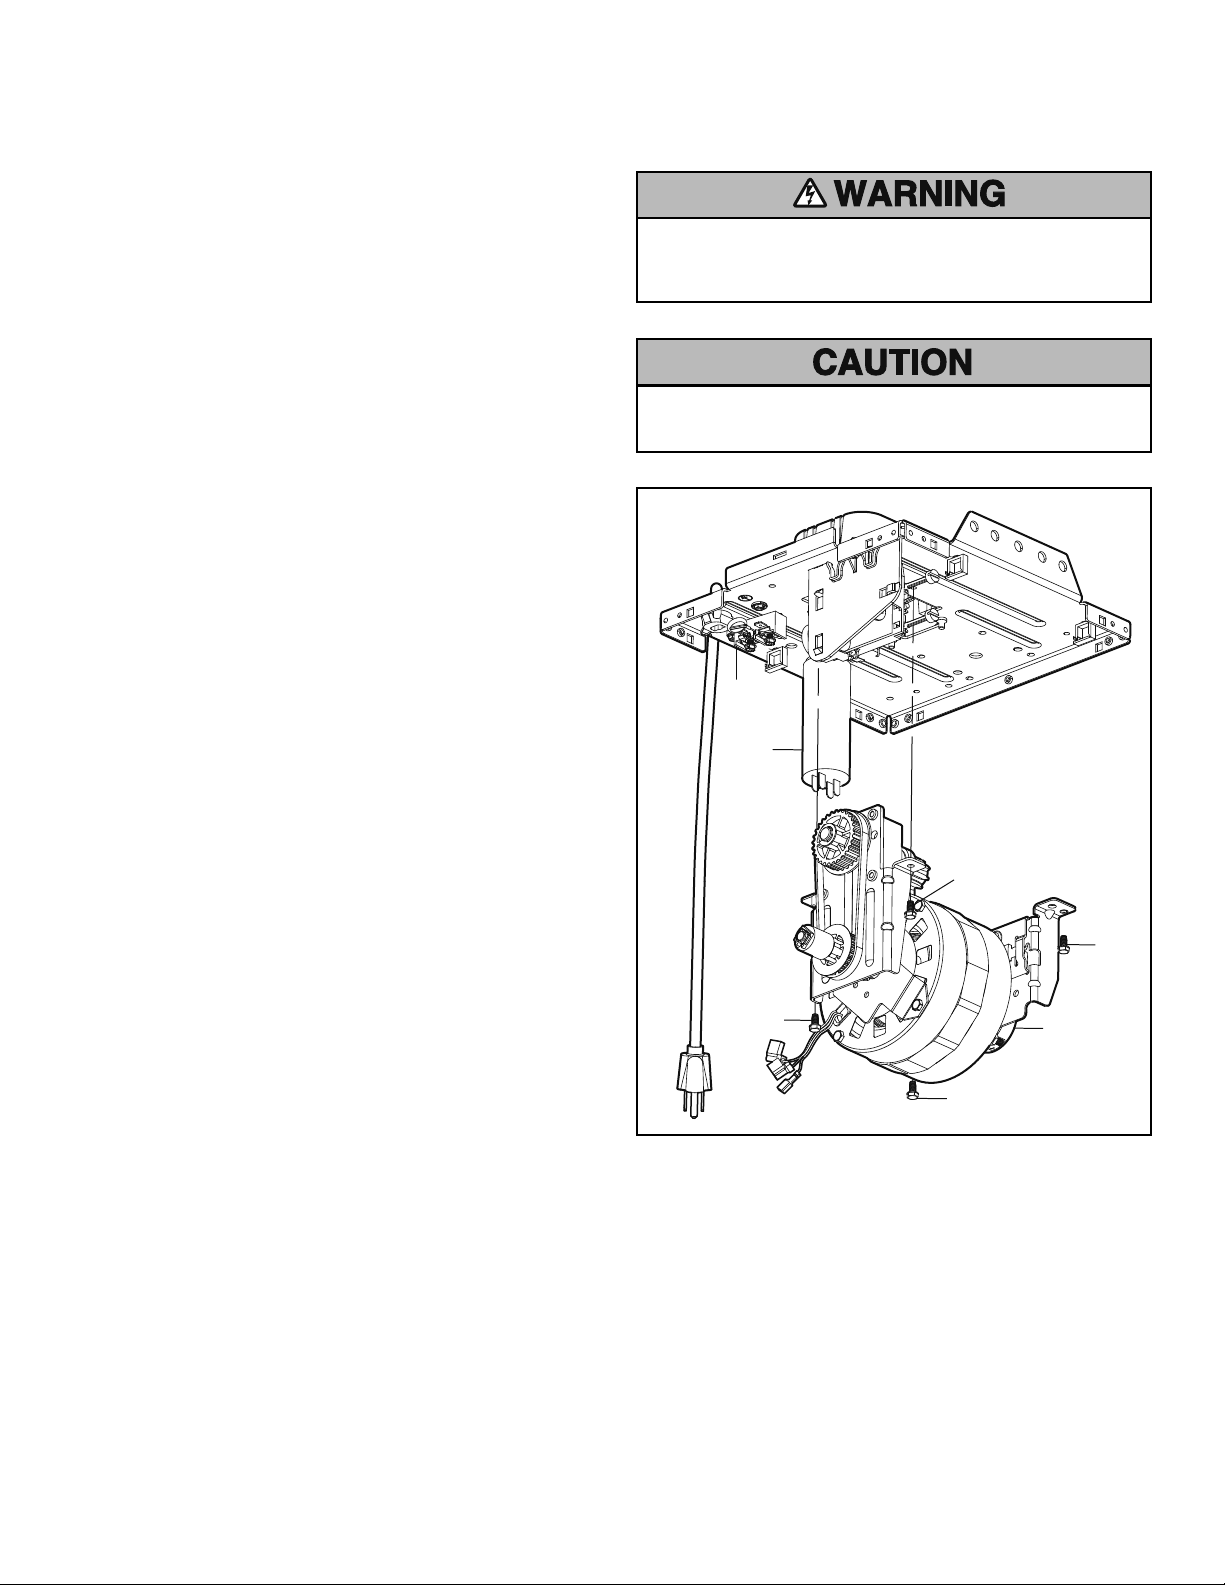
4. Unplug the wire harness (A) from the RPM sensor.
5. Observe the 3 wires leading from the motor and note
their position for reassembly:
• Disconnect the single white wire from the terminal
block (B).
• Disconnect the other two (red and blue) from the
capacitor (C).
6. Remove the 4 screws (D) fastening the motor bracket to
the chassis, using a 5/16 long-shafted magnetic driver.
Hand-support motor before removing final screw.
7. Remove entire motor/bracket assembly and discard.
8. Replace with new motor.
9. Reverse steps 2-7 to reassemble.
10. Reconnect power.
NOTE: A test of the Safety Reverse System is necessary for safe
operation. Follow the instructions on side two or in your
owner’s manual.
To prevent possible SERIOUS INJURY or DEATH from
electrocution, disconnect power to opener BEFORE
proceeding.
The garage door MUST be in the fully closed position during
installation.
D
D
D
D
C
B
A
1
2
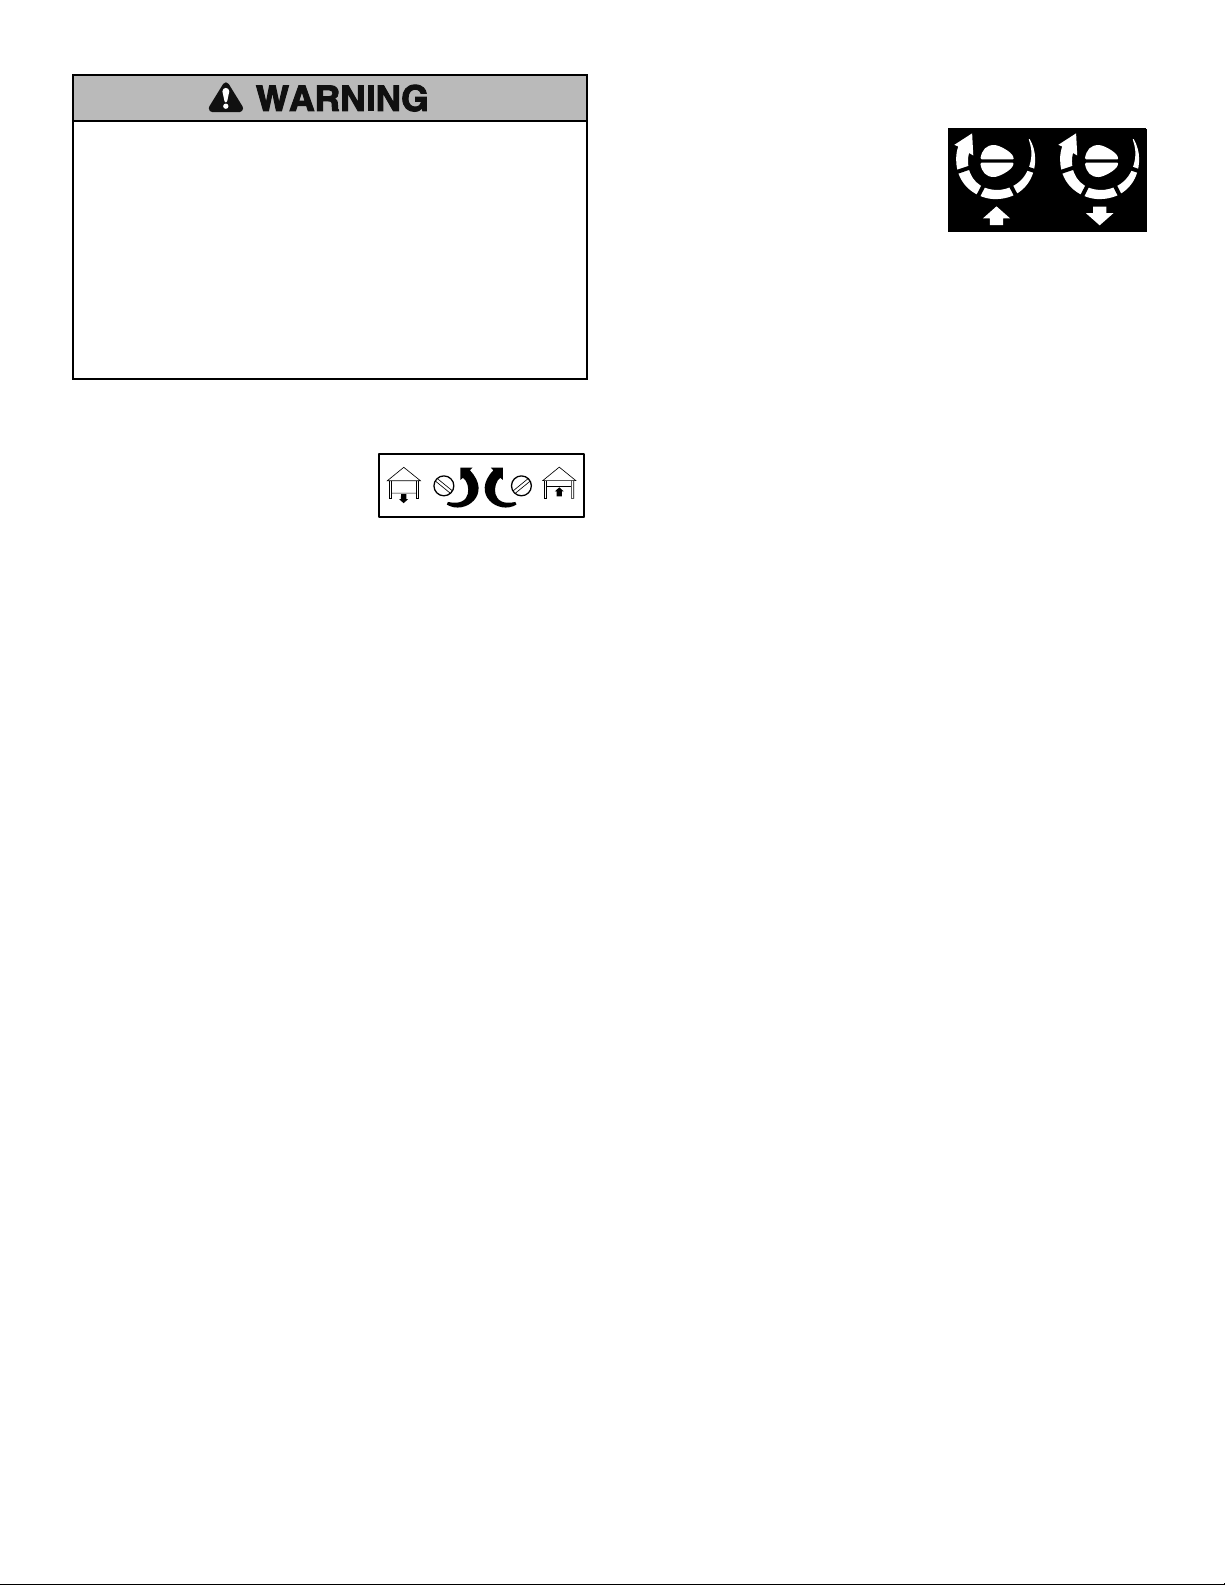
When to Adjust the Force
The maximum force adjustment range
is 260 degrees, about 3/4 of a
complete turn. Do not force controls
beyond that point. Turn controls with
a screwdriver.
If the door does not open at least
five feet (1.5 m):
Increase UP (Open) force by turing the control clockwise. Make
10 degree turn adjustments until door opens completely.
Readjust the UP (Open) limit if necessary. After each
adjustment, run the opener through a complete travel cycle.
If the door reverses during the DOWN (Close) cycle and the
opener lights do not flash:
Increase Down (Close) force by turning the control clockwise.
Make 10 degree turn adjustments until the door completes a
close cycle. After each adjustment, run the opener through a
complete travel cycle.
NOTE: Do not increase the force beyond what is required to
close door. Do not use force adjustments to compensate for a
binding or sticking garage door.
Test the DOWN (Close) force:
Grasp the door handle or door bottom when the door is about
halfway through DOWN (Close) travel. The door should reverse.
If the door is hard to hold or does not reverse, decrease the
DOWN (Close) force by turing the control counterclockwise.
Make 10 degree turn adjustments until the door reverses
normally. After each adjustment, run the opener through a
complete cycle.
Test the UP (Open) force:
Grasp the door handle or door bottom when the door is about
halfway through UP (Open) travel. The door should stop. If the
door is hard to hold or does not stop, decrease UP (Open) force
by turning the control counterclockwise. Make 10 degree turn
adjustments until the door stops easily. After each adjustment,
run the opener through a complete travel cycle.
FORCE ADJUSTMENT LABEL
KG
KG
1
3
9
7
5
1
3
9
7
5
Open Force
Close Force
Without a properly installed safety reversal system, persons
(particularly small children) could be SERIOUSLY INJURED or
KILLED by a closing garage door.
• Incorrect adjustment of garage door travel limits will
interfere with proper operation of safety reversal system.
• If one control (force or travel limits) is adjusted, the other
control may also need adjustment.
• After ANY adjustments are made, the safety reversal system
MUST be tested. Door MUST reverse on contact with 1-1/2"
(3.8 cm) high object (or 2x4 laid flat) on floor.
When to Adjust the Limits
If the door does not open
completely but opens at least
five feet:
Increase UP (Open) travel. Turn the
Up limit adjustment screw
clockwise. One turn equals 2"
(5 cm) of travel.
If the door does not open at least five feet:
Adjust the UP (Open) force as explained in Adjustment Step 2 in
your owner’s manual.
If the door does not close completely:
Increase DOWN (Close) travel. Turn the DOWN (Close) limit
adjustment screw counterclockwise. One turn equals 2" (5 cm)
of travel.
If the opener reverses in fully closed position:
Decrease DOWN (Close) travel. Turn the DOWN (Close) limit
adjustment screw clockwise. One turn equals
2" (5 cm) of travel.
If the door reverses when closing:
If the opener lights are flashing, the Safety Reversing Sensor is
obstructed. Remove the obstruction.
Test the door for binding:
Pull the emergency release handle. Manually open and close the
door. If the door is binding, call for garage door service. If the
door is not binding or unbalanced, adjust the DOWN (Close)
force.
NOTE: Repeated operation of the opener may cause the motor
to overheat and shut off. Wait 30 minutes and continue.
LIMIT CONTROLS
Adjustment Label
3
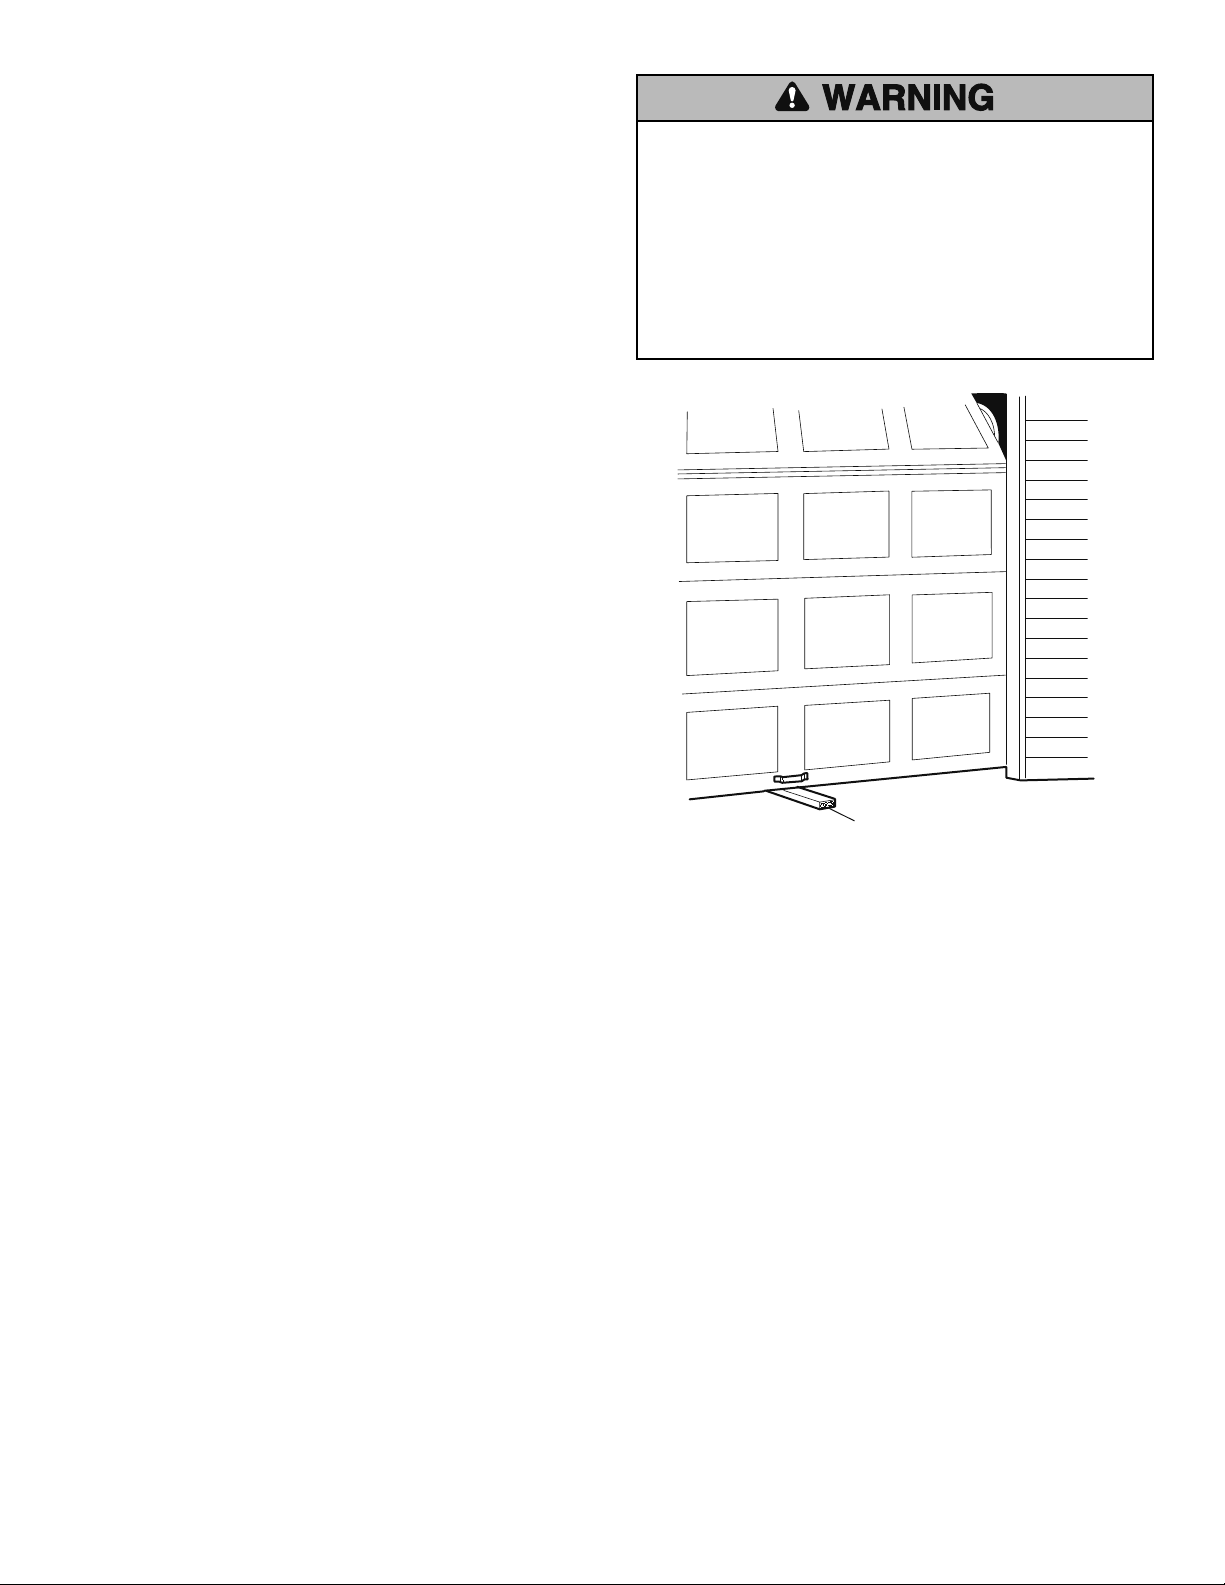
1-1/2" (3.8 cm) board
(or a 2x4 laid flat)
Without a properly installed safety reversal system, persons
(particularly small children) could be SERIOUSLY INJURED or
KILLED by a closing garage door.
• Safety reversal system MUST be tested every month.
• If one control (force or travel limits) is adjusted, the other
control may also need adjustment.
• After ANY adjustments are made, the safety reversal system
MUST be tested. Door must reverse on contact with 1-1/2"
(3.8 cm) high object (or 2x4 laid flat) on the floor.
Testing the Safety Reverse System
Conduct the Safety Reverse Test After:
• Each adjustment of door arm length, force or limit controls.
• Any repair to or adjustment of the garage door (including
springs and hardware).
• Any repair to or buckling of the garage floor.
• Any repair or adjustment to the opener.
Procedure:
• With the door fully open, place a 1-1/2" (3.8 cm) board
(or a 2x4 laid flat) on the floor, centered under the garage
door.
• Operate the door in the down direction. The door must reverse
on striking the obstruction.
Adjust:
• If the door stops on the obstruction, it is not traveling far
enough in the down direction. Refer to “When to Adjust the
Limits” on page 2.
NOTE: On a sectional door, when fully closed, the door arm
must not go beyond a straight up and down position. If so,
lengthen door arm.
• Repeat the test.
• When the door reverses on the 1-1/2" (3.8 cm) board, remove
the obstruction and run the opener through 3 or 4 complete
travel cycles to test adjustment.
If the door will not reverse after repeated attempts, call for a
trained door systems technician.

© 2008, Chamberlain Group Inc.
114A3427B All Rights Reserved
