Loading ...
Loading ...
Loading ...
13
XIC600 STEP FIVE
Cycling Console Battery Installation:
1. Remove the battery cover from the back of the computer.
2. Insert 2 AAA batteries into the battery compartment and reinstall
the battery cover.
3. When Battery working voltage is too low, The “Low battery”
indicator will show up on the console display indicating it is time to
change the batteries.
Speed Sensor Transmitter Battery Installation
1. Remove the battery cover from the transmitter.
2. Install 2 AAA batteries in the battery compartment and reinstall
the battery cover.
3. When new batteries are installed in the transmitter or console
you must perform the synchronizing procedure below for the
console to work properly
Synchronizing the transmitter to the console:
1. After installing the batteries, and before attaching the console and
transmitter to the bike, you must synchronize the two so they can
“talk” to each other.
2. Press and hold the two keys on the front of the console for about
3 seconds until the display shows ID - -
3. Now press and hold the blue button on the transmitter for 3
seconds and release. The console display should show ID 0. NOTE:
You must press the blue button within 10 seconds after the
console is showing ID - - otherwise the console will show: ID ER. If
the console shows this error then restart the procedure again.
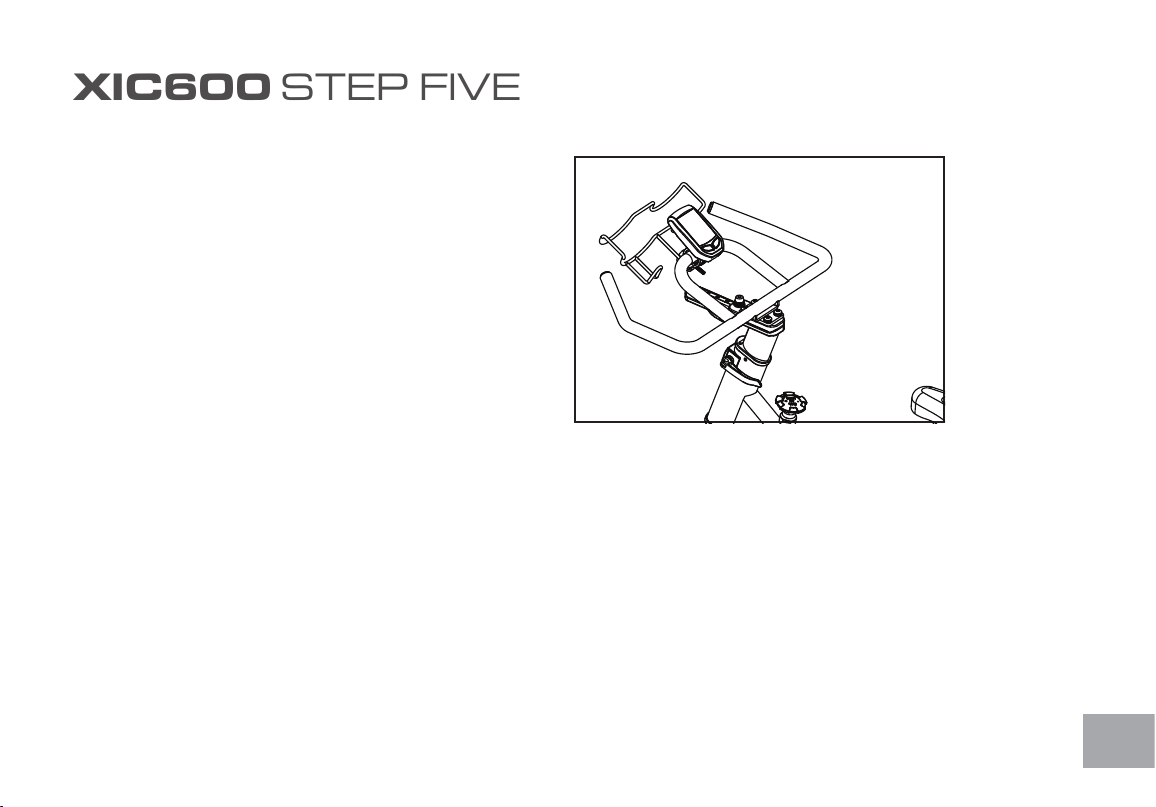
Installation of the cycling monitor
Console Installation:
1. Install the mounting clamp (2) to the back of the console (1) with
the clamp mounting screw (3).
2. Install and slightly tighten the thumb screw (4) then adjust the
console angle for optimal visibility. Once the console is adjusted,
continue to tighten the screw until it is securely attached to the
handle bar.
4. It may be necessary to remove and re-install the batteries in both
the console and transmitter if you continue to receive an error.
Loading ...
Loading ...
Loading ...