Loading ...
Loading ...
Loading ...
16
3.1.9 G SENSOR
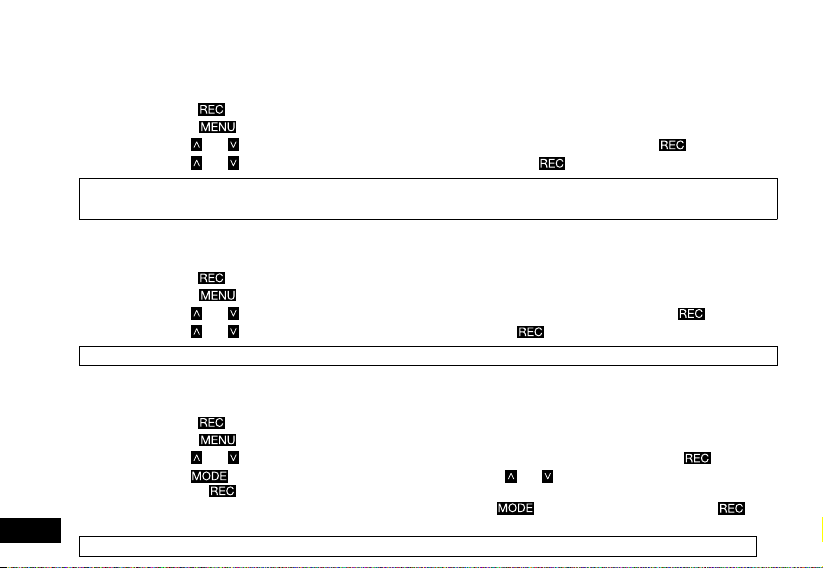
The G Sensor defines the required force needed to trigger a Locked Recording. Once a Locked Recording is triggered in the
case of an incident or impact the current recording will be automatically protected from being saved over by the normal loop
recording. To set the required sensitivity please follow the instructions below.
1. Press the
Button to stop the Mirror DVR from recording.
2. Press the
Button to enter the Video Menu.
3. Use the
and Buttons to navigate the Video Menu and highlight the G Sensor setting and press to select.
4. Use the
and Buttons to highlight your required sensitivity, then press the button to confirm your selection.
Note: 1. Menus cannot be accessed while the camera is recording. Please stop the recording before attempting to access the menu.
2. If your memory card is filling up quickly you may need to lower the sensitivity of the G Sensor (Gravity Sensor) to decrease the number of triggers
caused by normal driving.
3.2.0 DELAY POWER ON
Delay Power On sets a delay on recording after the Car DVR receives power and when the front facing camera starts
recording. To set a delay, please follow the steps below.
1. Press the
Button to stop the Mirror DVR from recording.
2. Press the
Button to enter the Video Menu.
3. Use the
and Buttons to navigate the Video Menu and highlight the Delay Power setting and press to select.
4. Use the
and Buttons to highlight your required delay, then press the button to confirm your selection.
Note: 1. Menus cannot be accessed while the camera is recording. Please stop the recording before attempting to access the menu.
3.2.1 NUMBER PLATE
Number Plate will stamp your vehicles number plate onto the footage for reference. To set the Number Plate setting please
follow the instructions below.
1. Press the
Button to stop the Mirror DVR from recording.
2. Press the
Button to enter the Video Menu.
3. Use the
and Buttons to navigate the Video Menu and highlight the Number Plate setting and press to select.
4. Use the
button to switch between letters and numbers and the and Buttons to select cycle through the selected
output. The
button is used to select the required character.
5. When you have finished inputting your vehicles number plate, use the
button to select “OK” and press the
button.
Note: 1. Menus cannot be accessed while the camera is recording. Please stop the recording before attempting to access the menu.
Loading ...
Loading ...
Loading ...