Loading ...
Loading ...
Loading ...
Use
34
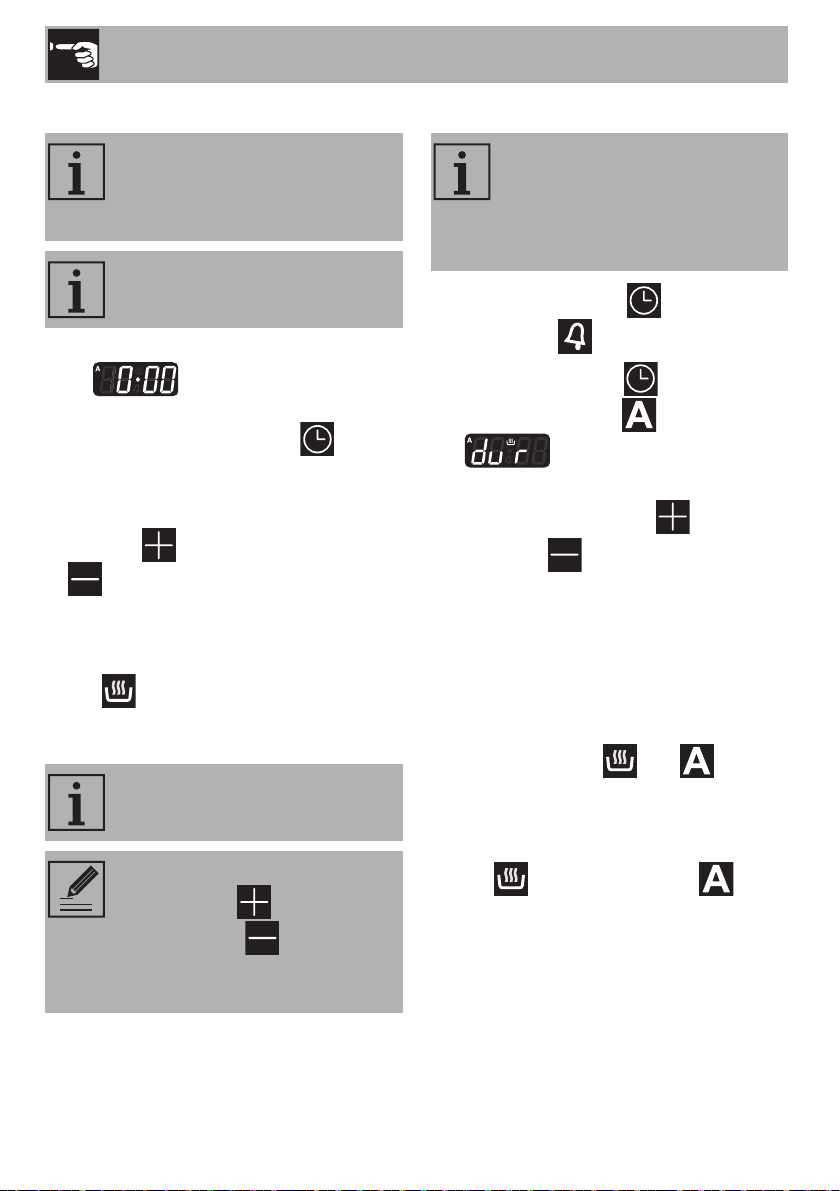
Setting the time
On the first use, or after a power failure, the
digits will be flashing on the
appliance’s display.
1. Hold down the clock button for two
seconds. The dot between the hours and
the minutes flashes.
2. The time can be set via the value
increase button and value decrease
button. Keep the button pressed in
to increase or decrease rapidly.
3. Wait 7 seconds. The dot between the
hours and the minutes stops flashing.
4. The symbol on the display indicates
that the appliance is ready to start
cooking.
Timed cooking
1. Keep the clock key pressed until
the symbol appears.
1. Press the clock key again. On the
display the symbol and the text
appear, alternating with the
current time.
2. Use the value increase and value
decrease keys to set the required
minutes of cooking.
3. Select a function and a cooking
temperature.
4. Wait approx. 5 seconds without
pressing any key in order for the
function to activate. The current time
and the symbols and will
appear on the display.
At the end of cooking the heating elements
will be deactivated. On the display, the
symbol turns off, the symbol
flashes and the buzzer sounds.
5. To turn the buzzer off, simply press one
of the programmer clock keys.
When using the appliance for the
first time or after a power failure,
setting the time on one clock will
set the same time on the other.
If the time is not set, the oven will
not switch on.
Use the same clock that you used
for the first time setting.
To change the time, hold down the
value increase button and
value decrease button at the
same time for two seconds, then
set the time.
Timed cooking is the function
which allows a cooking operation
to be started and then ended after
a specific length of time set by the
user.
Loading ...
Loading ...
Loading ...