Loading ...
Loading ...
Loading ...
Safety Tips
16 /24
Number: JT190199989 Version Number: A1
Note: Subsequent versions of this specification are subject to change without prior notice. Thank you
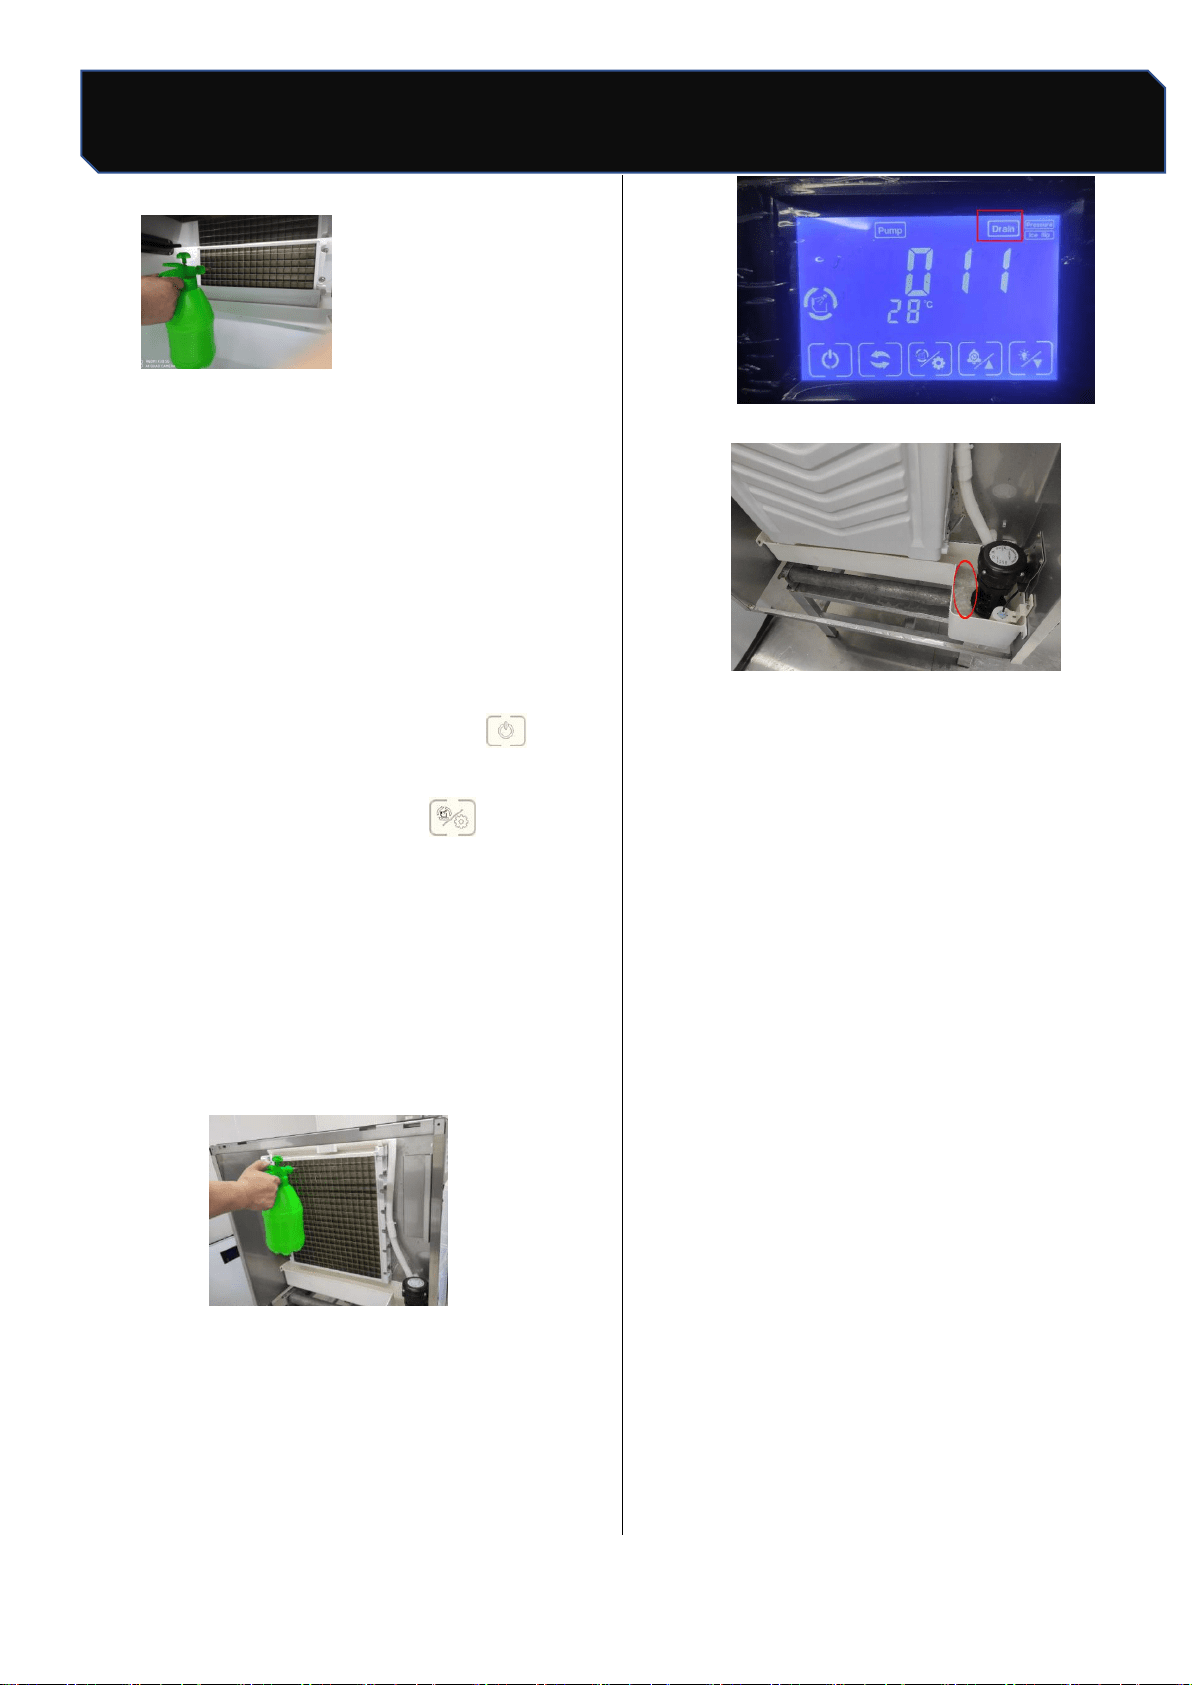
Cleaning and disinfection
After 20 minutes, remove the soaked parts and
rinse them with clean water.Install the removed
parts back to their original position (installation
method refers to 14.3 parts removal /
installation process) strictly follow the
requirements.
3. 1 liter of water and 1/2 package of disinfectant
(KAY5,28.4g/ package) were used to form
disinfectant.
4. plug in the power plug, then press " "key to
make the ice maker in standby state, the
screen shows "OFF"; press" key, the ice
maker enters the cleaning stage, the inlet
valve opens, the screen display starts to time,
when the evaporator begins to flow water, add
the equipped disinfectant to the ice maker
sink, and at the same time, use the outer
surface of the spray with disinfectant
The water between the tank and the
evaporator is cleaned continuously. After
about 15 minutes, the cleaning stops
and the evaporator is flushed
30 s after completion of drainage;
5. Enter the automatic rinsing phase, clean for 3
minutes,
After another 30 s, of water rinsing,
Rinse again with purified water for 3
times, the whole cleaning process
At the end, the screen shows "OFF", for
about 37 minutes
After the cleaning process is over, the
screen displays "OFF", to enter
Machine status, then unplug;
6. Note: start making ice after cleaning and
disinfection
The ice is discarded and not eaten.
14.3 Removal/installation process of parts
a.When removing the pipe, remove "pull out"
clamps "and" upper pipes "(as shown):
Pull out the hose
Loading ...
Loading ...
Loading ...