Loading ...
Loading ...
Loading ...
WARNING
Fire hazard due to dampness!
If live parts or the mains lead become damp this may cause
short circuits.
u
The appliance is designed for use in enclosed areas. Do not
operate the appliance outdoors or in areas where it is
exposed to splash water or damp conditions.
u
Only use the appliance when it is installed.
WARNING
Fire hazard due to refrigerant!
The refrigerant R 600a is environmentally friendly but flam-
mable. Escaping refrigerant may ignite.
u
Do not damage the piping of the refrigeration circuit.
WARNING
Fire hazard and danger of damage!
u
Do not place appliances emitting heat e.g. microwaves,
toasters etc. on the appliance!
WARNING
Blocked ventilation openings pose a risk of fire and damage!
u
Always keep the ventilation openings clear. Always ensure
that the appliance is properly ventilated!
NOTICE
Risk of damage due to condensate!*
If your appliance is not a Side-by-Side (SBS) appliance:
u
do not install the appliance directly alongside a further refrig-
erator/freezer.
q
In the event that the appliance is damaged, contact the
supplier immediately before connecting to the mains.
q
The floor at the site must be flat and level.
q
Do not install the appliance in a location where it is exposed
to direct radiation of the sun, next to a cooker, heater and
similar.
q
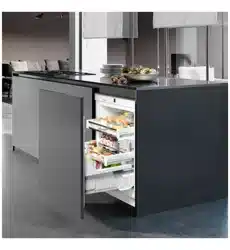
The appliance is suitable for integrated, under-worktop use.
q
Ventilation is effected by way of the plinth.
q
Do not install the appliance without assistance.
q
The more refrigerant R 600a there is in the appliance, the
larger than room must be in which it is located. In rooms that
are too small, a leak can product a flammable gas/air
mixture. According to the standard EN 378, per 11 g of
refrigerant R 600a, the room where the appliance is installed
must be at least 1 m
3
. The quantity of refrigerant used in
your appliance is indicated on the type plate on the inside of
the appliance.
u
Detach the connecting cable from the rear of the appliance,
removing the cable holder at the same time because other-
wise there will be vibratory noise!
After installation:
u
Remove the protective film from the decorative trims.
u
Remove all transit supports.
u
Dispose of packaging material (see 4.5) .
Note
u
Clean the appliance (see 6.2) .
If the appliance is installed in a very damp environment,
condensate may form on the outside of the appliance.
u
Always see to good ventilation at the installation site.
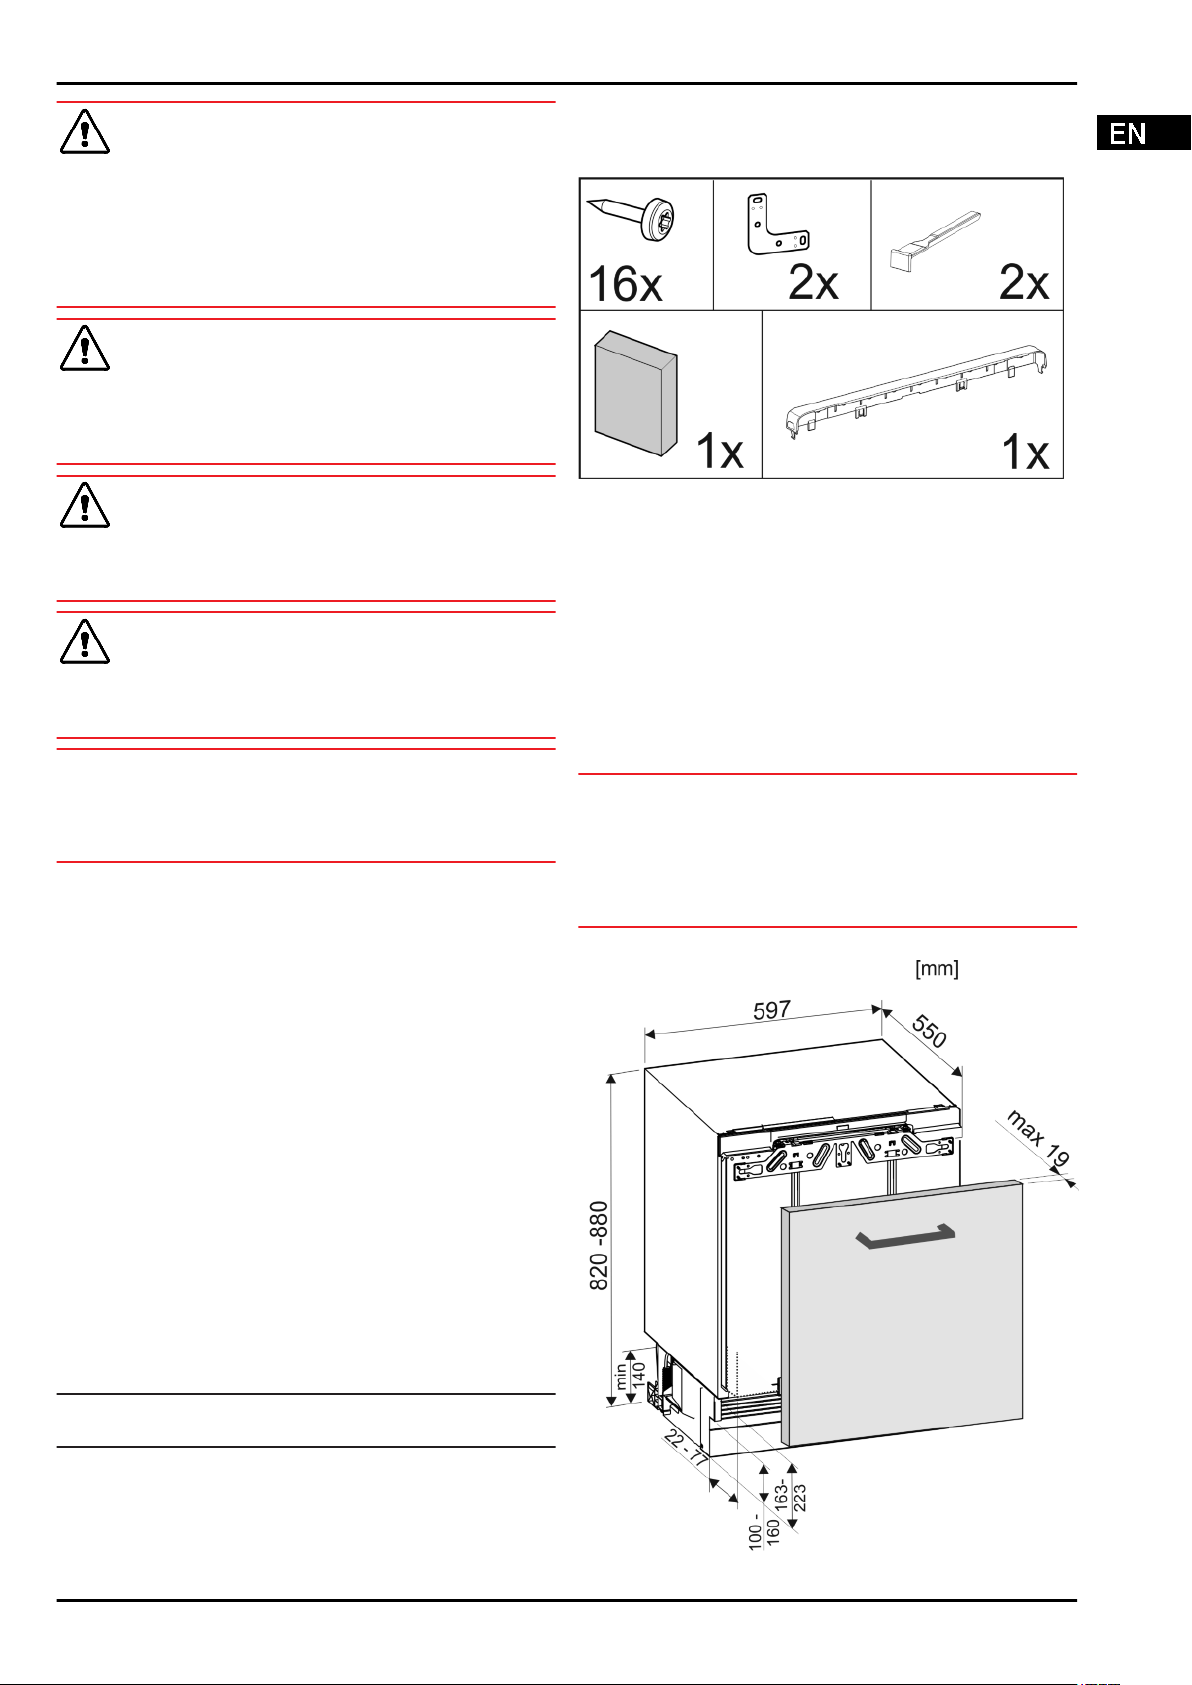
4.3 Installation
All the assembly components accompany the appliance.
Fig. 3
*
Ensure that the following tools are to hand:
q
Cordless Torx® screwdriver 15, 25
q
Spanner 13
q
Screwdriver Torx® 15
q
Flat-blade screwdriver 6
q
Allen key 8
q
Tape measure
q
Pencil
q
String
q
Spirit level
NOTICE
Risk of damage due to condensate!
u
If refrigerator and freezer are installed side-by-side, the
freezer always has to be sited to the right of the refrigerator
(as seen from the front). Condensate is prevented from
forming between the appliances by the foamed-in side wall
heating on the left side of the freezer.
Pay attention that the socket is readily accessible.
Fig. 4
Putting into operation
* Depending on model and options 5
Loading ...
Loading ...
Loading ...