Loading ...
Loading ...
Loading ...
3
Shooting
78
4 Set the parameters.
Available operations
5 Press E.
The screen of Step 2 reappears.
6 Press E.
7 Press F.
The camera returns to standby mode.
u Caution
• This function cannot be used in some capture modes or in
combination with some other functions. (p.118)
• The Digital Preview operation in Step 2 is disabled when the
drive mode is set to [Mirror Lock-up Shooting], [Multi-
exposure], or [Interval Shooting].
• Depending on the filter used, it may take longer to save
images.
t Memo
• Still images can also be processed with digital filters in
playback mode. (p.89)
Expands the dynamic range and
enables a wider range of tones to be
recorded by the CMOS sensor and
reduces the occurrence of
overexposed/underexposed areas.
Set the correction functions from [D-
Range Settings] of the A2 or C2
menu.
u Caution
• When the sensitivity is set to less than ISO 200, [Highlight
Correction] cannot be set to [On].
t Memo
• [Highlight Correction] in C mode can be set to [Auto] or [Off].
AB
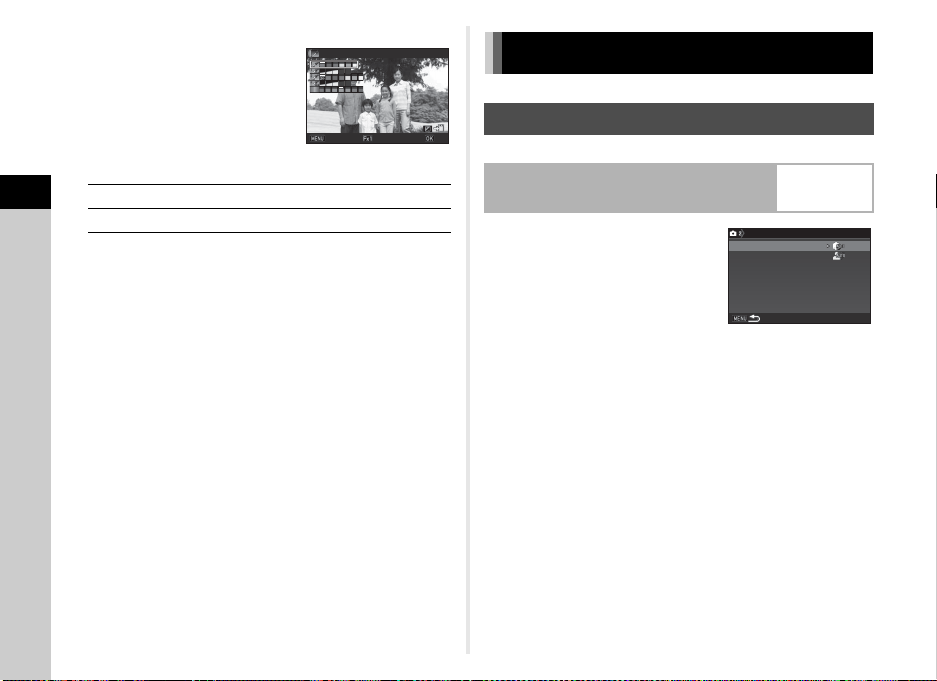
Selects a parameter.
CD
Adjusts the value.
Extracted Color 1Extracted Color 1
CancelCancel OKOKCheckCheck
Correcting Images
Brightness Adjustment
Highlight Correction
Shadow Correction
A2/C2
Highlight CorrectionHighlight Correction
Shadow CorrectionShadow Correction
D-Range SettingsD-Range Settings
Loading ...
Loading ...
Loading ...