Loading ...
Loading ...
Loading ...
1
Introduction
15
t Memo
• Refer to “Using the Control Panel” (p.20) for how to use the
control panel.
• The functions displayed on the control panel can be
customized. (p.21)
You can change the type of
information displayed in standby
mode by pressing G while the
control panel is displayed. Use CD
to select the type and press E.
When shooting with the viewfinder
22 JPEG Quality (p.49) 27 Recording Sound Level
(p.55)
23 Shake Reduction/Movie
SR 28 Current date and time
24 Horizon Correction 29 Destination (p.113)
25 External Input Devices
(p.55)
30 Operation guide for the
control panel
customization (p.21)
26 Framerate (p.49)
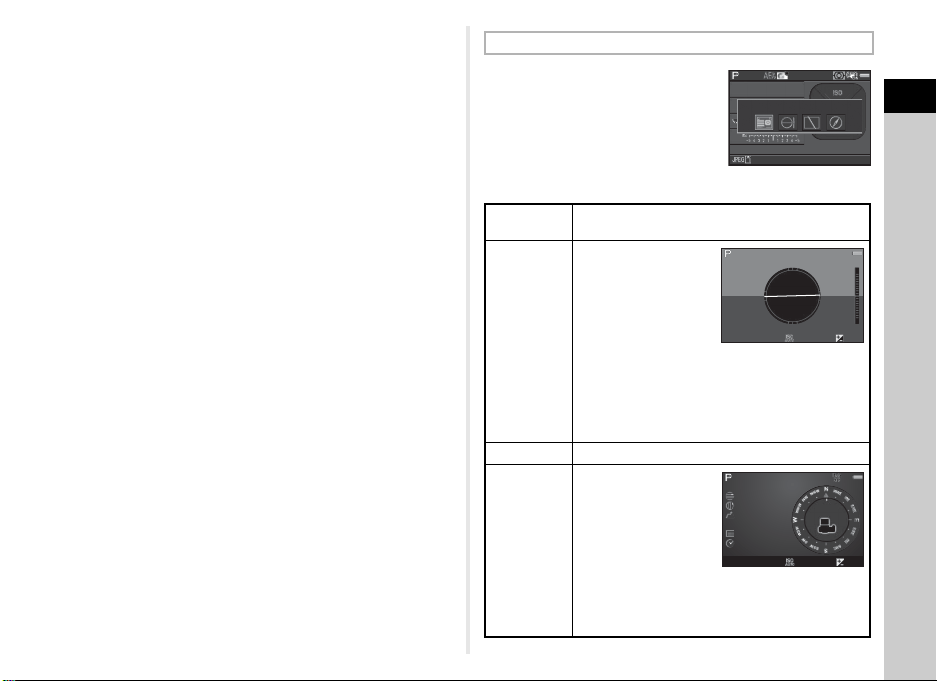
Shooting Info Display
Status
Screen
Displays the settings for shooting with the
viewfinder. (p.13)
Electronic
Level
Displays the camera
angle.
A bar scale indicating
the horizontal camera
angle appears at the
center of the screen,
and a bar scale
indicating the vertical
camera angle
appears on the right
side. When the angle exceeds the range that
can be displayed in each scale, the indicator
segments of the scale are displayed in red.
Display Off Nothing is displayed on the monitor.
Electronic
Compass
Displays the current
latitude, longitude,
altitude, direction,
Coordinated Universal
Time (UTC), capture
mode, and exposure
value. Turn the
camera off and on
again to return to the status screen.
Available only when the optional GPS unit is
attached to the camera and is operating. (p.126)
99 99 9
99999
1/
1/
250
250
F
F
5.6
5.6
160 0
1600
Status Screen
Status Screen
1/
250
1/
250 F5.6F5.6 16001600 0.00.0
Example:
Tilted 1.5° to the left (yellow)
Vertically level (green)
1/
250
1/
250 F5.6F5.6 16001600 0.00.0
10:00:0010:00:00
0°
N
36°45.410'N
36°45.410'
W140°02.000'W140°02.000'
89m89m
05/05/201605/05/2016
Loading ...
Loading ...
Loading ...