Loading ...
Loading ...
Loading ...
Usin the Meat Probe
When you cook foods like roasts and poultry, the internal
temperature is the best way to tell when the food is prop-
erly cooked. Your oven's meat probe is an easy way to
take the guesswork out of roasting. You can use it to cook
food to the exact temperature you desire. The probe can
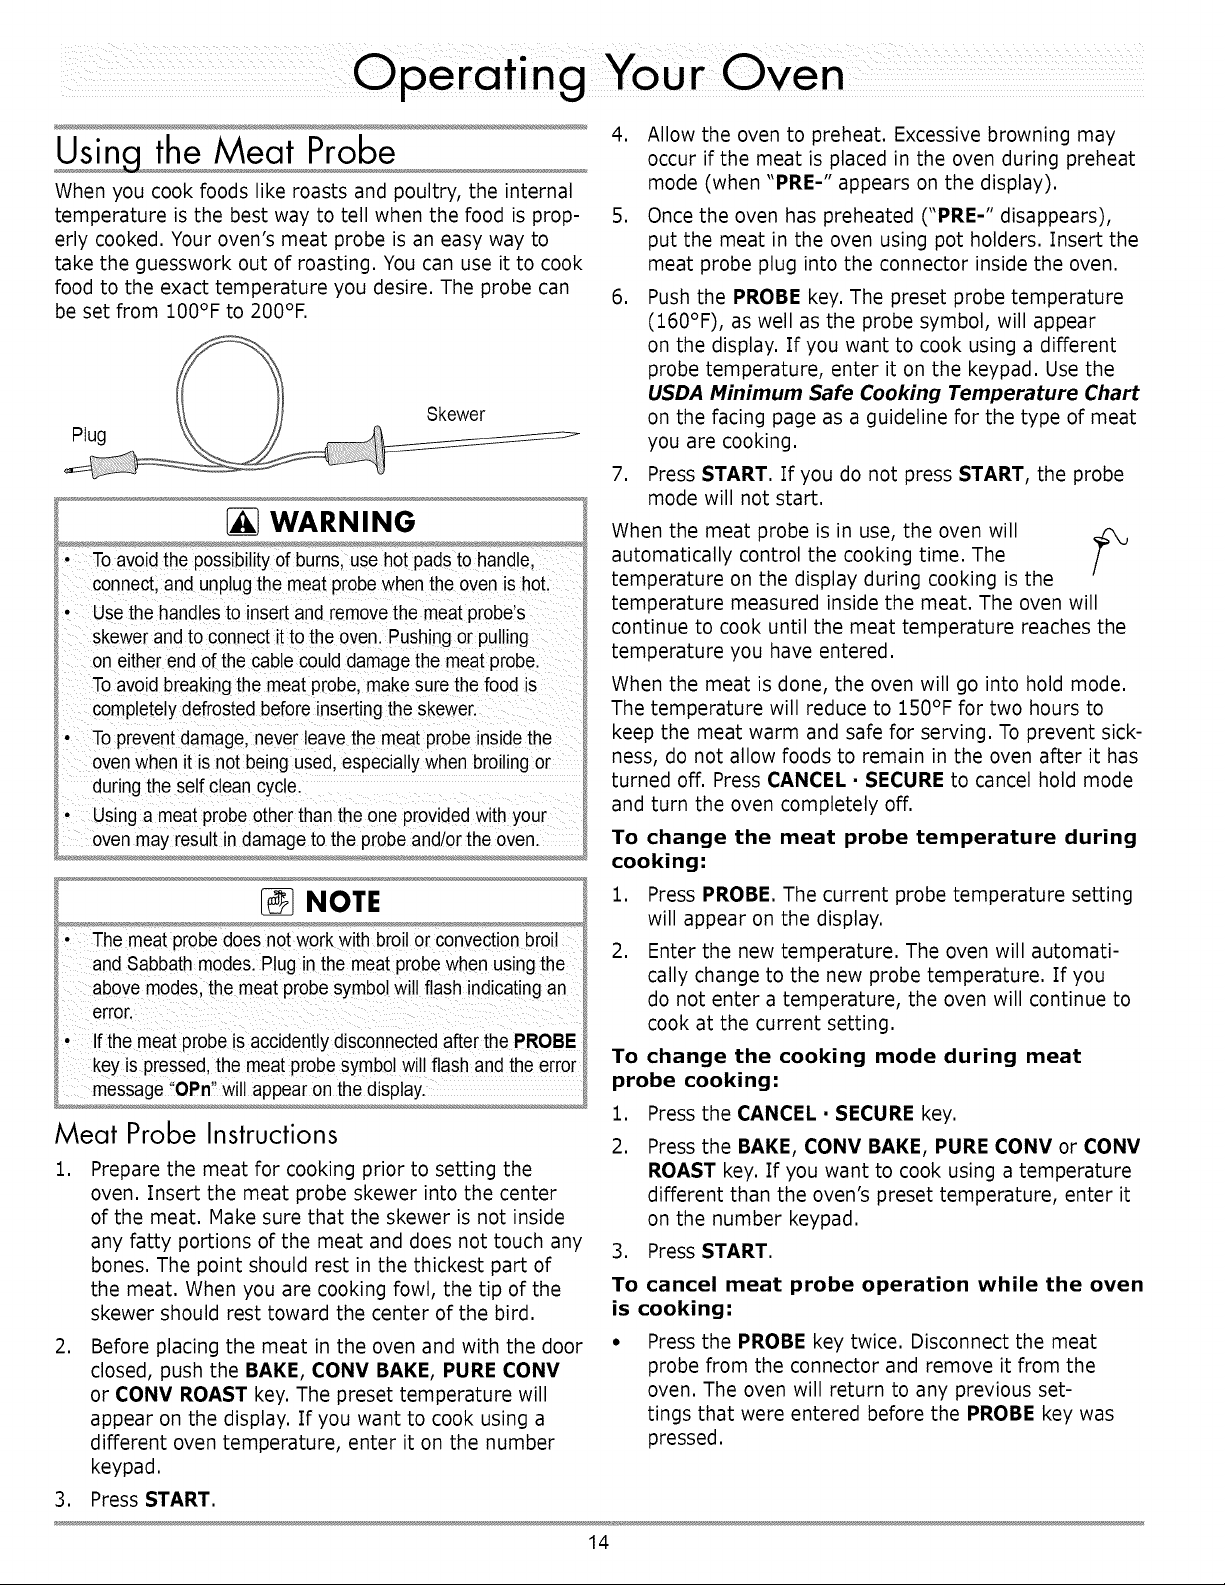
be set from IO0°F to 200°F.
Plug
Skewer
4. Allow the oven to preheat. Excessive browning may
occur if the meat is placed in the oven during preheat
mode (when "PRE-" appears on the display).
5. Once the oven has preheated ("PRE-" disappears),
put the meat in the oven using pot holders. Insert the
meat probe plug into the connector inside the oven.
6. Push the PROBE key. The preset probe temperature
(160°F), as well as the probe symbol, will appear
on the display. If you want to cook using a different
probe temperature, enter it on the keypad. Use the
USDA Minimum Safe Cooking Temperature Chart
on the facing page as a guideline for the type of meat
you are cooking.
WARNING
• the possibi!ityof bums, use hot
connect;and unplugthe meat probewhen the oven ishoL
Usethe hand astOinsert and remove the meat probe S
skewer and to connect itto the oven. Pushingor pu!ling
eitherend of the cablecould damagethe meat probe.
Toavoid breakingthe meat probe, makesure thefood is
completelydefrosted before insertingthe Skewer.
' Toprevent damagel never leavethemeat probe insidethe
oven when itis not being used, especia!!Ywhen broi!ingor
duringthe serf c!ean cyc!e.
using a ment probe otherthan the one providedwith your
7. Press START. If you do not press START, the probe
mode will not start.
When the meat probe is in use, the oven will
automatically control the cooking time. The
f
temperature on the display during cooking is the
temperature measured inside the meat. The oven will
continue to cook until the meat temperature reaches the
temperature you have entered.
When the meat is done, the oven will go into hold mode.
The temperature will reduce to 150°F for two hours to
keep the meat warm and safe for serving. To prevent sick-
ness, do not allow foods to remain in the oven after it has
turned off. Press CANCEL • SECURE to cancel hold mode
and turn the oven completely off.
To change the meat probe temperature during
cooking:
NOTE
• meat probedoes n0t work with broilor convectionbroi!
andSabbath mode&P!ug in the meat probewhen using the
above modesl the meat probe symbol willflash indicating an
error.
' If the meatpr0beiSaccidentiydisC0nnected afterthe PROBE
key is pressed,the meat probe symbolwill flash and theerror
message OPn willappear on the display.
Meat Probe Instructions
,
Prepare the meat for cooking prior to setting the
oven. Insert the meat probe skewer into the center
of the meat. Hake sure that the skewer is not inside
any fatty portions of the meat and does not touch any
bones. The point should rest in the thickest part of
the meat. When you are cooking fowl, the tip of the
skewer should rest toward the center of the bird.
1. Press PROBE. The current probe temperature setting
will appear on the display.
2. Enter the new temperature. The oven will automati-
cally change to the new probe temperature. If you
do not enter a temperature, the oven will continue to
cook at the current setting.
To change the cooking mode during meat
probe cooking:
1. Press the CANCEL • SECURE key.
2. Press the BAKE, CONV BAKE, PURE CONV or CONV
ROAST key. If you want to cook using a temperature
different than the oven's preset temperature, enter it
on the number keypad.
3. Press START.
To cancel meat probe operation while the oven
is cooking:
,
Before placing the meat in the oven and with the door
closed, push the BAKE, CONV BAKE, PURE CONV
or CONV ROAST key. The preset temperature will
appear on the display. If you want to cook using a
different oven temperature, enter it on the number
keypad.
Press the PROBE key twice. Disconnect the meat
probe from the connector and remove it from the
oven. The oven will return to any previous set-
tings that were entered before the PROBE key was
pressed.
3. Press START.
14
Loading ...
Loading ...
Loading ...