Loading ...
Loading ...
Loading ...
Step Two -- Blade 45 to Table
1. Loosen the bevel lock handle. Grasp the metal
guard and tiIt the cutting head to the Ieft until it
strikes the left bevel stop,
2. Use a procedure similar to Step One except use the
45 side of the combination square, Adjust as neces-
sary.
3. Return blade to 90 upright position and tighten
bevel lock
Step Three -- Fence Square (90') to Blade
1. Lower the blade and use the head latch to keep the
blade in the down position. Use a combination
square to make sure the fence is square to the blade
as shown. If an adjustment is needed follow the pro-
cedure below
a Loosen the four (4) fence lock bolts
b Piace a combination square against the saw
blade and adjust the fence until it is 90 to the
blade
c Tighten the four (4) fence lock bolts
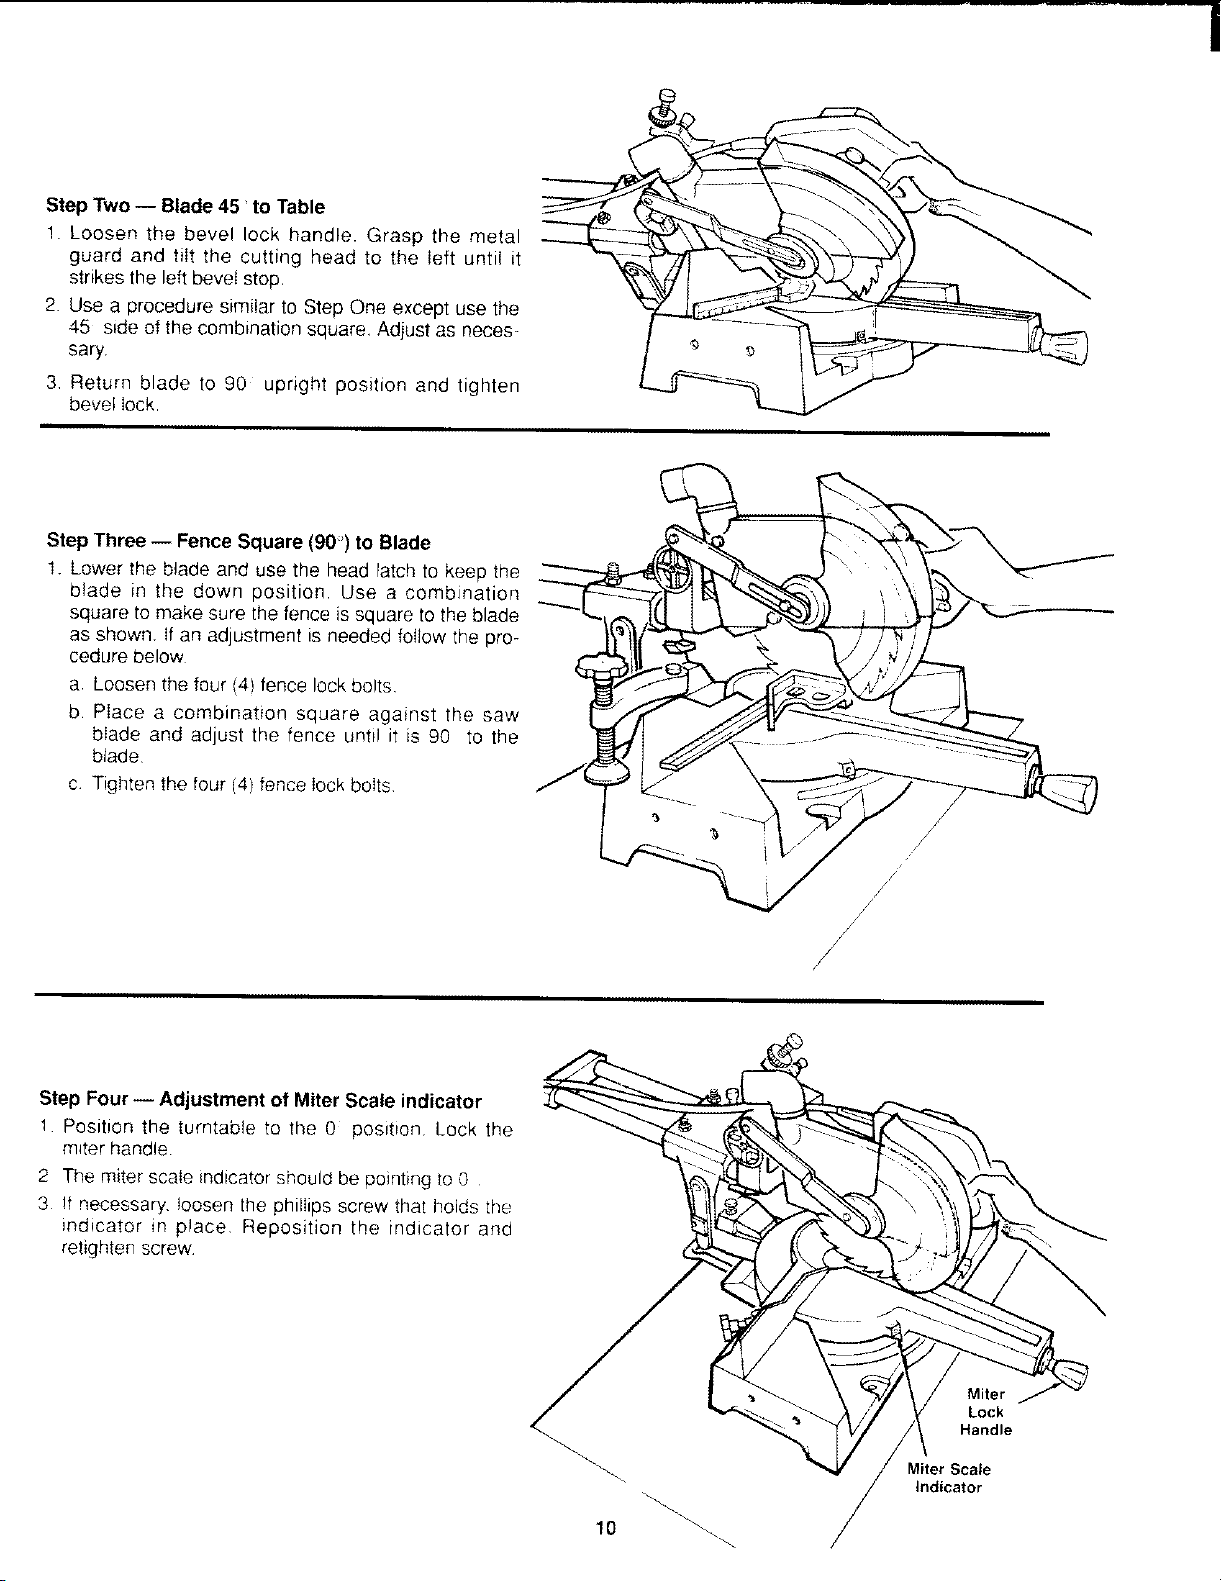
Step Four- Adjustment of Miter Scale indicator
1 Position the turntable to the 0 position Lock the
m_terhandle
2 The miter scale indicator should be pointing to 0
3 !f necessary, loosen the phillips screw that holds the
indicator in place Reposition the indicator and
retighten screw
10 /
Miter
Lock
Handle
Miter Scale
Indicator
Loading ...
Loading ...
Loading ...