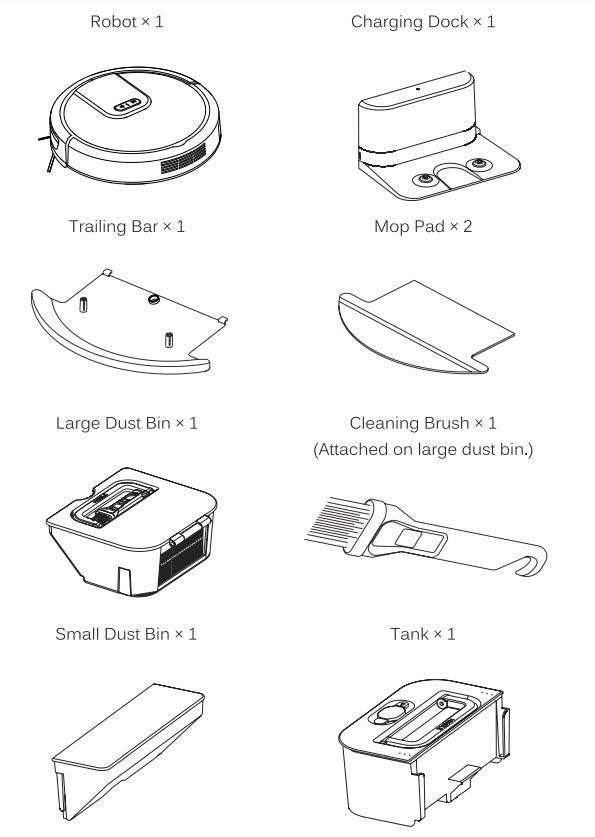
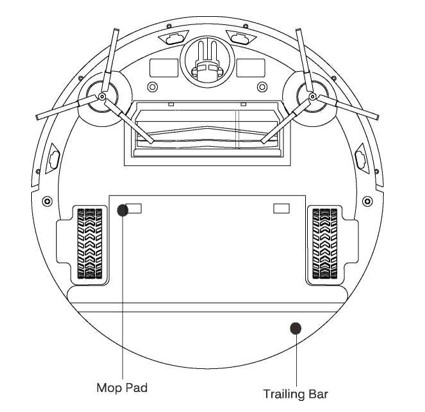
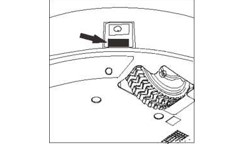
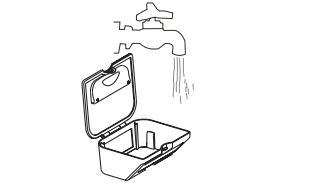
Robot comes with one of the mop pads and the trailing bar already installed. The trailing bar’s main function is to attach the mop pad to the robot and is located underneath the mop pad.
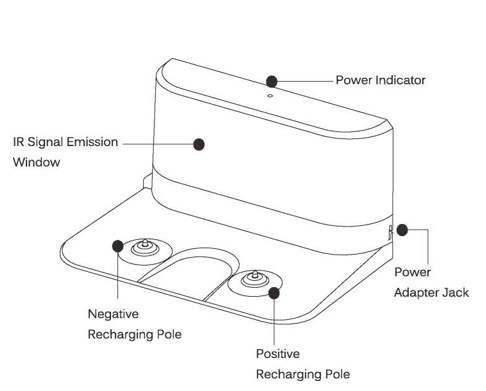
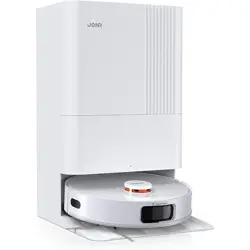
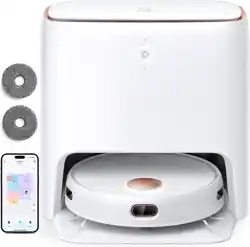
Charging Dock
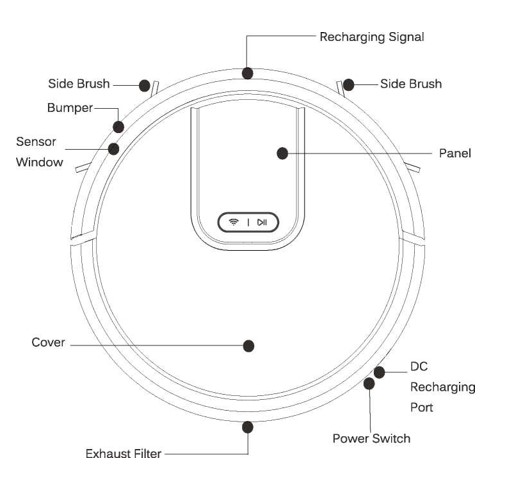
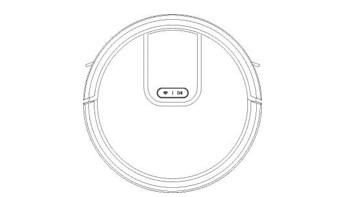
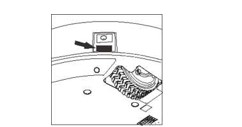
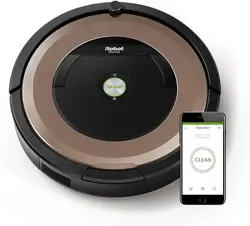
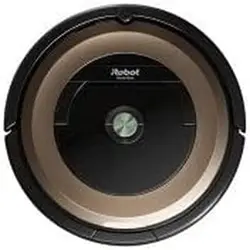
Panel
Automatic Cleaning- Press this button while in standby mode and the robot will begin to clean. Press this button while the robot is cleaning to stop the cleaning session. This button blue light is normal on means the robot is working.
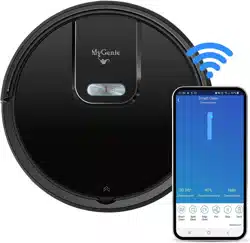
WIFI Button- Press and hold this button while in standby mode then you can hear a sound beep and the WIFI button is blinking, the robot will enter WIFI mode. (see the WIFI manual)
l>ll button is normal on means the robot is in stand by mode
This two button light is off means the robot enter to the sleep mode or the robot is charged full.
Before You Start
The following steps must take place before a cleaning session is to occur.
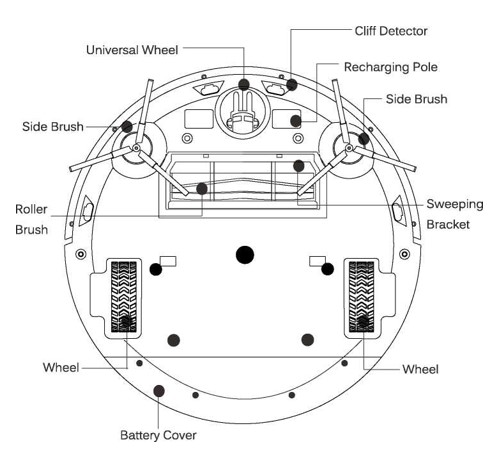
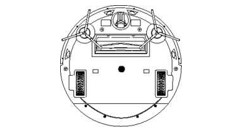
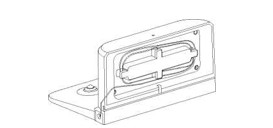
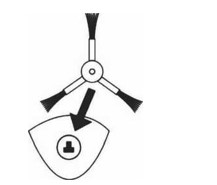
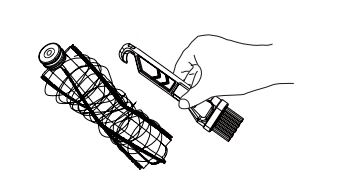
1. Side Brush Installation
1. Ensure that the robot’s power is off. Turn off the power by flipping the power switch on the side of the robot.
2. Gently pick up the robot and lay it with its wheels facing up.
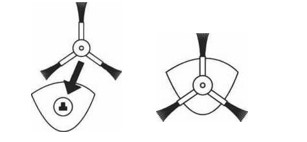
3. Position the side brush with the square hole pointed down and the brush bristles angled up. Align the square hole on the underside of the side brush to the square spoke located inside the hollow semicircle next to the universal wheel. Push down until a click is heard.
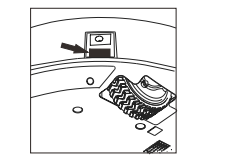
2. Charging Dock Setup
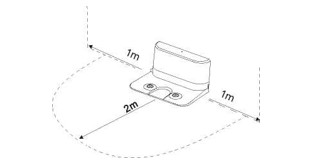
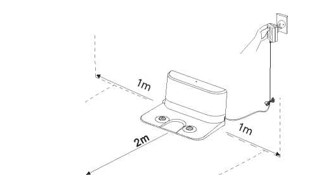
1. Place the charging dock in a position flat on the ground with the back pushed up against a wall. There should be no other objects or obstructions two meters in front of and one meter to the left, right and above the charging dock.
If the IR signal emission window is blocked, the robot will be unable to locate the charging dock station. 2. Connect the power adapter to the power adapter jack on the charging dock.
3. Locate an electrical outlet on the wall close to the ground and plug in the power adapter. The power indicator on top of the charging dock will emit a red light.
4. Tidy the excess cord from the power adapter by wrapping it around the prongs on the back side of the charging dock.
-The cord should not be on the ground or obstructing the charging dock as it will result in the robot being unable to find the charging dock. -The charging dock should always be plugged in to ensure charging when needed.
Cleaning Options
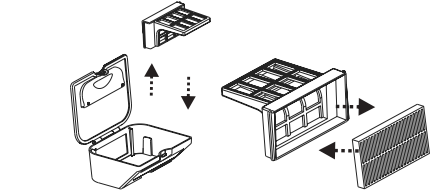
Robot possesses two distinct cleaning methods: dry and wet cleaning. The dry cleaning method involves a vacuum sweep cleaning perfect for both hard flooring and low-pile carpet. Robot’s strong suction will trap debris, hair and allergens. On the other hand, the wet cleaning method showcases a vacuum and mop cleaning perfect for all hard floorings. With a programmable tank to protect floors, Robot will vacuum and collect dirt and debris seconds before mopping.
Dry Cleaning
Vacuum Sweep Cleaning - A dry vacuum-sweep cleaning method that collects and traps dirt and debris from the help of the side brushes and strong suction. Suitable for all types of flooring.
Set up the charging dock in an approved position (see “Charging Dock Station Setup” on page 12). Ensure the power cord connected to the charging dock is not laying on the ground.
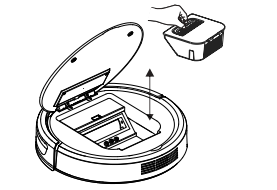
Insert the large dust bin (see “Installation of the Large Dust Bin” on page 18).
Tidy up the room being cleaned including moving small objects and obstacles.
Place robot on the ground, flip the power switch on the side or press the (§