Loading ...
Loading ...
Loading ...
BEVEL RIPPING
This cut is the same as ripping exceptthe blade
bevel angle isset to an angle other than 0°.
Cut only with the workpiece and the fence on
the right side of the blade.
RIPPING SMALL PIECES
Avoid injury from blade contact. Never make
through-saw cuts narrower than 1/2 inch wide.
1.
2.
It is unsafe to rip small pieces. Instead, rip a larger
piece to obtain the size of the desired piece.
When a small width is to be ripped and your hand
cannot be safely put between the blade and the rip
fence, use one or more push sticks to move the
workpiece.
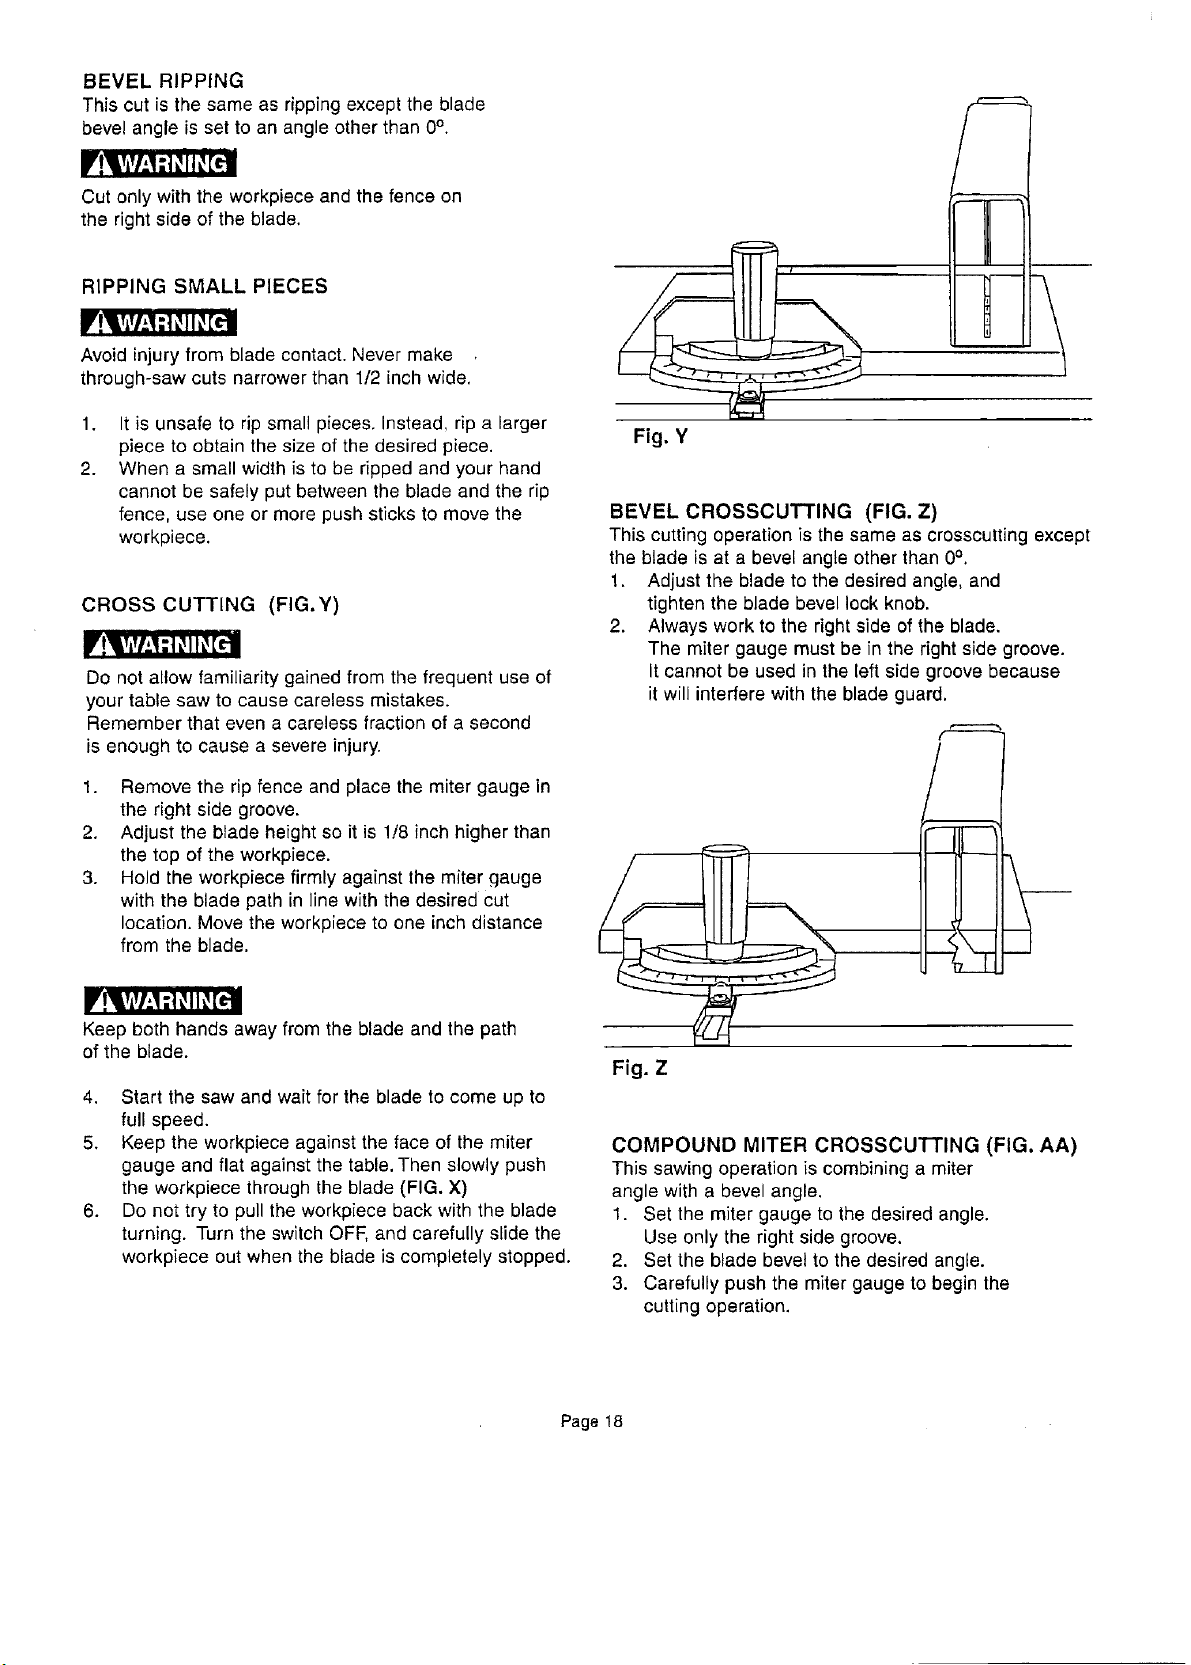
CROSS CUTTING (FIG.Y)
Do not allow familiarity gained from the frequent use of
your table saw to cause careless mistakes.
Remember that even a careless fraction of a second
is enough to cause a severe injury.
1. Remove the rip fence and place the miter gauge in
the right side groove.
2. Adjust the blade height so it is 1/8 inch higher than
the top of the workpiece.
3. Hold the workpiece firmly against the miter gauge
with the blade path in line with the desired cut
location. Move the workpiece to one inch distance
from the blade.
Keep both hands away from the blade and the path
of the blade.
4, Start the saw and wait for the blade to come up to
full speed.
5. Keep the workpiece against the face of the miter
gauge and flat against the table, Then slowly push
the workpiece through the blade (FIG. X)
6. Do not try to pull the workpiece back with the blade
turning. Turn the switch OFF, and carefully slide the
workpiece out when the blade is completely stopped.
BEVEL CROSSCUTTING (FIG. Z)
This cutting operation is the same as crosscutting except
the blade is at a bevel angle other than 0°.
1. Adjust the blade to the desired angle, and
tighten the blade bevel lock knob.
2. Always work to the right side of the blade.
The miter gauge must be in the right side groove.
It cannot be used in the left side groove because
it will interfere with the blade guard.
COMPOUND MITER CROSSCUTTING (FIG, AA)
This sawing operation is combining a miter
angle with a bevel angle.
1. Set the miter gauge to the desired angle.
Use only the right side groove.
2. Set the blade bevel to the desired angle.
3. Carefully push the miter gauge to begin the
cutting operation.
Page 18
Loading ...
Loading ...
Loading ...