Loading ...
Loading ...
Loading ...
10
2. Secure the bottom of the duct with (2) 4 x 8 mm screws.
Complete Installation
1. For non-vented (recirculating) installations only, install
charcoal lters over metal grease lter. See the “Range
HoodCare” section.
2. Install metal lters. See the “Range Hood Care” section.
3. Check the operation of the range hood blower and light.
Seethe “Range Hood Use” section.
NOTE: To get the most efcient use from your new range hood,
read the “Range Hood Use” section.
RANGE HOOD USE
The range hood is designed to remove smoke, cooking
vapors,and odors from the cooktop area. For best results,
startthe hood before cooking, and allow it to operate several
minutes after the cooking is complete to clear all smoke and
odors from the kitchen.
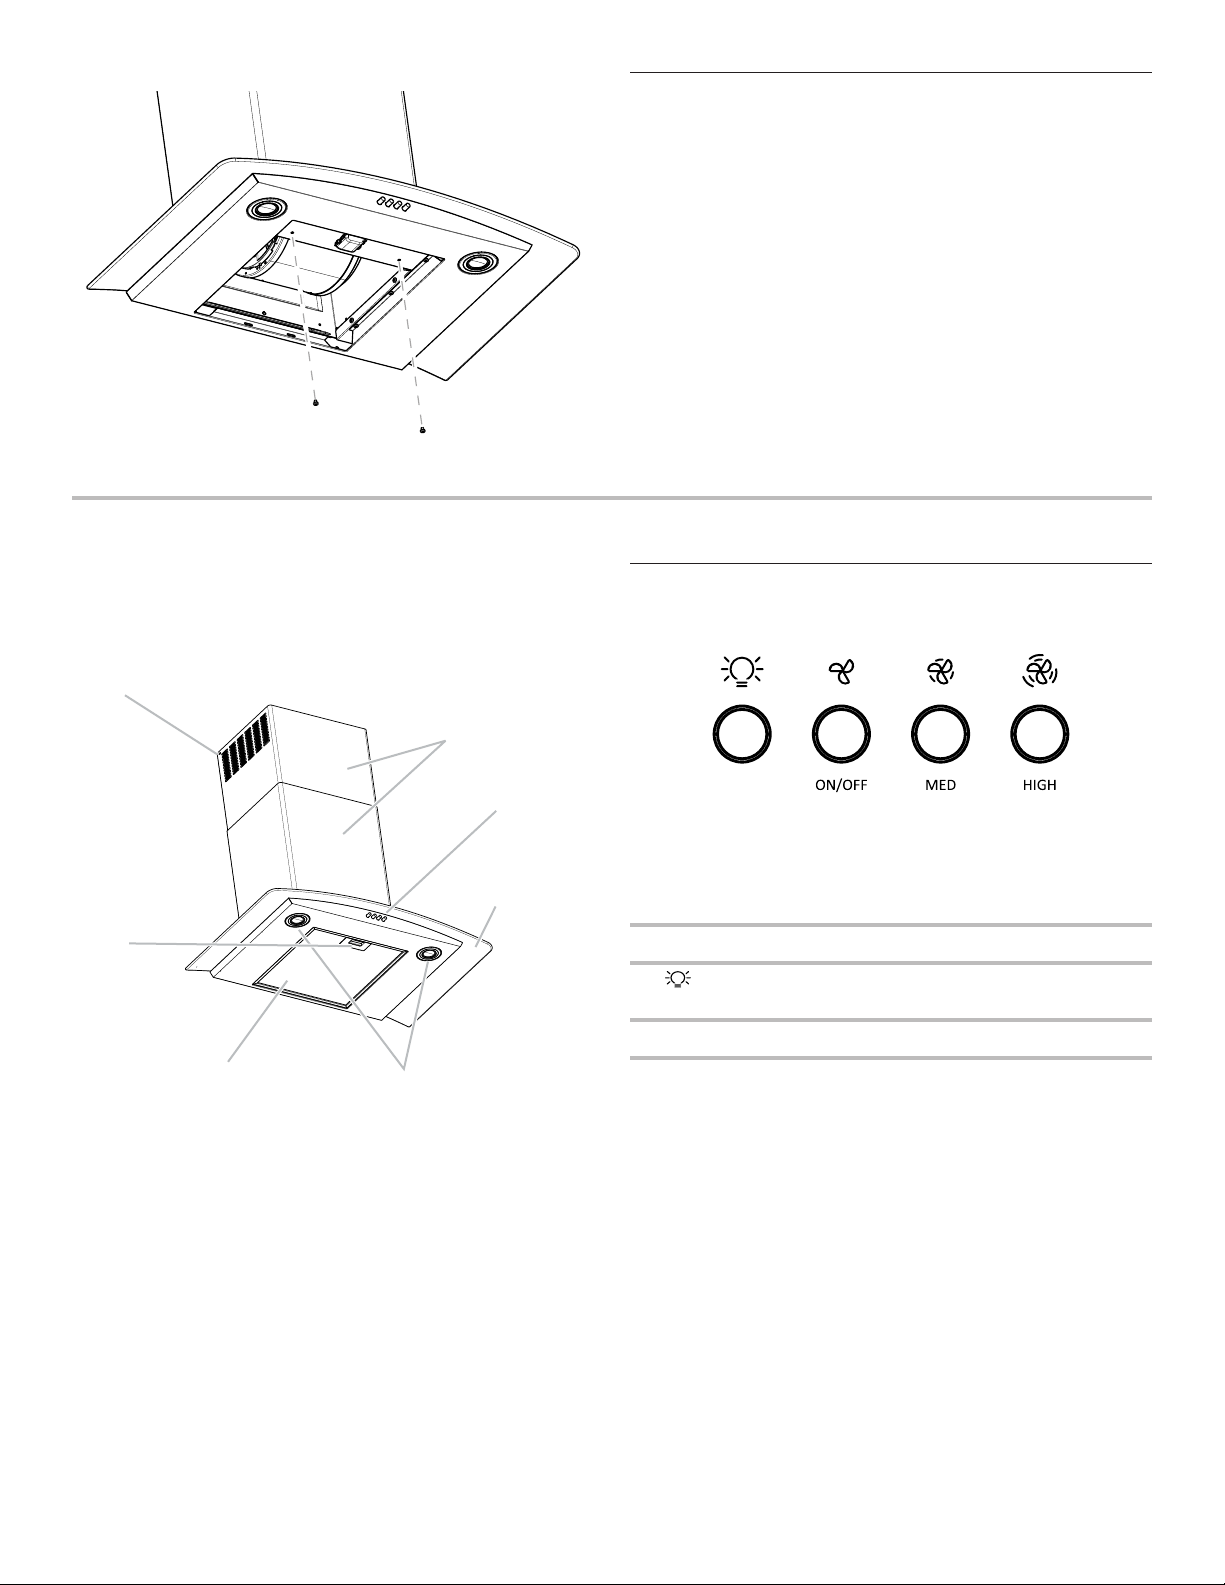
The hood controls are located on the front side of the canopy.
A
B
C
D
F
E
G
A. Duct cover holes
B. Duct cover
C. Control panel
D. Glass canopy
E. Grease lter
F. LED lights
G. Grease lter release
handle
Range Hood Controls
A. Light button
B. Turn the blower on and off
C. Blower speed medium button
D. Blower speed maximum button
A B C D
Operating the light
The button controls both lights. Press once forONand again
for OFF.
Operating the blower
The ON/OFF button turn the blower on and set the blower
minimum speed and sound level for quiet operation. The speed
can be changed anytime during fan operation by pressing the
desired Blower Speed button.
v
Loading ...
Loading ...
Loading ...