Loading ...
Loading ...
Loading ...
Vehicle care 271
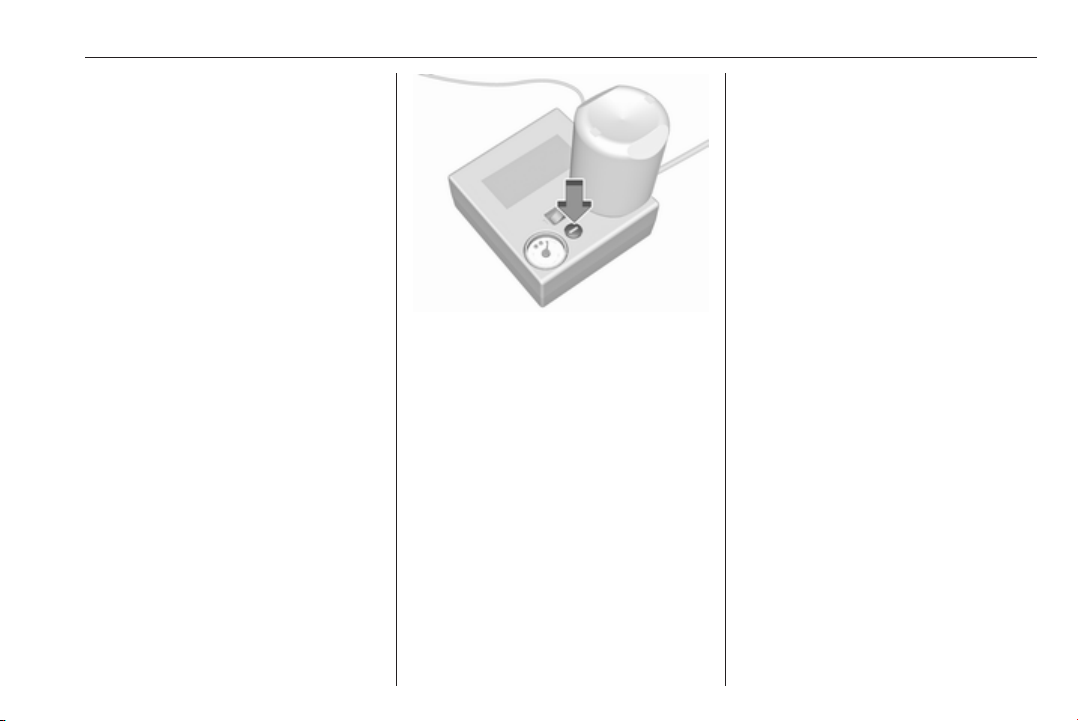
9. The compressor pressure gauge
briefly indicates up to 6 bar whilst
the sealant bottle is emptying
(approx. 30 seconds). Then the
pressure starts to drop.
10. All of the sealant is pumped into
the tyre. Then the tyre is inflated.
11. The prescribed tyre pressure
should be obtained within
10 minutes. Tyre pressure
3 301. When the correct pressure
is obtained, switch off the
compressor.
Do not run the compressor longer
than 10 minutes.
Type 1: if the tyre pressure is not
obtained within 10 minutes,
remove the tyre repair kit. Move
the vehicle one tyre rotation.
Reattach the tyre repair kit and
continue the filling procedure for
10 minutes. Check tyre pressure
once more. If the prescribed tyre
pressure is still not obtained, the
tyre is too badly damaged. Seek
the assistance of a workshop.
If the pressure is obtained within
10 minutes, correct to the
prescribed tyre pressure by using
the compressor to increase or
decrease with the button over the
pressure indicator.
Type 2: remove tyre repair kit and
drive immediately up to 10 km, but
not longer than 10 minutes. Check
tyre pressure once more. If the
tyre pressure is not obtained,
reattach the tyre repair kit and
continue the filling procedure for
10 minutes. If the prescribed tyre
pressure is still not obtained, the
tyre is too badly damaged. Seek
the assistance of a workshop.
If the pressure is obtained, correct
to the prescribed tyre pressure by
using the compressor to increase
or decrease by opening the air
release valve (turn anticlockwise)
at the air filler hose.
12. Detach the tyre repair kit.
Type 1: push catch on bracket to
remove sealant bottle from
bracket. Screw tyre inflation hose
to the free connection of sealant
bottle. This prevents sealant from
escaping.
Type 2: Sealant bottle can not be
removed from the compressor.
Have the sealant bottle replaced
by your workshop.
13. Stow tyre repair kit in the load
compartment.
14. Remove any excess sealant
using a cloth.
15. Take the label indicating
maximum permitted speed from
the sealant bottle and affix in the
driver's field of view.
16. Continue driving immediately so
that sealant is evenly distributed
in the tyre. After driving approx.
Loading ...
Loading ...
Loading ...