Loading ...
Loading ...
Loading ...
English
89
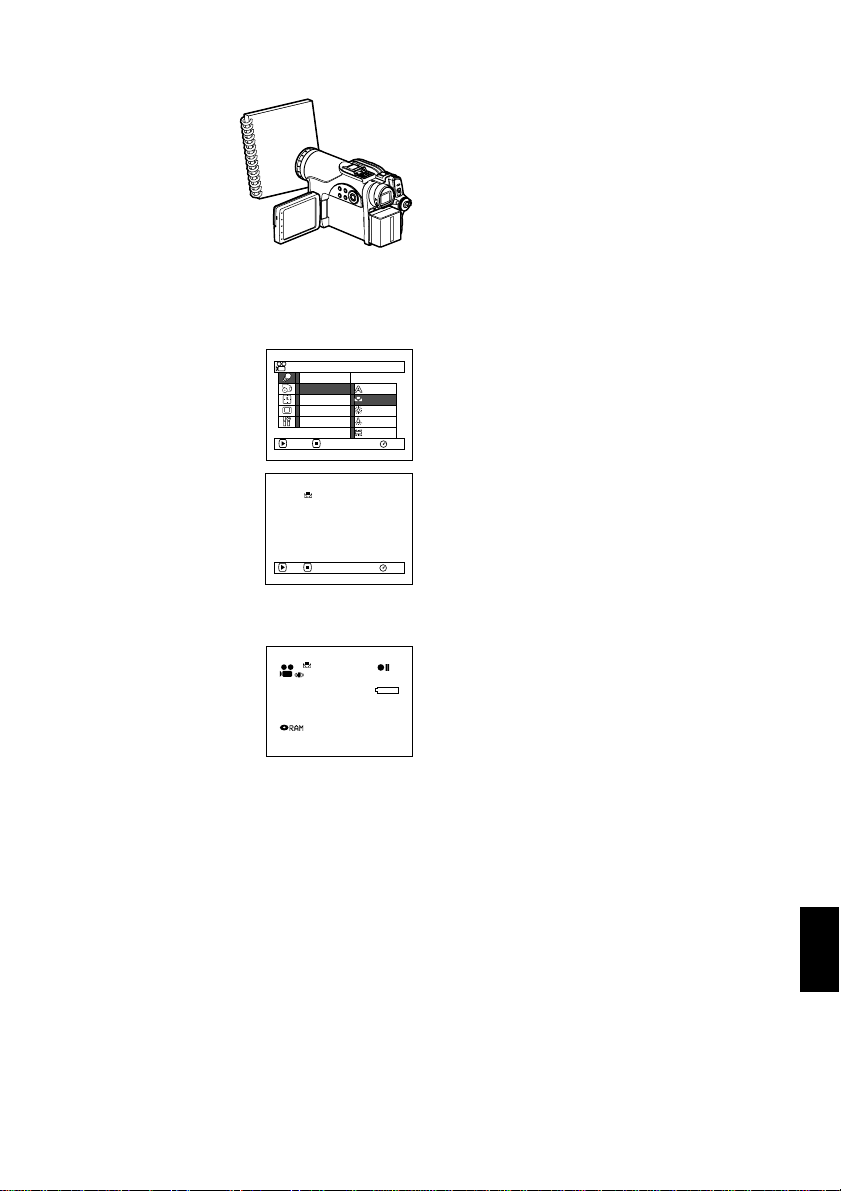
●Setting white balance manually
1Point the DVD
video camera/
recorder at a white
object so that it fills
the screen. Use an
object that is not
transparent.
If focus is not
correct when the
white object fills the screen, manually focus
the object, referring to “Manually Focusing
Subject” (see page 72).
2Press the MENU
button, choose “White
Bal.”, “Set”, and then
press the A button.
3Hold A pressed until
the “h” indicator
changes from blinking
to a steady light. When
the “h” indicator
lights, the white balance
setting will be
complete.
4Press the C button to
end the setting.
Note:
• The white balance set using the “Set” option will be
stored in memory until it is re-set.
• Do not use a colored object when setting the white
balance: The appropriate tint cannot be set.
• If “Input Source: LINE, S-LINE” has been specified,
you cannot use the “Set” mode of white balance
(p. 94).
• The setting on white balance “Set” may not be
possible in a dark place. Also, the white balance
cannot be set when the zoom bar is in the digital
zoom range (p. 56). In such status, the “h” indicator
will remain blinking. Set the white balance in a bright
place with “Dig. Zoom Off” specified.
• If the recording conditions have changed, re-set the
white balance for appropriate colors.
• The setting will be stored in memory even when the
DVD video camera/recorder is turned off: The “h”
indicator will blink when the DVD video camera/
recorder is turned on next time. Re-set the white
balance as needed.
Thick paper
Set
Outdoor
RAM
Progra
m
AE
W
hi te Bal.
Dig .Zoo
m
EIS
ENTER RETURN
Auto
Indoor 1
Indoor 2
MIC.Fi lter
Camera Funct i ons Setup
RAM
Set EXIT
3 0 MIN
0:00:00
REM
FINE
8:00AM
9/30/2005
Loading ...
Loading ...
Loading ...