Loading ...
Loading ...
Loading ...
English
129
1
ARRANGING ORDER OF SCENES (MOVE)
You can move scenes only when “Category: All” is specified.
1Press the DISC NAVIGATION button.
2Press the MENU button.
3Use “Operating Menu” (p. 64) to choose
“Switch” on the “PlayList” menu screen, and
then press the A button.
Select the play list to be edited, and then press
the A button.
4Select the scene to be moved.
You can also select multiple scenes (see pages
106 and 119).
5Press the MENU button.
6Choose “Scene”, “Edit”,
“Move”, and then press
the A button.
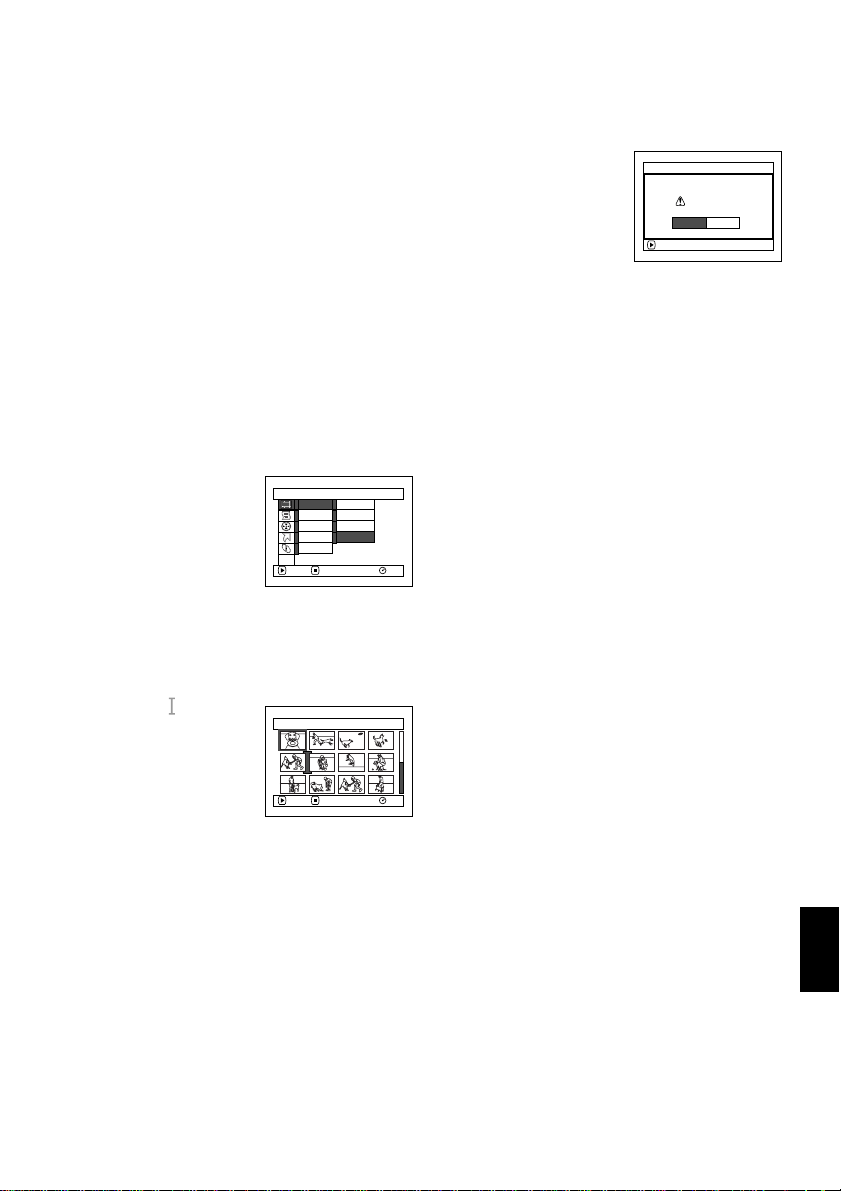
7The “Move Scenes”
screen will appear: If
you are sure you want
to move the scene, press the A button.
If you want to change the scene selected in
step 4, you can do it on this screen.
8Move the “ ” mark to
the position where you
wish to move the scene,
and then press the A
button.
9The screen for verifying
move will appear:
Choose “YES”, and then
press the A button.
Choose “NO” to cancel
move.
After Yes or No setting, the scene select screen
will be restored.
Repeat steps 7 – 9 to move another scene.
10Press the C button to quit.
Note:
• If you press the MENU button before pressing the
A button in step 7, the submenu screen will appear
(p. 111).
• You can also move multiple scenes (p. 106).
• Only scenes on play list can be moved.
Scene
RAM
ENTER RETURN
Ed i t
Effect
Copy
Select
Detai l
Divide
De le t e
Comb i ne
M
ove
ETC
Select Insert Point 006/019
RAM
ENTER RETURN
ENTER
Move scenes?
Move Scene
YES NO
Loading ...
Loading ...
Loading ...