Loading ...
Loading ...
Loading ...
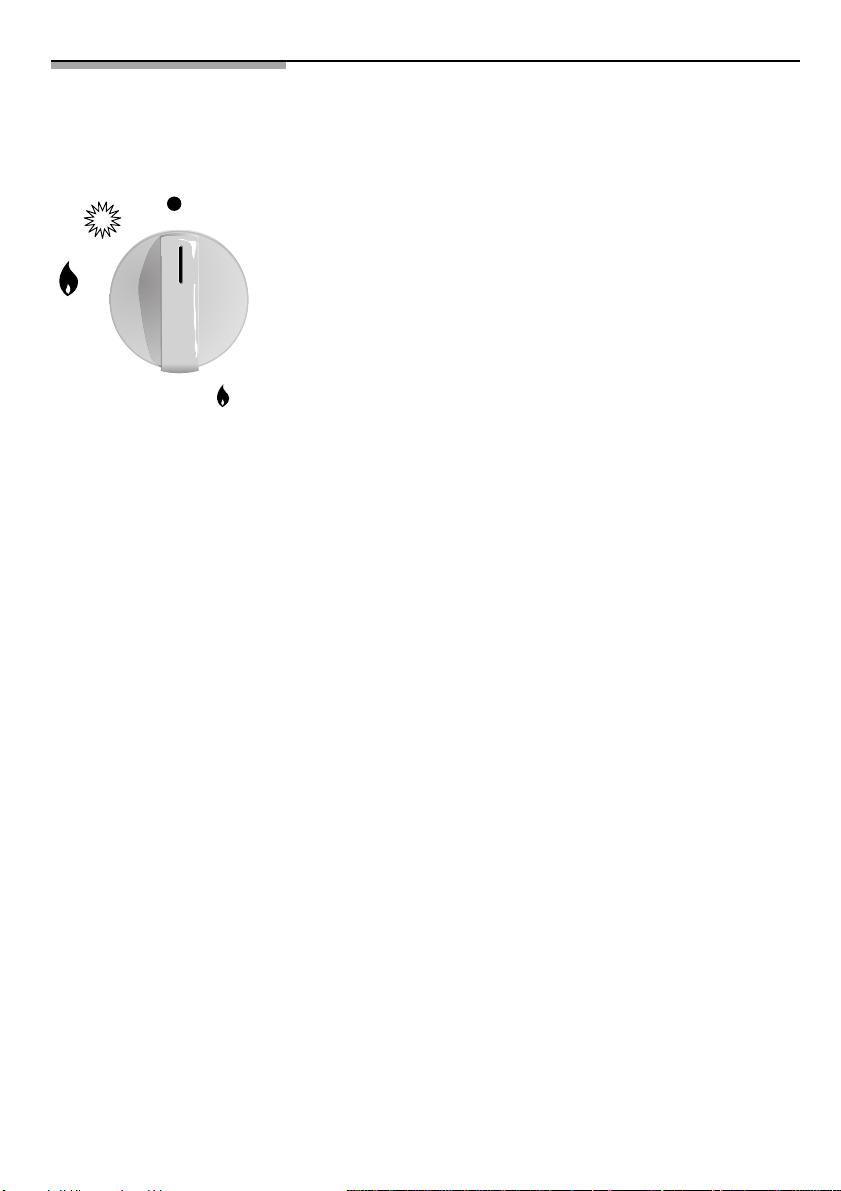
Gas burners
Each control knob indicates which burner it controls.
fig 1.
To light a burner, push in the knob for the burner you
wish to use and turn it in an anti-clockwise direction to
the lighting position. Hold the knob at the maximum
position for a few seconds until the burner ignites and
then release and set the knob to the desired setting. If
the burner does not light at the first attempt, repeat the
operation.
If your hob does not come with any kind of automatic
ignition system, then light the burners with a naked flame
(cigarette lighter, matches, etc.).
If the spark plugs are dirty, then a fault may occur in the
ignition system. Keep them completely clean. Clean the
spark plugs using a small brush, remembering that the
plugs must not receive any kind of violent impact.
If your hob is equipped with burners with safety valves
which prevent gas from being released should the burners
accidentally go out, proceed to light as described above,
but keep the control knob pressed in until the burners
light and then for a few more seconds once alight. If
complete ignition does not occur, repeat the operation
keeping the knob pressed in for approx. 10 seconds
To turn the burners off, turn the control knob in a
clockwise direction to the 0 setting.
Your modern functional hob is equipped with progressive
valves which permit you to find the perfect flame setting
between maximum and minimum.
Depending on the model that you have purchased, your
hob may come with a triple-flame burner, the perfect
system for cooking paellas, using woks, etc.
Gas appliances create both heat and humidity in the
room they are used in. Make sure that your kitchen is
properly ventilated: keep natural ventilation outlets open
or install a mechanical ventilation system (extractor fan).
When using your appliance for a prolonged period of
time, it may be necessary to provide additional ventilation
e.g. by opening a window (without creating a draught)
or turning up the setting on your mechanical ventilation
system.
fig 1.
6
Loading ...
Loading ...
Loading ...