Loading ...
Loading ...
Loading ...
Basic Operation
-35
3 Press , , or on
the remote control to select the
INPUT mode.
•
After pressing once on the projector,
use
to select the desired input mode.
Note
•When no signal is received, “NO
SIGNAL.” will be displayed. When a
signal that the projector is not pre-
set to receive is received, “NOT
REG.” will be displayed.
• When “Auto Search” is “ON”, the
INPUT modes with signals can be
selected. (see page 64.)
• The INPUT mode is not displayed
when “OSD display” is set to “Level
A” or “Level B”. (see page 65.)
About the INPUT modes
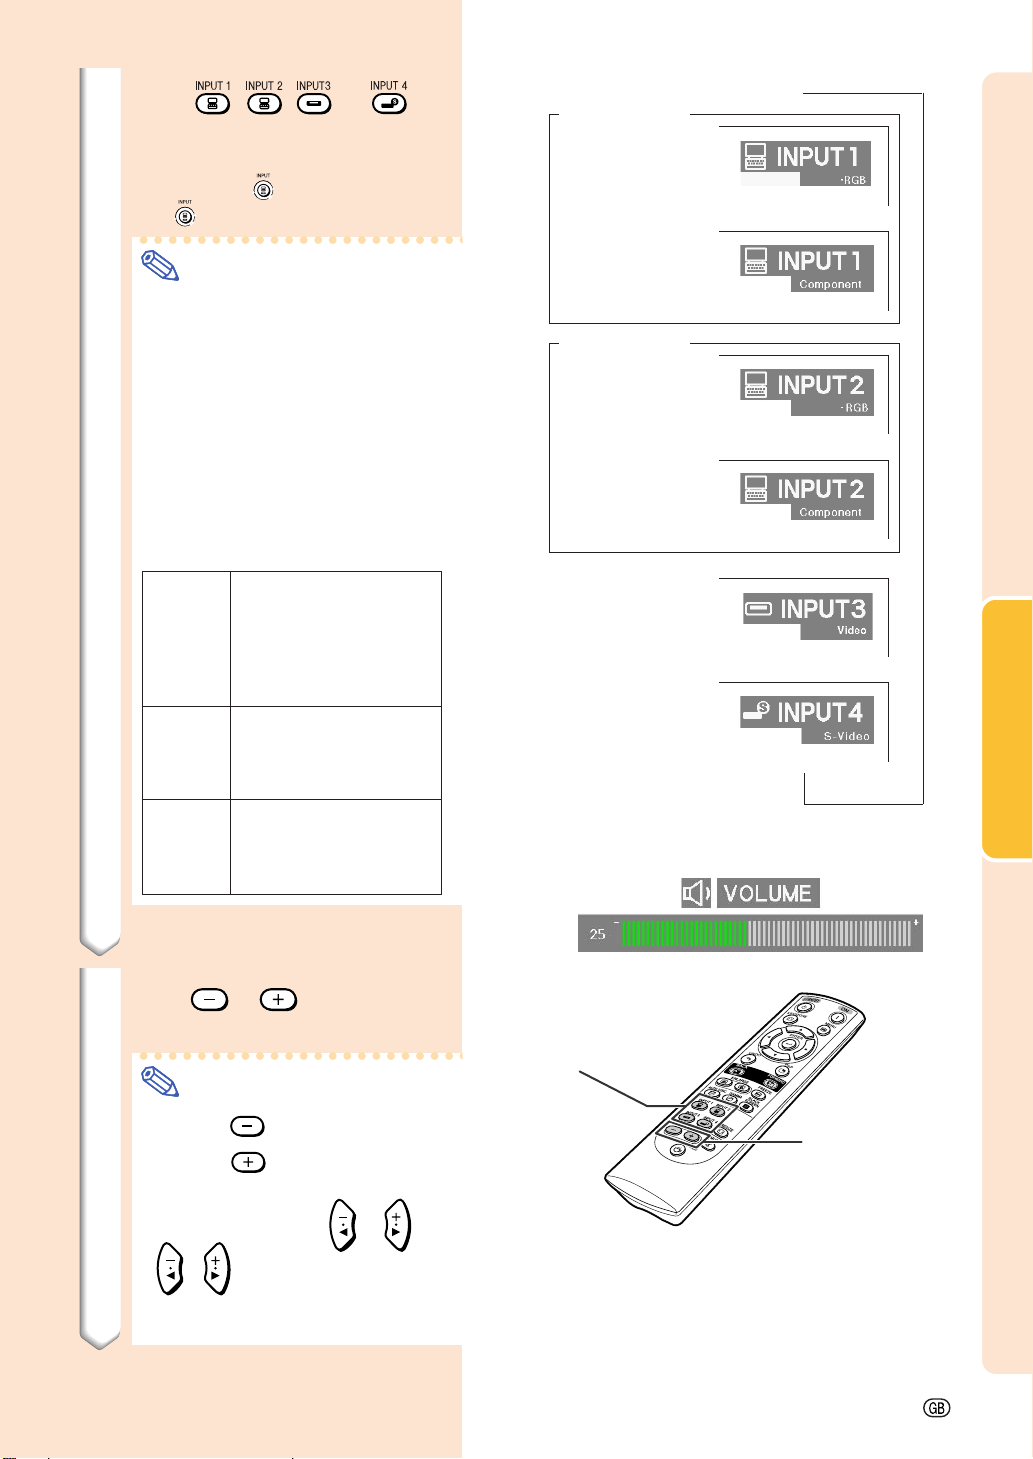
VOLUME
buttons
4 Press or on the remote
control to adjust the volume.
Note
• Pressing will lower the volume.
Pressing will raise the volume.
• On the projector, the volume can be
adjusted by pressing
or .
•
, on the projector operate
as cursor buttons (\, |) when the
menu screen is active.
"On-screen Display (Example)
Using RGB
Using
Component
INPUT 2 mode
Using
Component
INPUT 1 mode
INPUT 3 mode
Using Video
INPUT 4 mode
Using S-Video
Using RGB
➝
➝➝
➝
Used for projecting im-
ages from equipment that
sends RGB signals or
component signals con-
nected to the RGB input
terminal.
Used for
projecting
im-
ages
from equipment
connected to the VIDEO
input terminal.
Used for projecting im-
ages from equipment
connected to the S-
VIDEO input terminal.
INPUT 1
INPUT 2
(RGB/
Component)
INPUT 3
(Video)
INPUT 4
(S-Video)
INPUT
buttons
Loading ...
Loading ...
Loading ...