Loading ...
Loading ...
Loading ...
80
BeforeUse
BasicGuide
AdvancedGuide
CameraBasics
AutoMode
OtherShooting
Modes
PMode
PlaybackMode
SettingMenu
Wi-FiFunctions
Accessories
Appendix
Index
• Once you have connected to devices via the Wi-Fi menu, recent destinations
willbelistedrstwhenyouaccesstheWi-Fimenu.Youcaneasilyconnect
again by pressing the [
][ ] buttons to choose the device and then pressing
the [
] button. To add a new device, display the device selection screen by
pressing the [
][ ]buttons,andthencongurethesetting.
• If you prefer not to display recent target devices, choose MENU (=
21)►
[
]tab►[Wirelesssettings]►[Wi-FiSettings]►[TargetHistory]►[Off].
• You can also change the camera nickname on the screen in step 2 (=
78).
• When the camera is connected to a computer, the camera screen is blank.
• Mac OS: If CameraWindow is not displayed, click the [CameraWindow] icon
in the Dock.
• To disconnect from the camera, turn off the camera.
• If you chose [PIN Method] in step 6, a PIN code will be displayed on the
screen. Be sure to set this code in the access point. Choose a device in the
[Select a Device] screen. For further details, refer to the user manual included
with your access point.
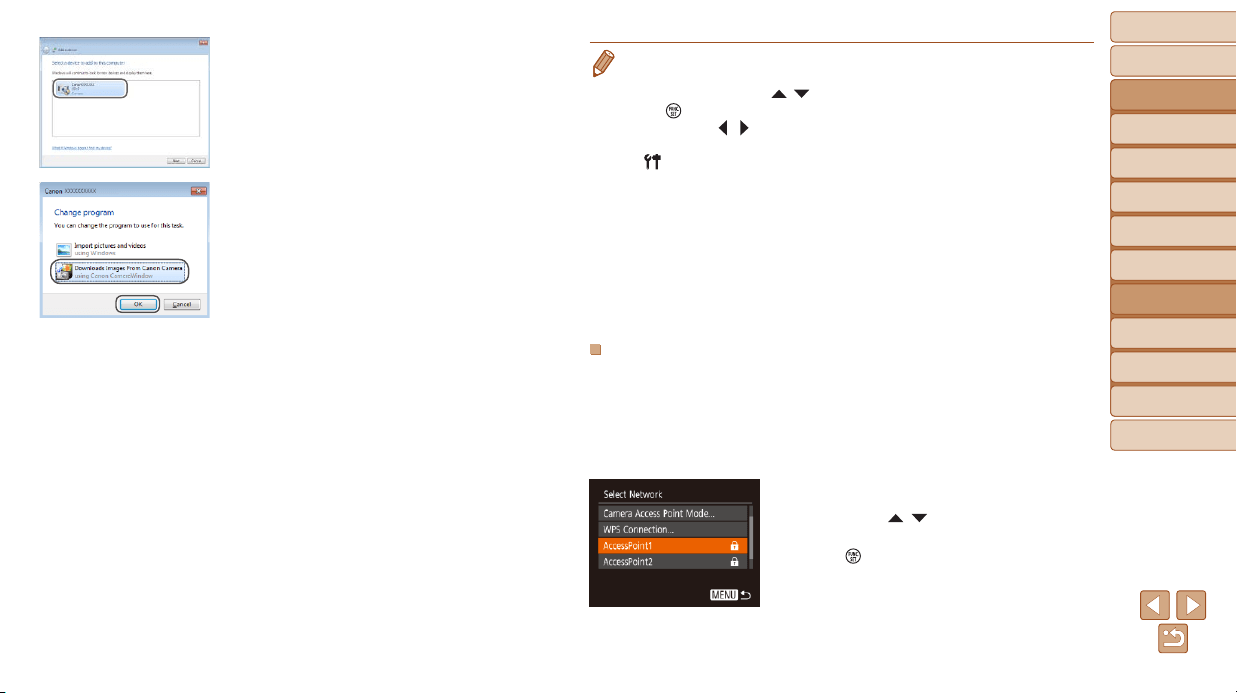
ConnectingtoListedAccessPoints
1 Viewthelistedaccesspoints.
View the listed networks (access points)
as described in steps 1 – 4 of “Using
WPS-Compatible Access Points”
(=
78).
2 Chooseanaccesspoint.
Press the [ ][ ] buttons to choose a
network (access point), and then press
the [
] button.
Double-click the connected camera icon.
Driver installation will begin.
After driver installation is complete, and
the camera and computer connection
is enabled, the AutoPlay screen will be
displayed. Nothing will be displayed on
the camera screen.
10
DisplayCameraWindow.
Windows: Access CameraWindow by
clicking [Downloads Images From Canon
Camera].
Mac OS: CameraWindow is automatically
displayed when a Wi-Fi connection is
established between the camera and
computer.
11
Importimages.
Click [Import Images from Camera], and
then click [Import Untransferred Images].
Images are now saved to the Pictures
folder on the computer, in separate
folders named by date.
Click [OK] in the screen that is displayed
after image import is complete.
To view images you save to a computer,
use preinstalled or commonly available
software compatible with images
captured by the camera.
Loading ...
Loading ...
Loading ...