Loading ...
Loading ...
Loading ...
29
BeforeUse
BasicGuide
AdvancedGuide
CameraBasics
AutoMode
OtherShooting
Modes
PMode
PlaybackMode
SettingMenu
Wi-FiFunctions
Accessories
Appendix
Index
• Moving the zoom lever will display the zoom bar (which indicates
the zoom position). The zoom bar is color-coded to indicate the
zoom range.
- White range: optical zoom range where the image will not appear
grainy.
- Yellow range: digital zoom range where the image is not noticeably
grainy (ZoomPlus).
- Blue range: digital zoom range where the image will appear grainy.
Because the blue range will not be available at some recording pixel
settings (=
34), the maximum zoom factor can be achieved by
following step 1.
• Zoomed images may look grainy under some recording pixel
settings (=
34) and zoom factors. In this case, the zoom factor is
shown in blue.
Still Images
Auto Zooming in Response to Subject
Movement (Auto Zoom)
The camera automatically zooms in and out to keep a detected face
(=
24) at a constant size. If the person moves closer, the camera
automatically zooms out, and vice versa.
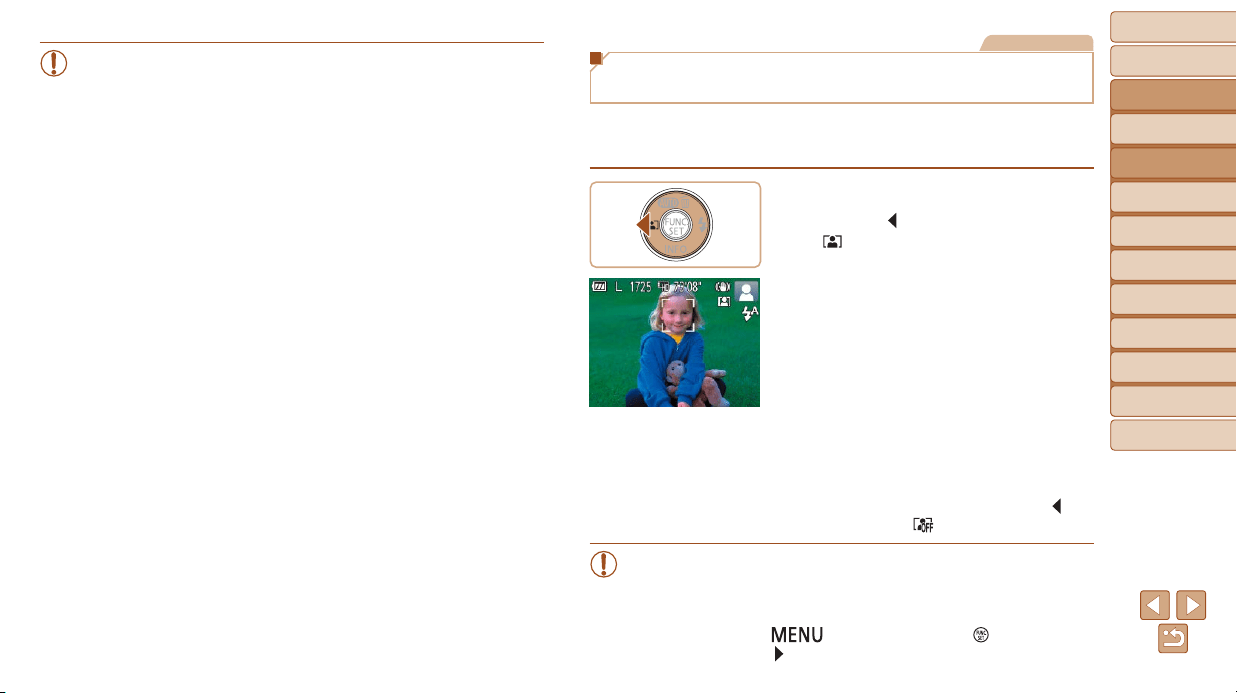
1 EnterAutoZoommode.
Press the [ ] button.
[ ] is displayed.
A white frame is displayed around the
detected face, and the camera zooms
in and out to keep the subject on the
screen.
When multiple faces are detected, a
white frame is displayed around the main
subject’s face and up to two gray frames
around other faces, as the camera zooms
to keep these subjects on the screen.
2 Shoot.
Auto zooming continues even after you
shoot, and the frames are still displayed.
To cancel auto zooming, press the [ ]
button again. [
] is displayed.
• Faces may not be detected at some zoom factors, or if the subject’s
head is tilted or facing the camera indirectly.
• Auto zooming is deactivated in the following situations.
- When you change the shooting mode
- When you press the [
] button, movie button, or [ ] button
- When you press the [
] button
Loading ...
Loading ...
Loading ...