Loading ...
Loading ...
Loading ...
Installing and Composition
16
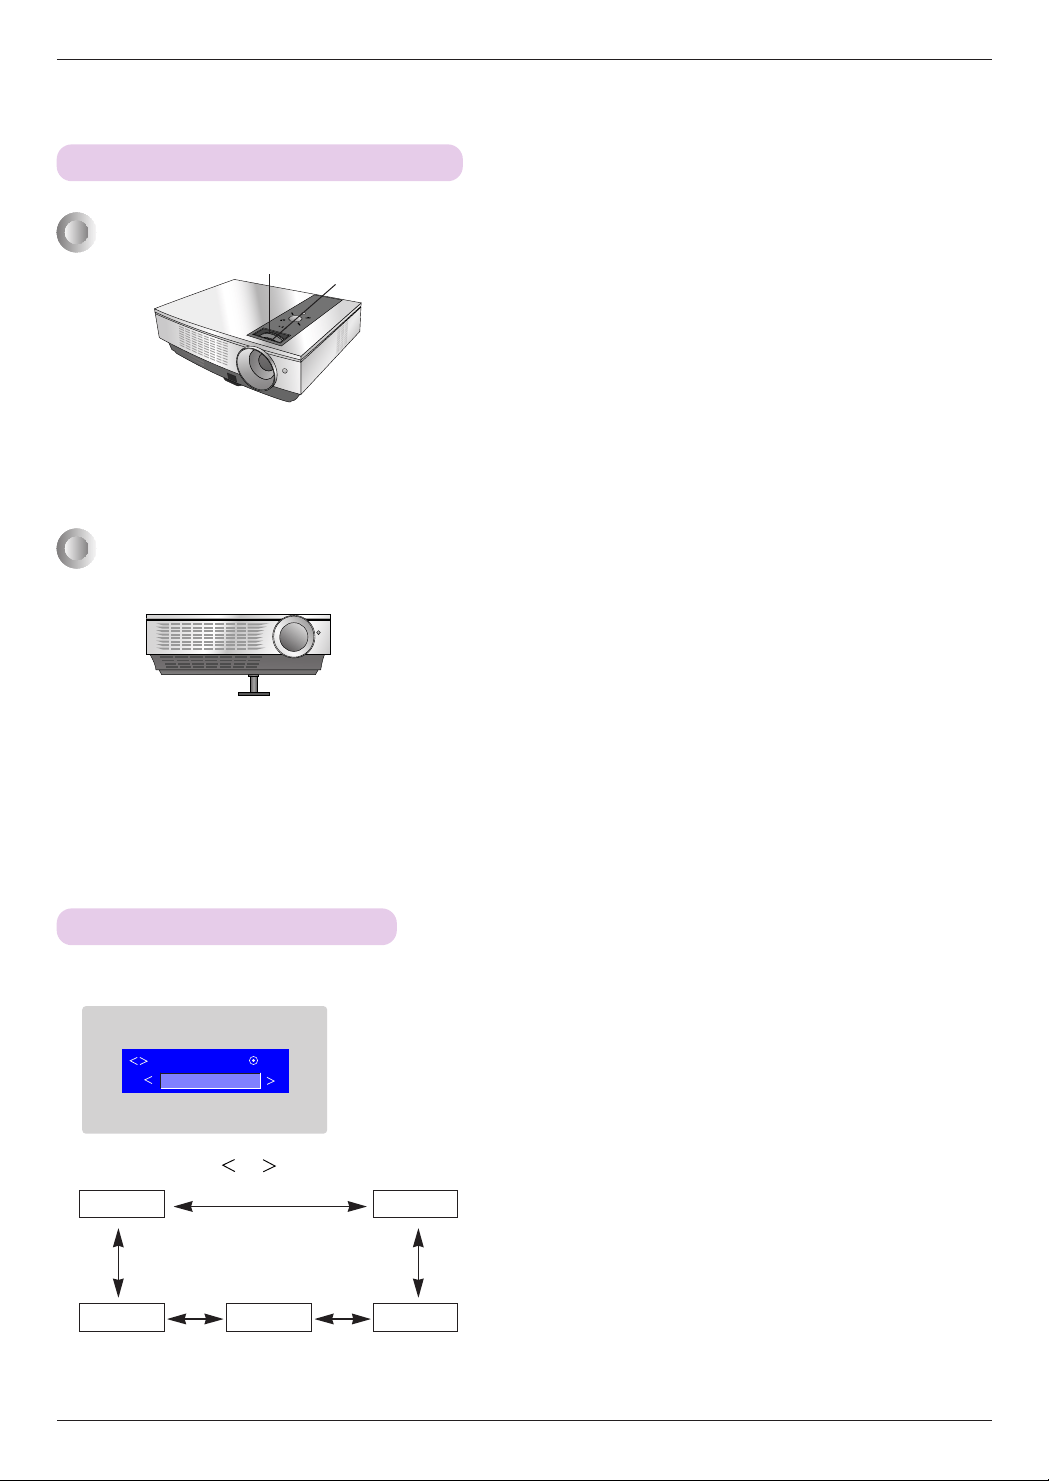
1. While pressing the foot adjusting button, raise or lower the projector to place the screen image in the proper position.
2. Release the button to lock the foot in its new position.
3. Turn the foot at the back left or right to make a fine tune of the length of the projector.
After raising the front foot, do not press down on the projector.
When an image appears on the screen, check if it is in focus and fits well to the screen.
● To adjust the focus of the image, rotate the focus ring which is the outer ring on the lens.
● To adjust the size of the image, rotate the zoom ring which is the inner ring on the lens.
Focus ring
Zoom ring
Focus and Position of the Screen Image
Selecting source mode
1. Press the SOURCE button on the remote control or the control panel.
2. Each press of the , button changes the display as below.
To raise or lower the image on the screen, extend or retract the foot at the bottom of the projector
by pushing foot adjusting button as below.
RGB1 RGB2
HDMIS-Video Video
RGB1
Select OK
Loading ...
Loading ...
Loading ...