Loading ...
Loading ...
Loading ...
Connecting 13
Connecting
2
Additional Information for HDMI
y
When you connect a HDMI or DVI compatible
device make sure of the following:
-
Try switching o the HDMI/DVI device and
this unit. Next, switch on the HDMI/DVI
device and leave it for around 30 seconds,
then switch on this unit.
-
The connected device’s video input is set
correctly for this unit.
-
The connected device is compatible with
720x480p, 1280x720p, 1920x1080i or
1920x1080p video input.
y
Not all HDCP-compatible HDMI or DVI devices
will work with this unit.
-
The picture will not be displayed properly
with non-HDCP device.
y
If a connected HDMI device does not accept
the audio output of the unit, the HDMI
device’s audio sound may be distorted or
may not output.
y
When you use HDMI connection, you can
change the resolution for the HDMI output.
(Refer to “Resolution Setting” on page 13)
y
Select the type of video output from the
HDMI OUT jack using [HDMI Color Setting]
option on the [Setup] menu (see page 23).
y
Changing the resolution when the
connection has already been established
may result in malfunctions. To solve the
problem, turn o the unit and then turn it
on again.
y
When the HDMI connection with HDCP
is not veried, TV screen is changed to
black screen. In this case, check the HDMI
connection, or disconnect the HDMI cable.
y
If there are noises or lines on the screen,
please check the HDMI cable (length is
generally limited to 4.5 m(15 ft.)).
,
Note
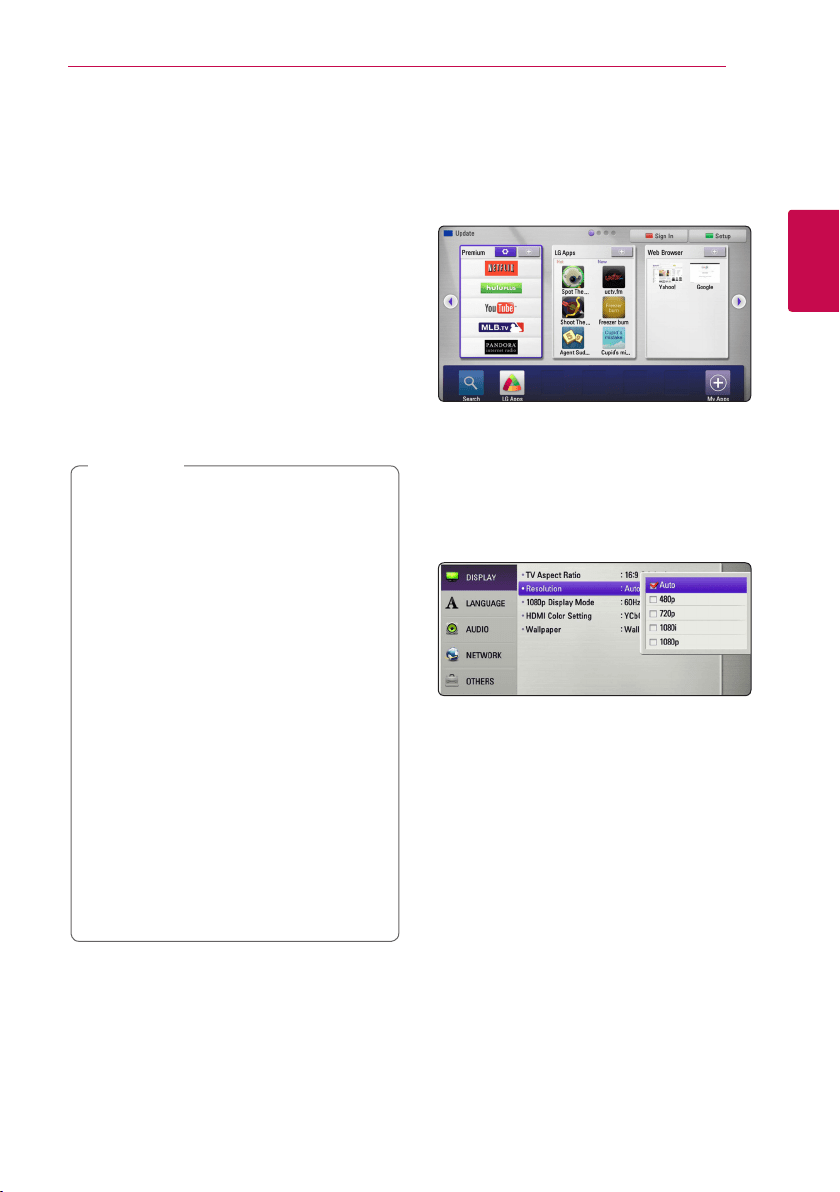
Resolution Setting
The unit provides several output resolutions for
HDMI OUT. You can change the resolution using
[Setup] menu.
1. Press HOME (
n
).
2. Press green (G) colored button. The [Setup]
menu appears.
3. Use
W/S
to select [DISPLAY] option then
press
D
to move to the second level.
4. Use
W/S
to select the [Resolution] option
then press Center button to move to the third
level.
5. Use
W/S
to select the desired resolution then
press Center button to conrm your selection.
Loading ...
Loading ...
Loading ...