Loading ...
Loading ...
Loading ...
14
5
E321MV
Scanning for New or Additional Channels
When a new channel becomes available in your area, you do not have to rescan
all channels to add the new channel. Using the add channel feature, you can
restrict the scan to new channels only.
This is useful because your master channel list settings are preserved.
To scan for new channels:
1. Press the MENU button on the remote.
The on-screen menu is displayed.
2. Use the Arrow buttons on the remote
to highlight the TV icon and press OK.
The TV Settings menu is displayed.
3. Use the Arrow buttons to highlight
Channels and press OK.
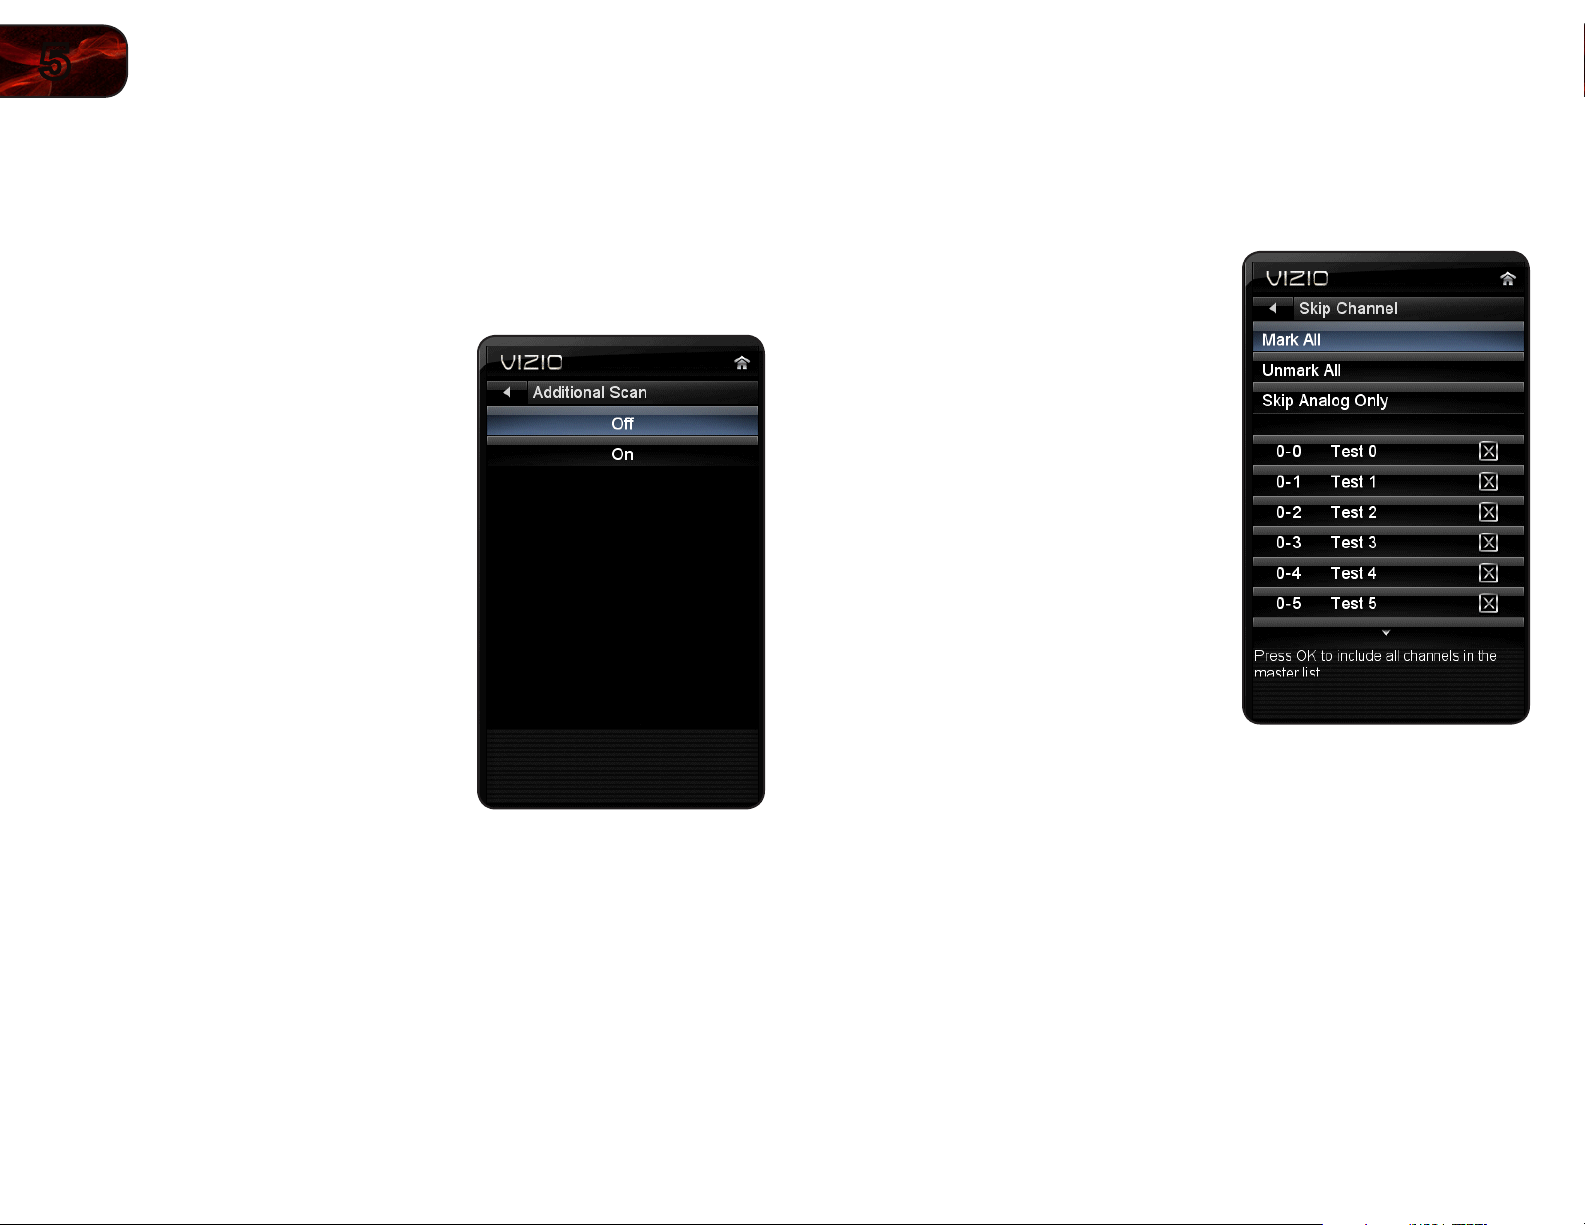
4. Use the Arrow buttons to highlight
Additional Scan.
5. Use the Arrow buttons to change the
option to On.
6. Perform a channel scan. See
Scanning
for Channels
on page 13.
Removing Channels from the Master List
By customizing the master channel list, you can choose which channels can be
displayed. Channels not in the list will not be available when watching broadcast
television.
1. Press the MENU button on the remote.
The on-screen menu is displayed.
2. Use the Arrow buttons on the remote
to highlight the TV icon and press OK.
The TV Settings menu is displayed.
3. Use the Arrow buttons to highlight
Channels and press OK.
4. Use the Arrow buttons to highlight
Skip Channel, then press OK.
The master channel list is displayed.
5. To add a channel to the list, highlight
the channel and press OK. When a
channel is added, a check mark is
displayed next to the channel.
To remove a channel from the list,
highlight the channel and press OK.
When the channel has been removed,
the checkmark is not displayed.
To add all available channels to the list,
highlight Mark All and press OK.
To remove all available channels from
the list, highlight Unmark All and press
OK.
To include only digital channels in the
list, highlight Skip Analog Only and
press OK.
6. Press EXIT.
Loading ...
Loading ...
Loading ...