Loading ...
Loading ...
Loading ...
SEWING THE STITCHES
Utility Stitches
57
3
i
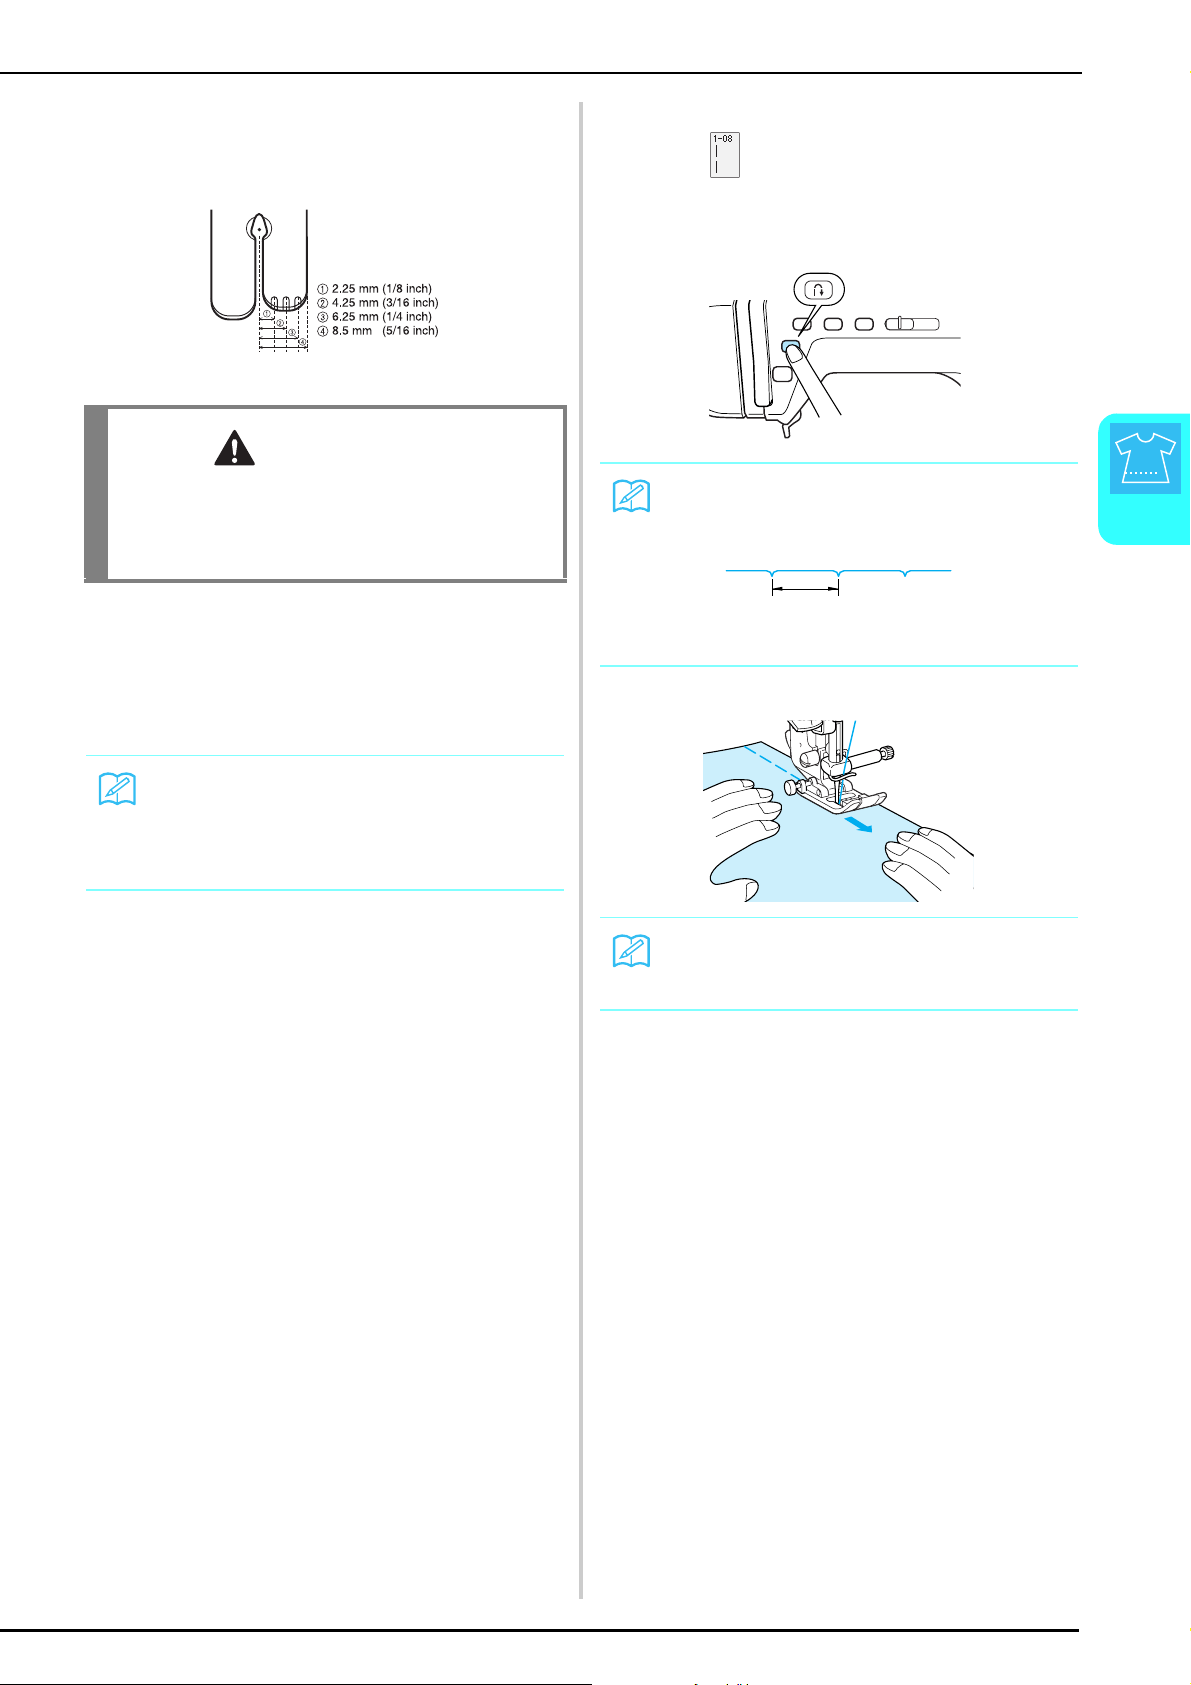
Attach the straight stitch foot and align the
edge of the fabric with a specific marking on
the straight stitch foot.
j
Start sewing.
* After sewing, make sure to remove the straight stitch
needle plate and the straight stitch foot, and reinstall
the regular needle plate, the needle plate cover and
the presser foot "J".
■ Basting
a
Press , and then attach presser foot “J”.
b
Press the “Reverse/Reinforcement Stitch”
button to sew reinforcement stitches at the
beginning of the stitching.
c
Sew while lightly guiding the fabric.
d
End the basting with reinforcement stitches.
CAUTION
• Be sure to turn the handwheel slowly in your
direction before sewing and make sure that the
needle is not contacting the straight stitch foot and
straight stitch needle plate.
Memo
To prevent puckering on fine fabrics, use a fine
needle, size 75/11, and a short stitch length. For
heavier fabrics, use a heavier needle, size 90/14, and
longer stitches.
Memo
The stitch length can be set between 5 mm and 30 mm
(approx. 3/16 and 1-3/16 inches).
a Between 5 mm (approx. 3/16 inch) and 30 mm
(approx. 1-3/16 inches)
Memo
This is easy to do if the foot controller is used
(see page 41).
a
Loading ...
Loading ...
Loading ...