Loading ...
Loading ...
Loading ...
13
b) Secure the cuff with the Velcro fastener, so that it lies comfortably and
not too tight, whereby no space should remain between the cuff and the
arm.
c) Place the arm on a table, with the palm upwards. Support the arm a
little with a rest (cushion), so that the cuff rests at about the same height as the heart. Take care, that
the cuff lies free. Remain so for 2 minutes sitting quietly, before beginning with the measurement.
d) Keep legs uncrossed, feet flat on the floor, back and arm supported.
5.4. Measuring procedure
After the cuff has been appropriately positioned, the measurement can begin:
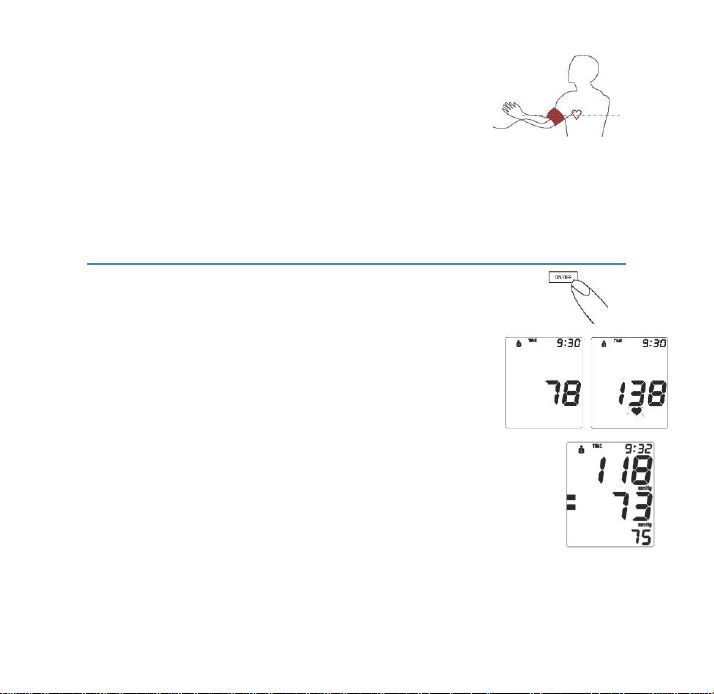
a) Press the ON/OFF button, the pump begins to inflate the cuff. In the display, the
increasing cuff-pressure is continually displayed.
b) After reaching the inflation pressure, the pump stops and the pressure
slowly falls away. The cuff-pressure (large characters) is displayed during
the measurement. When the device has detected the pulse, the heart
symbol in the display begins to blink for every pulse beat. c) When the measurement
has been concluded. The measured systolic and diastolic blood-pressure values as well
as the pulse frequency are now displayed.
Example (Fig.): Systole 118, Diastole 73, Pulse 75
The measurement results are displayed, until you switch the device off. If no button is
pressed for 3 minutes, the device switches automatically off, to save the batteries.
Loading ...
Loading ...
Loading ...