Loading ...
Loading ...
Loading ...
8
Installation of CO
2
Cylinder Support
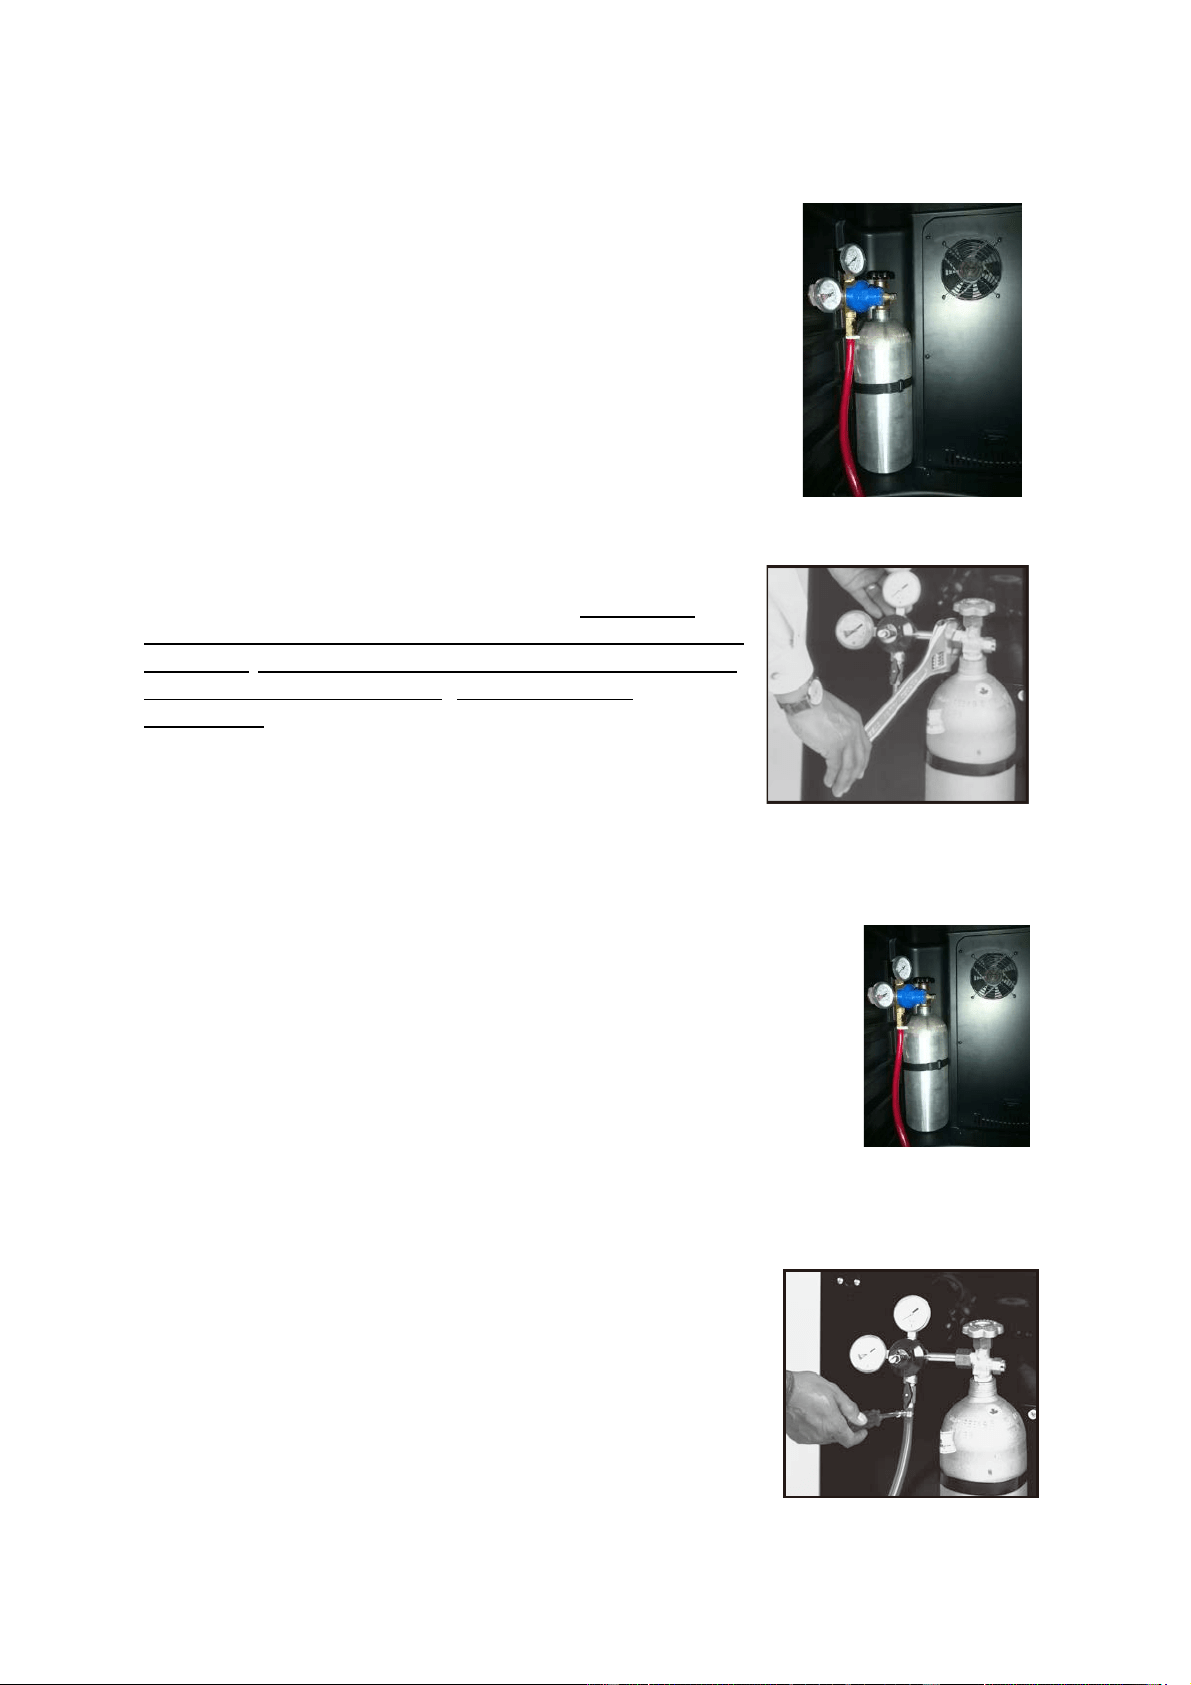
Installation of CO
2
Cylinder:
Install your fully charged CO
2
cylinder
into the support stand. (See Fig. 3)
Figure 3
CO
2
Regulator and CO
2
Cylinder (Figure 4)
Note: Your CO
2
cylinder is shipped empty to avoid any
possible accidents during transportation. When you
purchase the first keg of beer, have your beer distributor
fill the CO
2
cylinder. You must read and understand the
following procedures for CO
2
1. Install the CO
2
gas line tube to the regulator by
attaching one end of the red tube to the hose
connection on the CO
2
regulator.
cylinders before
installation:
2. Secure the tube by using one of the self-locking black
plastic snap-on clamps.
3. Insert a special washer into the regulator-to-cylinder attachment nut.
4. Attach the CO
2
regulator to the CO
2
cylinder by screwing the regulator nut onto the
cylinder valve and tightening with an adjustable wrench.
5. Remove the bolt with the nut from the cylinder retainer. Using
two screws, attach it inside the unit on the left side of the back
wall. Holes are pre-drilled and screws are included.
6. Slide the cylinder through the retainer and secure it with the bolt
and the nut. Position the cylinder this way so that you will be
able to read the numbers on the gauges and easily access the
shut-off valves.
7. Installation of CO
2
Cylinder: Install the fully charged CO
2
cylinder into the support stand. (Figure 5)
Installation of CO
2
Air Line Hose to Regulator
Attach one end of the (red) air line hose to the hose barb
connection on the CO
2
regulator. Secure hose by using
one of the two (self locking) black plastic snap-on clamps
provided. (Use pliers to snap the clamp tight to assure
that there are no leaks.) (Figure 6)
Figure 5
Figure 4
Figure 6
Loading ...
Loading ...
Loading ...