Loading ...
Loading ...
Loading ...
12
DISPENSING BEER
Follow these steps to dispense beer:
1. Make sure the beer dispenser is plugged in properly to a 120V, 60Hz, 15 amp
grounded AC outlet.
2. Place the drip tray under the beer faucet.
3. Open the beer faucet by pulling the tap towards you quickly and completely to
dispense the beer.
4. Increase the pressure if the beer runs too slowly. At the correct pressure and
temperature, a 10-oz glass should be filled in 4 seconds.
5. Hold the glass steady at a 45° angle. When it is 2/3 full, start straightening the
glass. Proper foam should be a tight, creamy head and the collar on an average
glass should be 3/4" to 1" high.
Note: It is normal to see condensation forming on the faucet. It is caused by the
difference in temperature between the cold beer and the inner surfaces of the
faucet when beer is flowing through the line.
OPERATION
Before plugging in your cooler for the first time, remove all packaging, clean the
cooler with a soft rag and a mixture of lukewarm water and baking soda (2 table-
spoons baking soda in 1 quart of water works well) . Wipe dry with soft cloth.
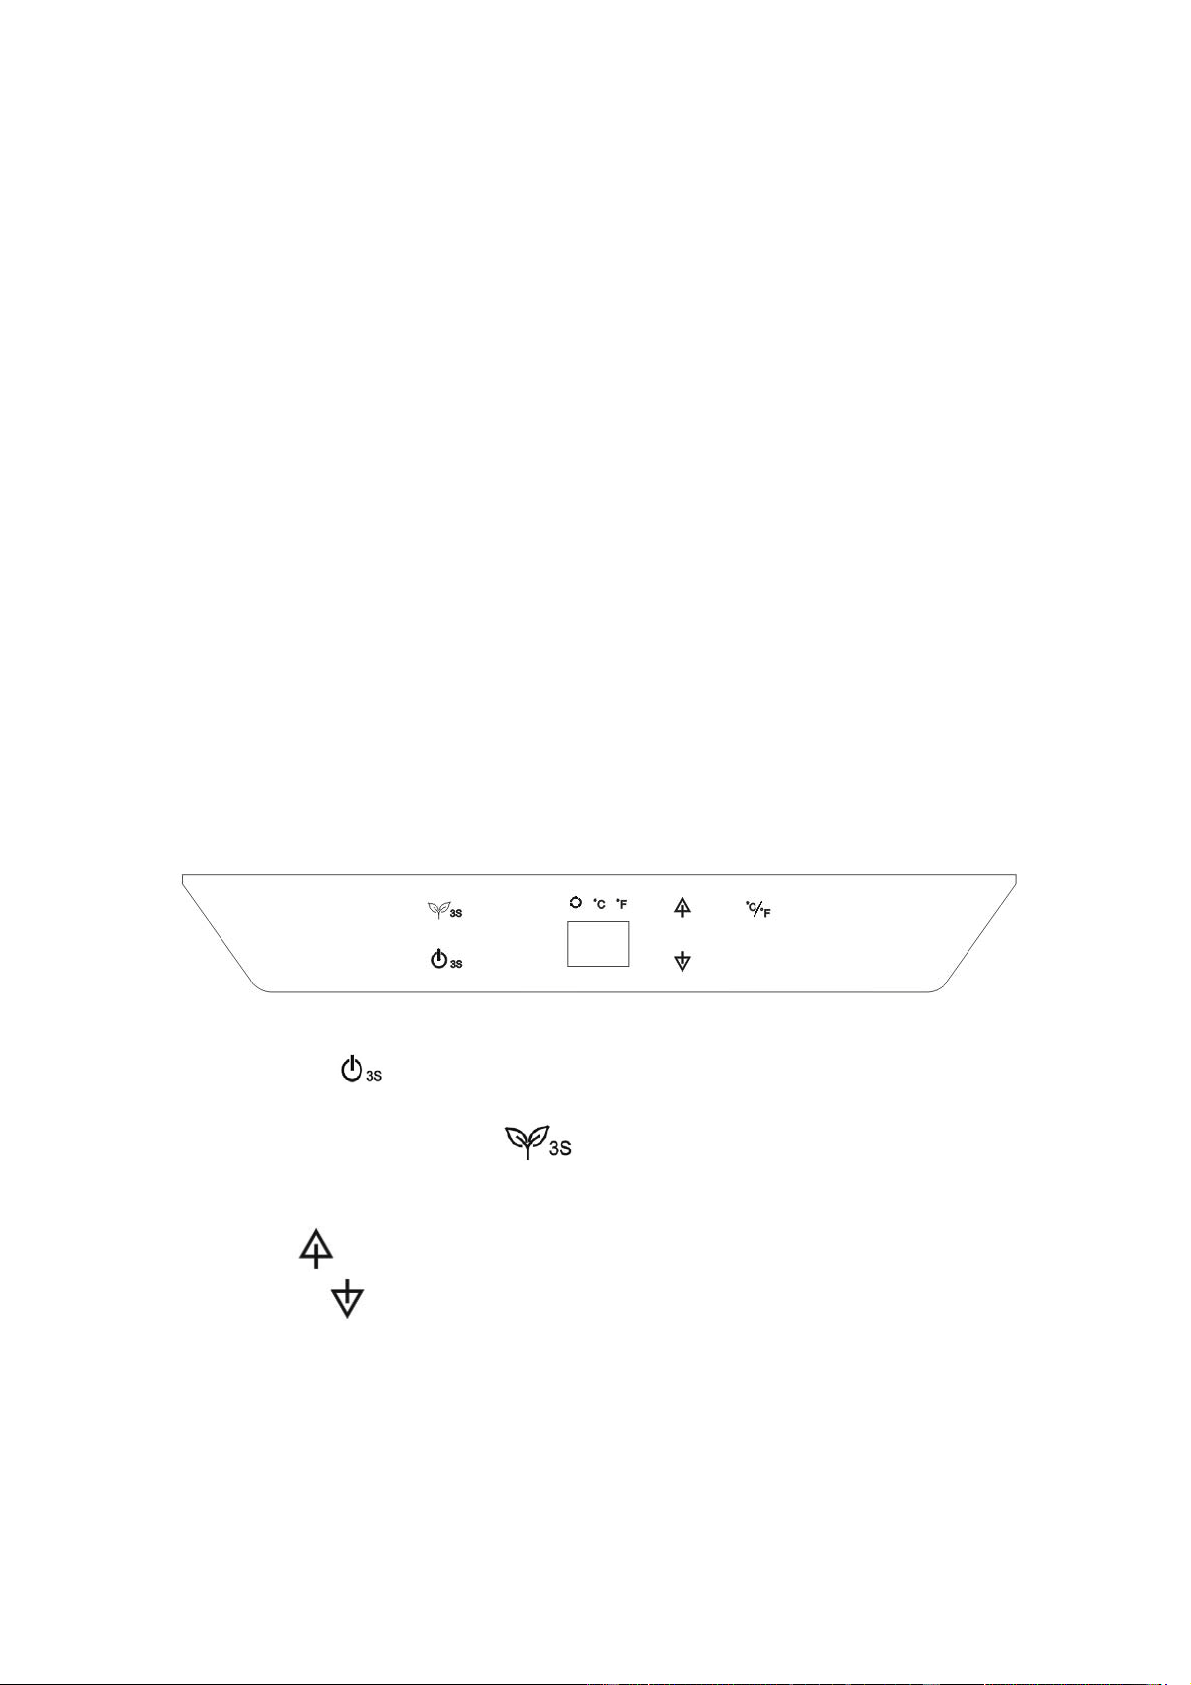
Control Panel
This keg beer dispenser has a temperature range of 32°F to 50°F.
• Power Button : Turns the unit on and off. (Press and hold this button for
approximately 3 seconds.)
• Energy Conservation Button : Pressing this button for 3 seconds will turn
the energy conservation mode ON or OFF. In this mode, the LED light and display
will turn off, and the ºC / ºF light will be on.
• Up Button : Used to raise (warm) the temperature by one degree
Down Button : Used to lower (cool) the temperature by one degree
• °C/°F Button: This unit can display temperatures in either Celsius or Fahrenheit.
To change the scale, press the °C/°F button. A beep will sound and the white light
next to the C or F mode will illuminate.
Loading ...
Loading ...
Loading ...