Loading ...
Loading ...
Loading ...
16
GB
You can customize the remote to match the
components connected to your receiver. You
can even program the remote to control non-
Sony components and also Sony components
that the remote is normally unable to control.
The procedure below uses as an example a case
in which a Aiwa VCR is connected to the
VIDEO2 jacks on the receiver.
Before you begin note that:
– You cannot change the settings of PHONO.
– The remote can control only components that
accept infrared wireless control signals.
Be sure to turn on the receiver and point
the remote towards the receiver when
performing the following procedure.
1 Press RM SET UP.
The set up list appears.
2 Move the easy scroll key to select “IR
SET”, then press the key to enter the
selection.
The IR SET list appears.
3 Move the easy scroll key to select the
input (i.e, the jack name on the rear
panel of the receiver; in this case,
“VIDEO 2”), then press the key to enter
the selection.
The category list appears.
4 Move the easy scroll key to select the
category (i.e., the component that is
actually connected to the
corresponding jacks; in this case,
“VCR”), then press the key to enter the
selection.
The maker list appears.
5 Move the easy scroll key to select the
maker of the component (“Aiwa”, for
example), then press the key to enter
the selection.
When programming the remote to control
Sony component, select “Sony”.
Programming is now completed.
Programming the TV operation
buttons
1 Press RM SET UP.
The set up list appears.
2 Move the easy scroll key to select “IR
SET”, then press the key to enter the
selection.
The IR SET list appears.
Programming the remote
c IR SET
LEARNING
DOWNLOAD
INPUT LIST
<IR SET>
[VIDEO 1 ]
c[VIDEO 2 ]
[VIDEO 3 ]
Category?
cVCR
T V
L D
Maker?
cSony VTR1
Sony VTR2
Sony VTR3
c IR SET
LEARNING
DOWNLOAD
INPUT LIST
<IR SET>
USER2
c TV-KEY
MACRO
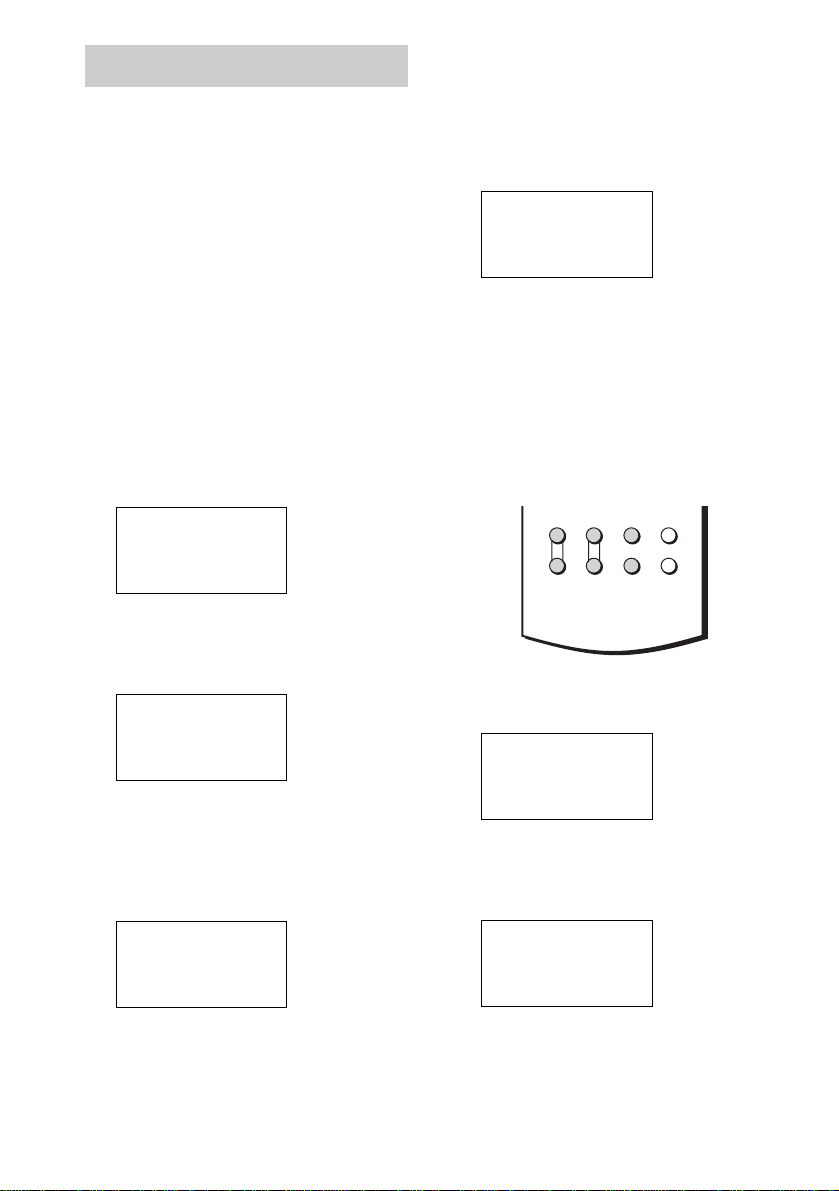
TV VOL TV CH TV/VIDEO
WIDE
MAIN
MENU
ON SCREEN
+
–
+
–
Loading ...
Loading ...
Loading ...