Loading ...
Loading ...
Loading ...
27
ENG
ENGLISH
USER SETTINGS
Picture
1
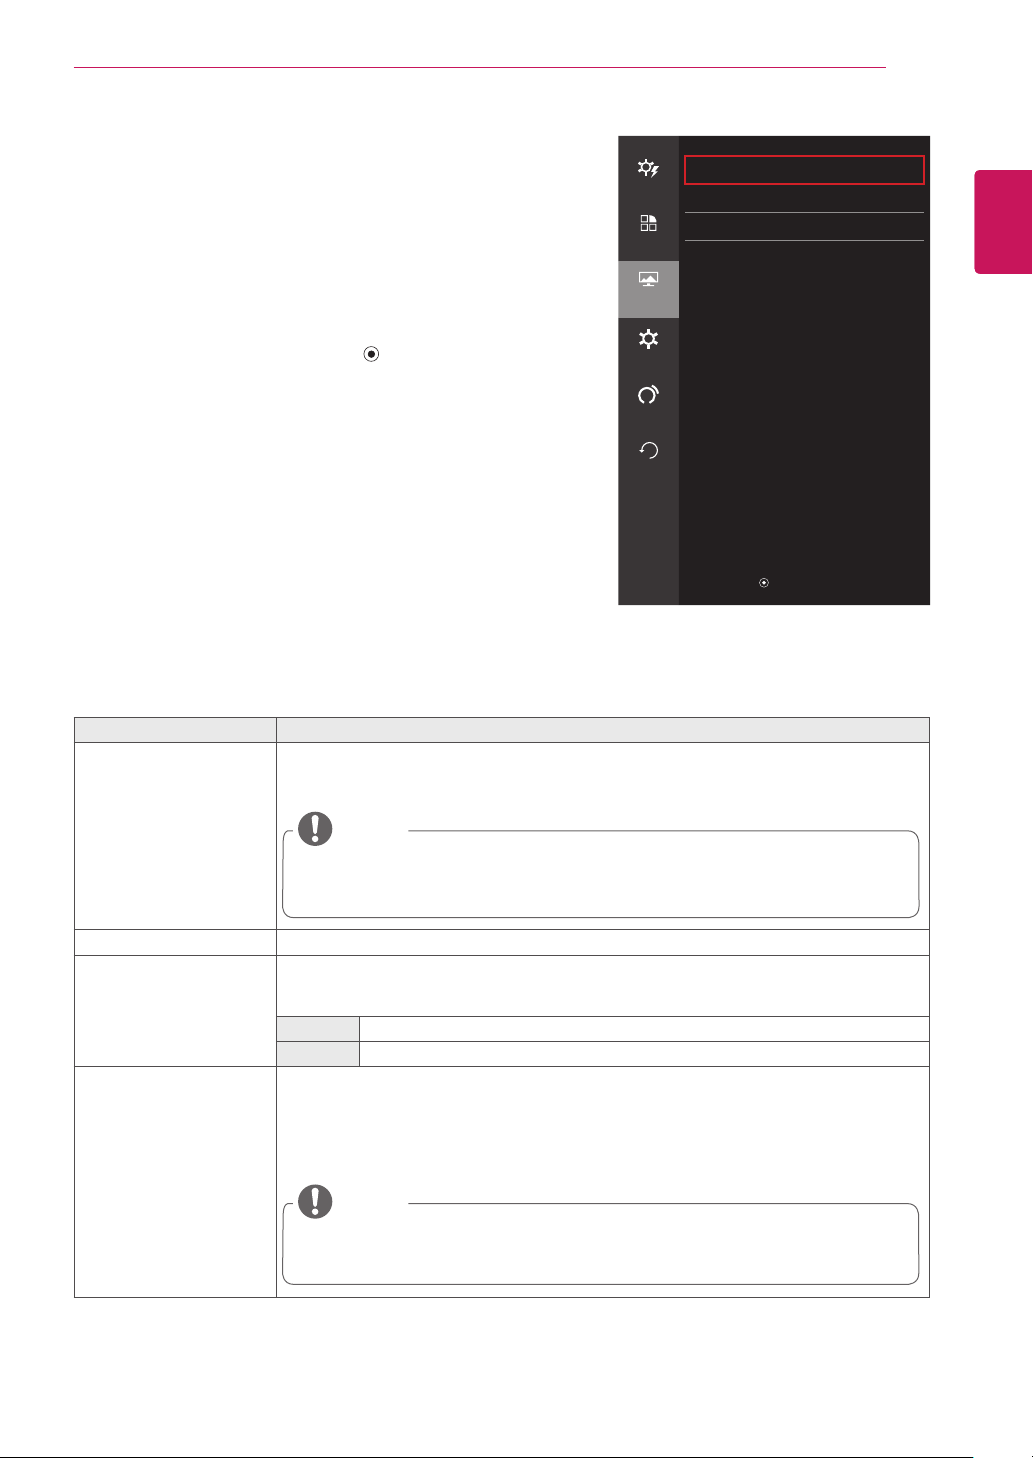
To view the OSD menu, press the joystick button on the
bottom of the monitor and then enter the Menu.
2
Go to Screen > Picture by moving the joystick.
3
Configure the options following the instructions that appear in
the bottom right corner.
4
If you want to configure an upper menu, or another option,
move the joystick ◄ or press it (
/ OK).
5
If you want to exit the OSD menu, move the joystick
◄
until
you exit.
Each option is described below.
Menu > Screen > Picture Description
SUPER RESOLUTION+ With the picture improvement technology that minimizes the degradation of the picture
quality due to enlargement (e.g. blurred focus or unsharpened edges), the resolution is not
compromised, even when the images are enlarged, which guarantees a clear image.
NOTE
Because this is a function to increase the sharpness of low resolution pictures, it
is not recommended to use the function for normal text or for desktop icons. Doing
so may result in unnecessarily high sharpness.
Sharpness Adjusts the sharpness of the screen.
Black Level Sets the offset level (for HDMI only).
Offset: as a reference for the video signal, this is the darkest color the monitor can
display.
High The screen picture gets brighter.
Low The screen picture gets darker.
Black Stabilizer Black Stabilizer
: You can control the black contrast to have better visibility in dark scenes.
Increasing the Black Stabilizer value brightens the low gray level area on the screen. (You
can easily distinguish objects on dark game screens.)
Reducing the Black Stabilizer value darkens the low gray level area and increases the
dynamic contrast on the screen.
NOTE
Use the BLACK ST. button on the front of the monitor to quickly switch between
the Black Stabilizer options.
Screen
Easy control
Picture
>
Color
>
Function
Display
>
Screen
Settings
Auto
Configuration
Reset
▲ / ▼ : Move
/ ► : OK
◄ : Back
Loading ...
Loading ...
Loading ...