Loading ...
Loading ...
Loading ...
8
Getting familiar with the appliance
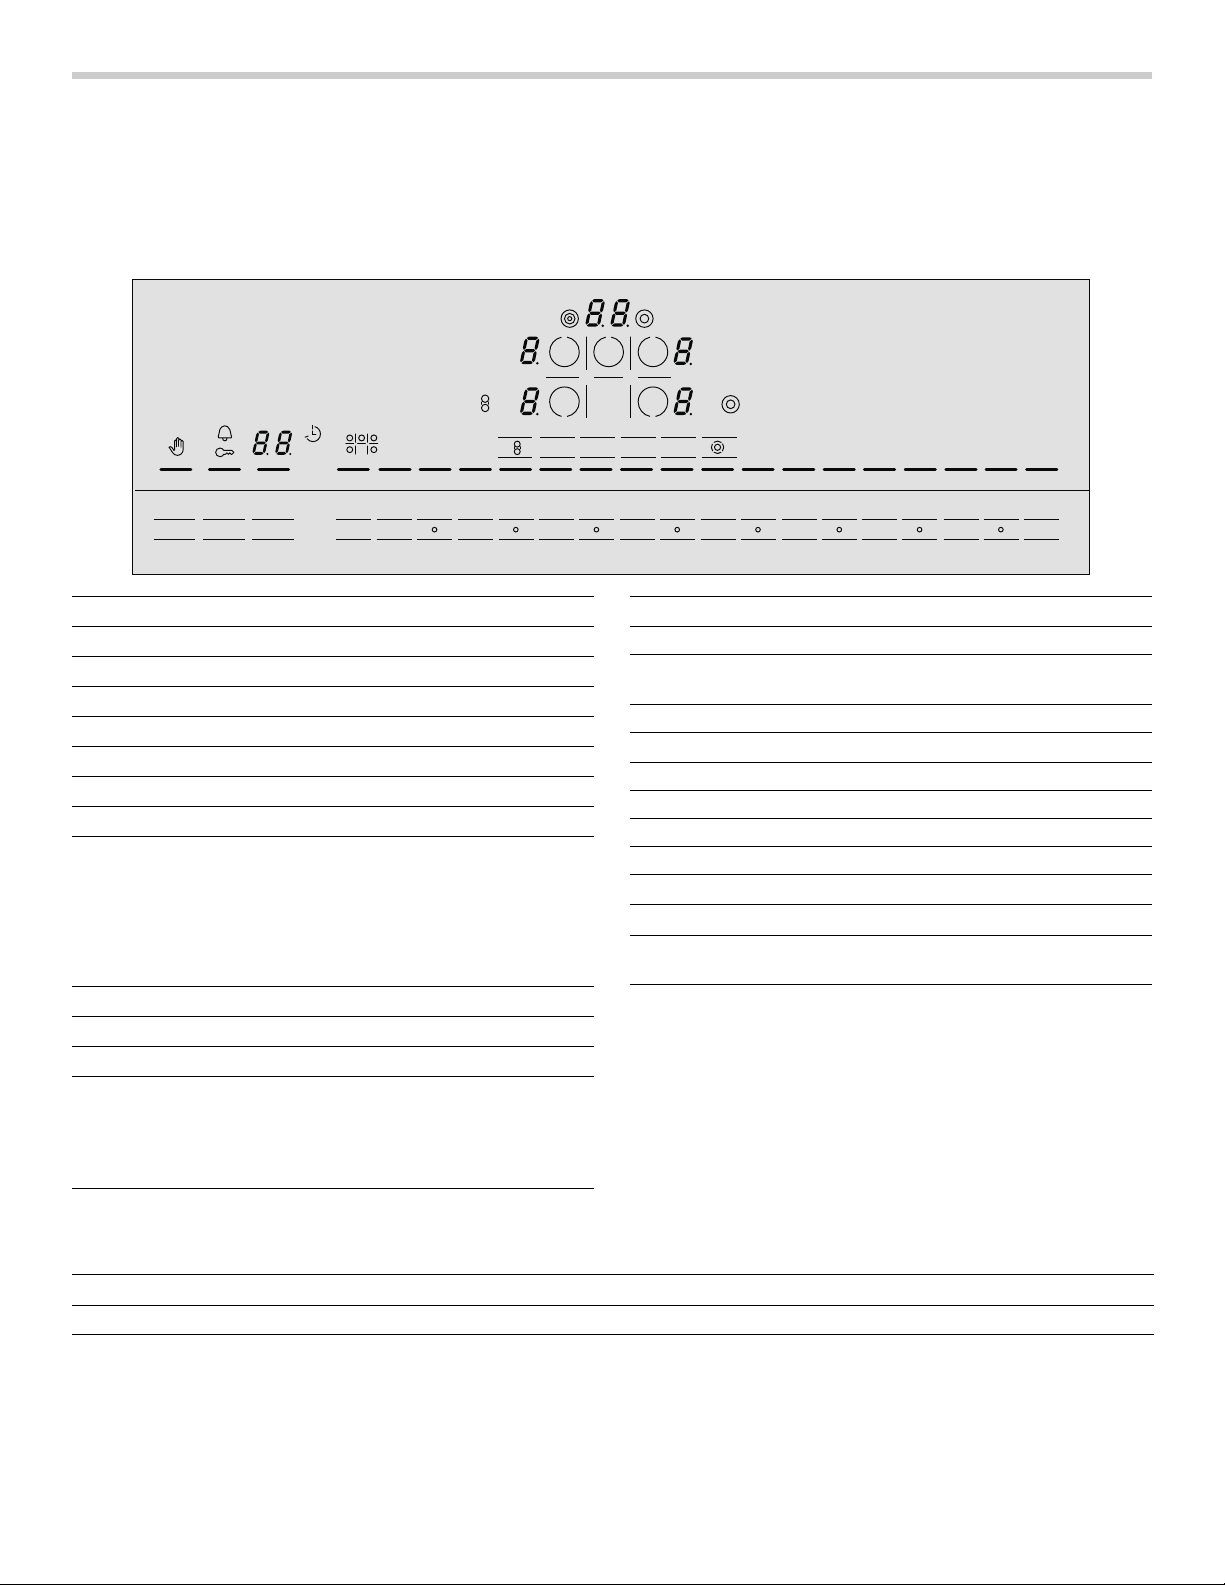
In this section we describe the control panel, elements
and displays.
These instructions apply to more than one cooktop, your
appliance might vary slightly.
Page 2 contains a list of models and dimensions.
Control Panel
Touch control zone
When you touch a symbol, the corresponding function
will be activated.
NOTICES
▯ Always keep the touch control zones clean and dry.
Moisture and dirt can affect proper functioning.
▯ If the metal tray is bent or damaged, e.g. it has been
hit by a pan, functionality might be affected.
The Elements
NJO
NJO
MPX NFE NBY
1PXFS
4UBSU
"VUP
$IFG
,FFQ
8BSN
1SPHSBNT
0O0GG
$MFBO-PDL
$IJME-PDL
5JNFS
Display icons
>
Clean Lock on
D
Child Lock on
U
Kitchen timer on
‰‰
Timer value
q
Timer function
Cook time active for lit element
ª
AutoChef™: Heating up in progress
‰.‰ Power level ‹-Š
Ready ‹
Residual heat •/œ
AutoChef™/PowerStart™ function
‘
Keep Warm function –
ð
Dual element
ò
Triple element
à
Bridge element
min
low
med
max
Frying levels for AutoChef™
Touch keys
On/Off Main power switch
Clean Lock/
Child Lock
Cleaning protection / Child safety
Timer Time programming functions
à
Bridge element
PowerStart PowerStart™ function
AutoChef AutoChef™ function
Programs AutoChef™ programs
KeepWarm Keep Warm function
ö
Additional heating elements
$
Select cooking element
0 - 9 Setting temperature level / Frying level /
Timer / Frying program
Element Turning on and off
$
Single element Always use cookware of a suitable size.
ð
Dual element The size of these elements can be matched to your pan size. The heat-
ing element must be turned on.
Turning off the outer heating ring: Touch
ö. The ð display will turn
off.
Adding: Touch
ö again. The ð display will turn on.
Loading ...
Loading ...
Loading ...