Loading ...
Loading ...
Loading ...
Getting to know your appliance en
9
Touch fields and display
You can use the touch fields to set various additional
functions for your appliance. You can see the values for
these in the display.
Touch fields
Here you can find a short explanation of the various
buttons and touch fields.
--------
Display
The display is structured so that the information can be
read at a glance in any situation.
The value that you can currently set is highlighted. It is
highlighted by a red bar displayed under the set value.
The value that is highlighted can be changed directly
using the rotary selector.
Display elements
Here you can find a short explanation of the various
display elements.
--------
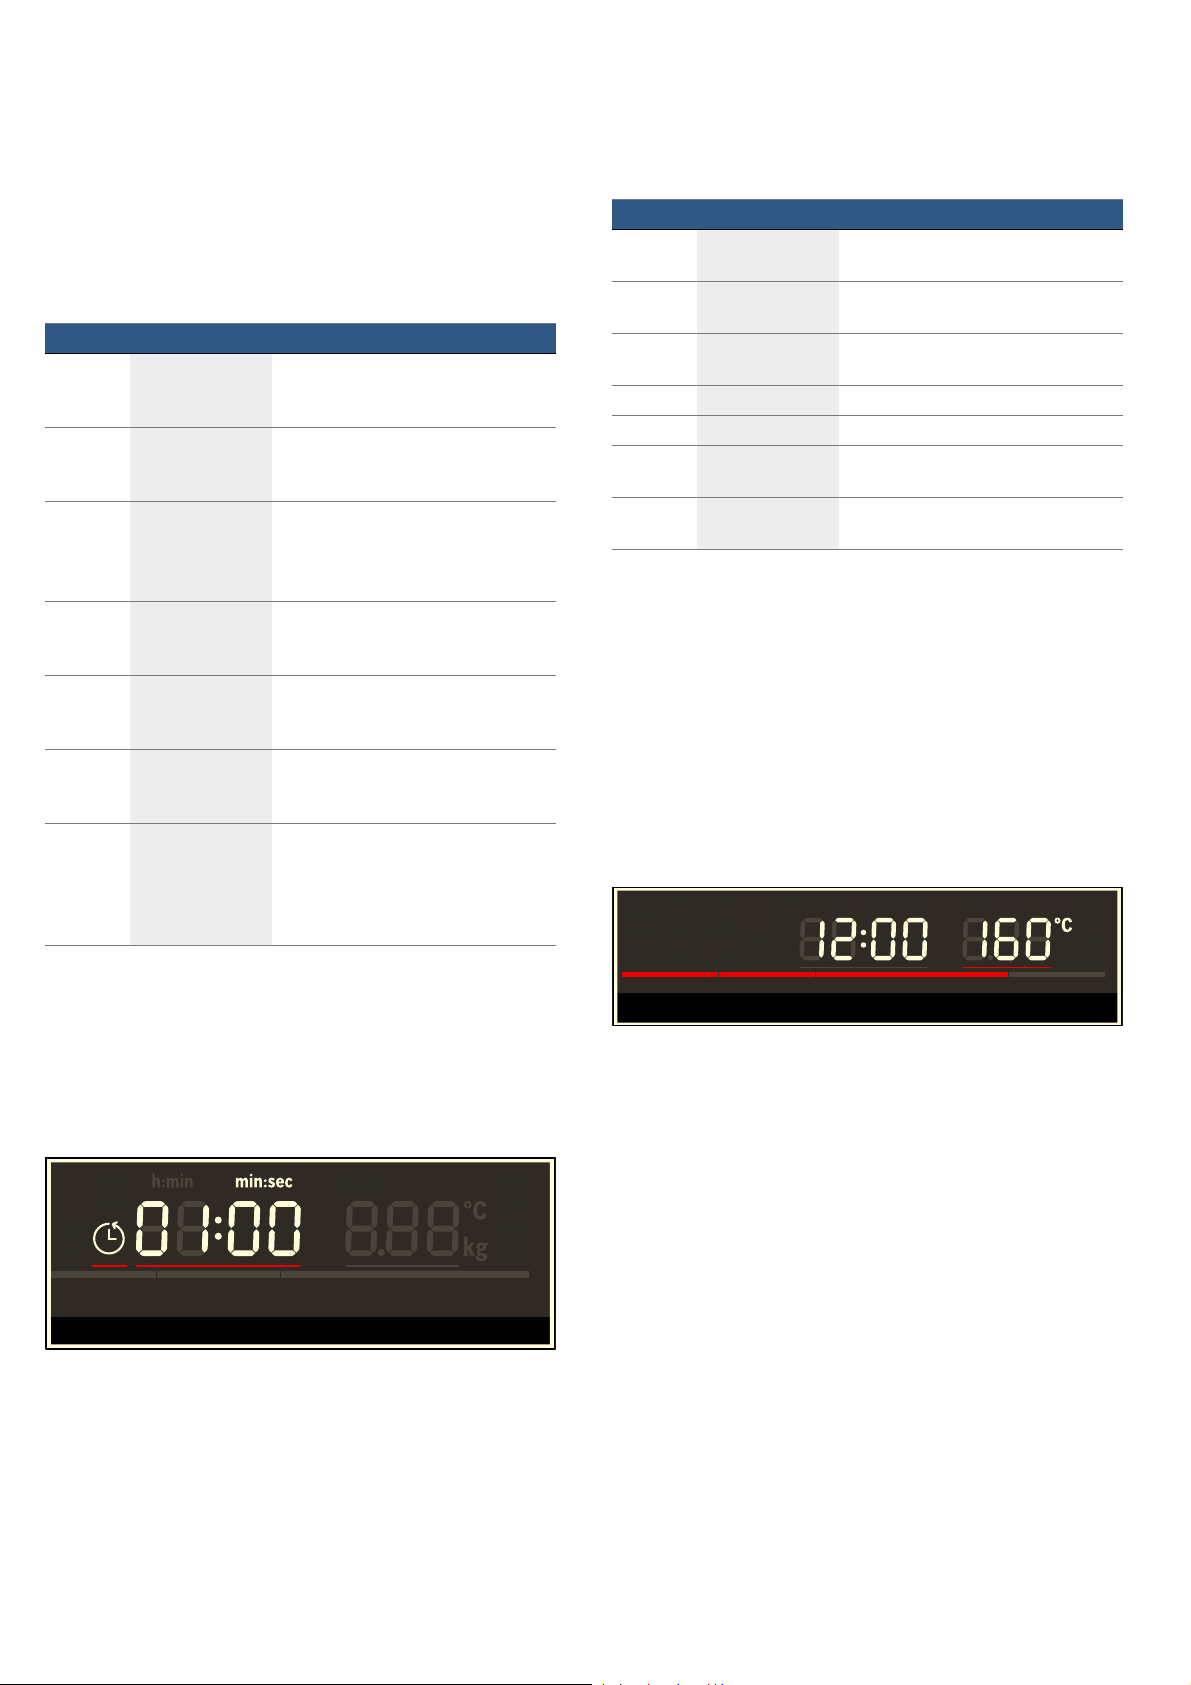
Temperature indicator
The red bar at the bottom of the display shows that the
appliance is heating up.
If a heating function is in use, the bar turns red from left
to right as the cooking compartment heats up.
If you are using the grill, a full red bar will be displayed
immediately.
The bar does not light up when the microwave function
is in use.
When you are preheating the appliance, the optimal
time to place your food in the cooking compartment is
as soon as all five sections of the line have turned red.
Note: Due to thermal inertia, the actual temperature
inside the cooking compartment may be slightly
different to the temperature that you set.
Night mode
To save energy, the display brightness is automatically
reduced to a lower level between 10 p.m. and 5.59 a.m.
Rotary selector
Use the rotary selector to change the adjustment values
that are shown in the display and highlighted.
In most selection lists, e.g. programmes, the first
selection follows the last.
For values, e.g. weight, you have to turn the rotary
selector back the other way when you reach the
minimum or maximum value.
Symbol Meaning
! Microwave Select the microwave power levels or
switch on the microwave function for
a type of heating.
% Programmes Call up the programme selection, use
the rotary selector to select the pro-
gramme number.
] Rapid preheat-
ing/childproof
lock
Press briefly: Activate/deactivate
rapid preheating.
Press and hold: Activate/deactivate
the childproof lock.
0 Time-setting
options
Select the "Time-setting options" sym-
bol and use the rotary selector to set
the time-setting options you require.
~ Temperature Select the "Temperature" symbol and
use the rotary selector to set the tem-
perature you require.
h Weight Select the "Weight" symbol and use
the rotary selector to set the weight
you require.
start
l
stop
Start/stop Starts or pauses the operation
Note: Pressing and holding ends the
current operation and the settings for
the operating mode selected are reset
to the default values.
Symbol Meaning
t Timer If the symbol is highlighted, the timer
will appear on the display.
y Cooking time If the symbol is highlighted, the cook-
ing time will appear on the display.
0 Clock If the symbol is highlighted, the clock
will appear on the display.
h:min Hours/minutes Cooking time in hours and minutes
min:sec Minutes/seconds Cooking time in minutes and seconds
D Childproof lock If this symbol lights up, the childproof
lock is activated.
G Rapid heating If this symbol lights up, rapid heating
is activated.
Loading ...
Loading ...
Loading ...