Loading ...
Loading ...
Loading ...
29
CARE AND CLEANING
Once the oven has completely cooled:
■ Remove ash with a damp cloth.
■ If soil remains after wiping, that means the length of the
clean cycle was not long enough for the amount of soil in the
oven. Repeat the self-clean cycle if desired, or the soil will be
removed during the next clean cycle.
■ To avoid breaking the glass, do not apply a cool damp cloth
to the inner door glass before it has completely cooled.
■ The oven lights will not light during the Self-Cleaning cycle.
To Self-Clean:
1.
Press SELF CLEAN.
2.
Select cleaning level. To set
a cleaning level other than 4
hours, press SELF CLEAN
until the desired time is
reached.
To Delay Start (optional):
Before delay starting Self-Clean, make sure the clock is set to
the correct time of day. See “Clock” section.
To Stop Self-Clean any time:
If the oven temperature is too high, the door will remain locked.
It will not unlock until the oven cools.
3.
Press STOP TIME.
4.
Enter desired stop time.
5.
Press START.
6.
Press any button or open
door to clear the oven
display.
Press OFF.
ST
ART
TIME
STOP
TIME
MIN
HR SEC MIN
OVEN LIGHTS
The oven lights are 120-volt, 25-watt maximum halogen bulbs.
They will come on when the oven door is opened.
On 48" (121.9 cm) ranges, both the left and right oven lights
turn on or off when OVEN LIGHT is touched. The oven lights will
not work during the Self-Cleaning cycle. When the oven door is
closed, touch OVEN LIGHT to turn light on or off.
To Replace:
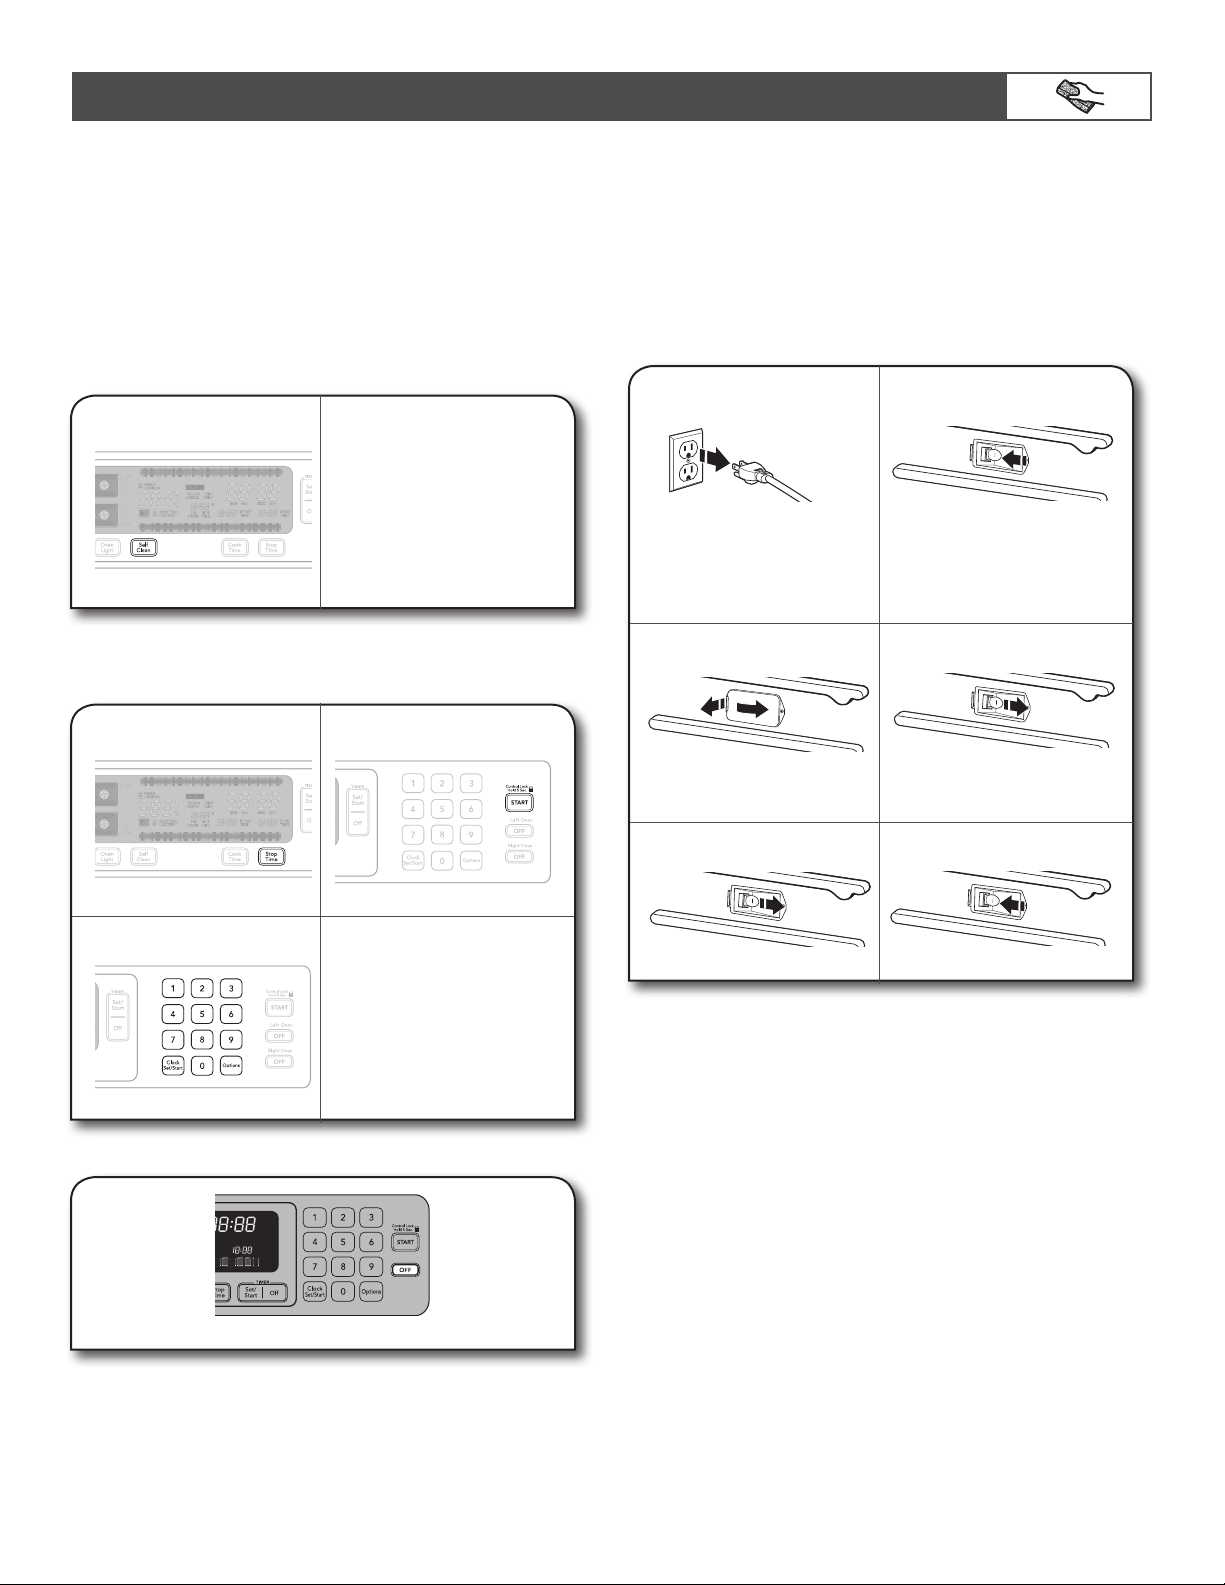
Before replacing the bulb, make sure the oven is OFF and cool.
1.
Disconnect power.
2.
Remove glass light cover.
Grasp the front edge and
pull away from the oven.
3.
Remove bulb from socket.
4.
Use a tissue or wear cotton
gloves to handle the bulb. To
avoid damage or decreasing
the life of the new bulb, do
not touch bulb with bare
fingers.
5.
Replace bulb cover. Snap
bulb cover back into wall.
6.
Reconnect power.
Loading ...
Loading ...
Loading ...