Loading ...
Loading ...
Loading ...
25
Installation Instructions
INSTALL THE RANGE
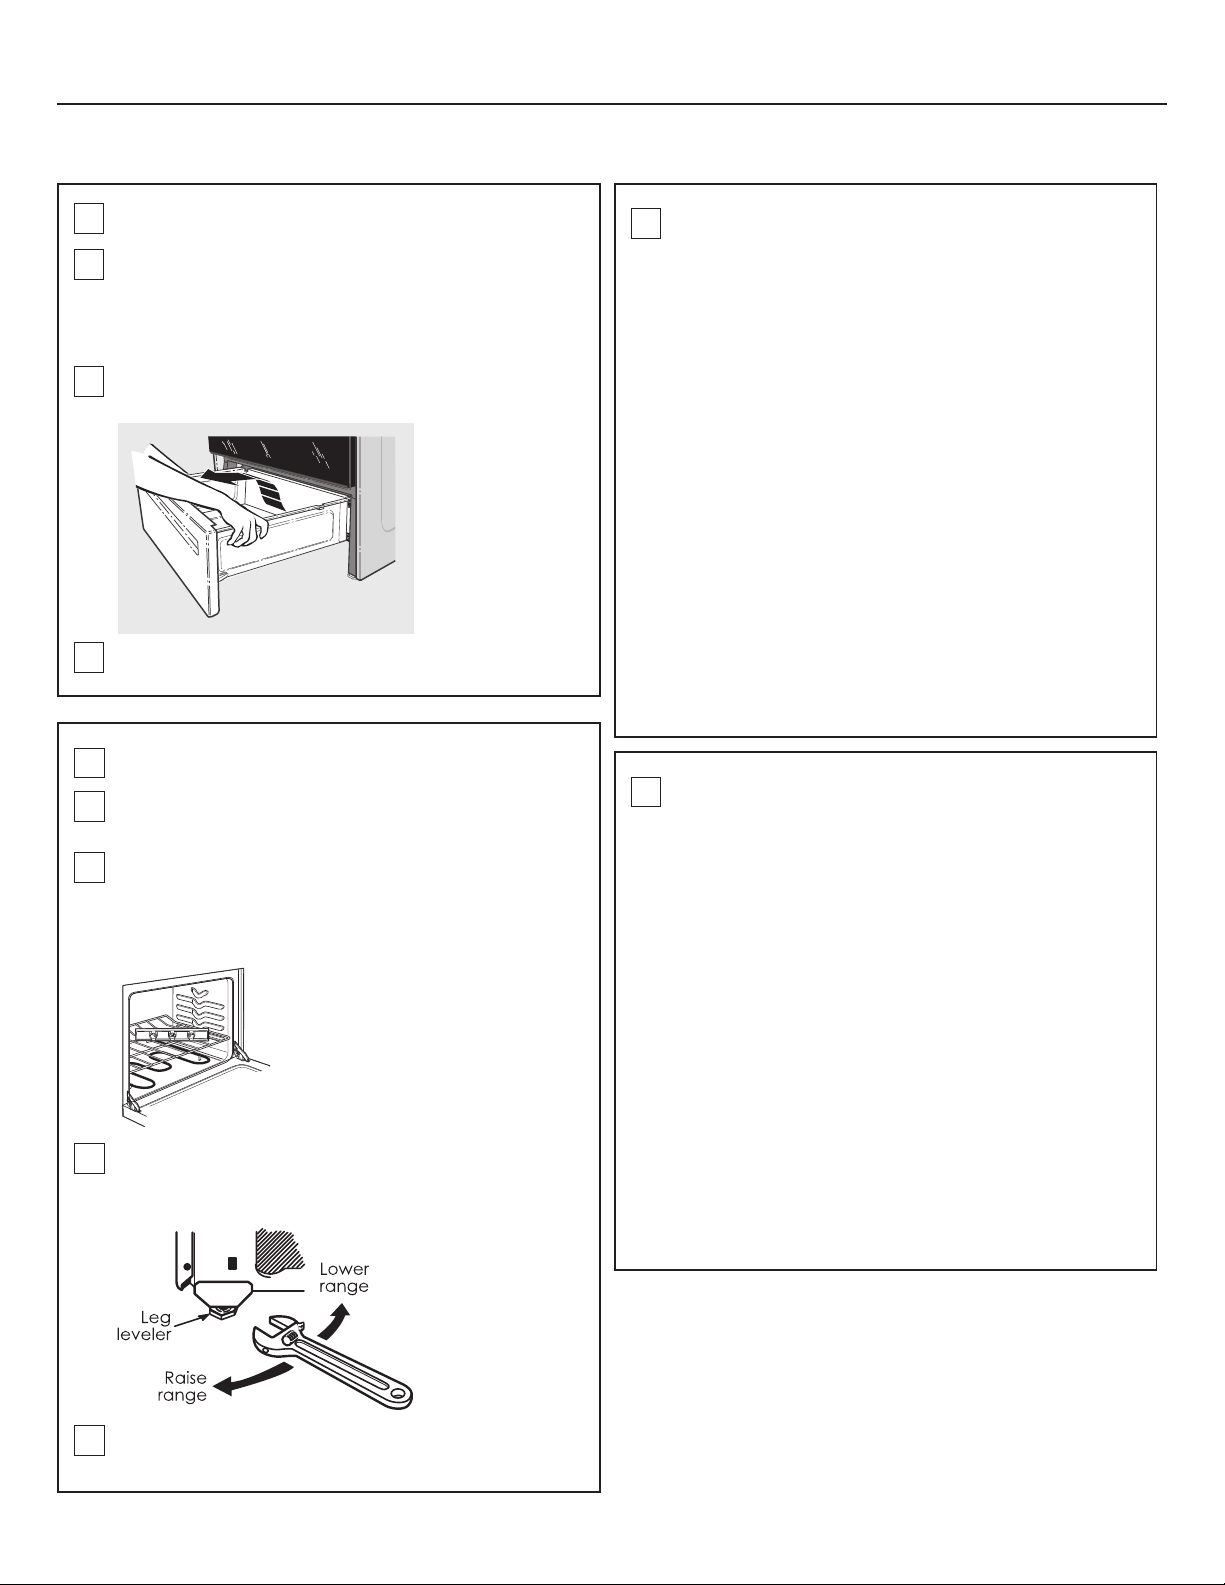
REMOVE STORAGE DRAWER10
A
LEVEL THE RANGE11
A
B
Pull the drawer out all the way.
Lift the front of the drawer until the stops clear the
guide.
Remove the drawer.
Check for levelness by placing a spirit level or a
cup, partially filled with water, on one of the oven
racks. If using a spirit level, take two readings - with
the level placed diagonally first in one direction
and then the other.
Lift the front of the drawer until the stops clear the
guide.
Remove the drawer.
B
C
Install the oven racks in the oven and position the
range where it is to be installed.
The front leveling legs can be adjusted from the
bottom and the rear legs can be adjusted from the
top or the bottom.
C
D
Use an open-end or adjustable wrench to adjust
the leveling legs until the range is level.
FINAL INSTALLATION CHECKLIST11
• Check to make sure the circuit breaker is closed
(RESET) or the circuit fuses are replaced.
• Be sure power is in service to the building.
• Note (on some models): If the clock flashes "bad"
and then "LinE" with a loud tone, the neutral con-
nection to the range is miswired. Check the termi-
nal block connections and/or house wiring to
correct.
• Check to be sure that all packing materials and
tape have been removed. This will include tape
on metal panel under control knobs (if appli-
cable), adhesive tape, wire ties, cardboard and
protective plastic. Failure to remove these materi-
als could result in damage to the appliance once
the appliance has been turned on and surfaces
have heated.
• Check to make sure that the rear leveling leg is
fully inserted into the Anti-Tip bracket and that the
bracket is securely installed.
OPERATION CHECKLIST12
• Turn on one of the surface units to observe that
the element glows within 60 seconds. Turn the unit
off when glow is detected. If the glow is not de-
tected within the time limit, recheck the range
wiring connections. If change is required, retest
again. If no change is required, have building wir-
ing checked for proper connections and voltage.
• Check to make sure the Clock (on models so
equipped) display is energized. If a series of hori-
zontal red lines appears in the display, disconnect
power immediately. Recheck the range wiring
connections. IF change is made to connections,
retest again. If no change is required, have build-
ing wiring checked for proper connections and
voltage. It is recommended that the clock be
changed if the red lines appear.
• Be sure all range controls are in the OFF position
before leaving the range.
Loading ...
Loading ...
Loading ...