Loading ...
Loading ...
Loading ...
En
16
Advanced Operation
Using the performance pads
Use the performance pads with the hot cue, beat jump, pad FX, slicer, sampler, and
velocity sampler functions.
The function of the performance pads can be switched with the pad mode buttons.
Using hot cues
This function allows playback to be started instantaneously from the position at
which a hot cue or hot loop is set.
! Up to eight hot cue points or hot loop points can be set and saved per track.
1 Press the [HOT CUE] mode button.
Switches to hot cue mode.
2 In the play or pause mode, press a performance pad to set
the hot cue point.
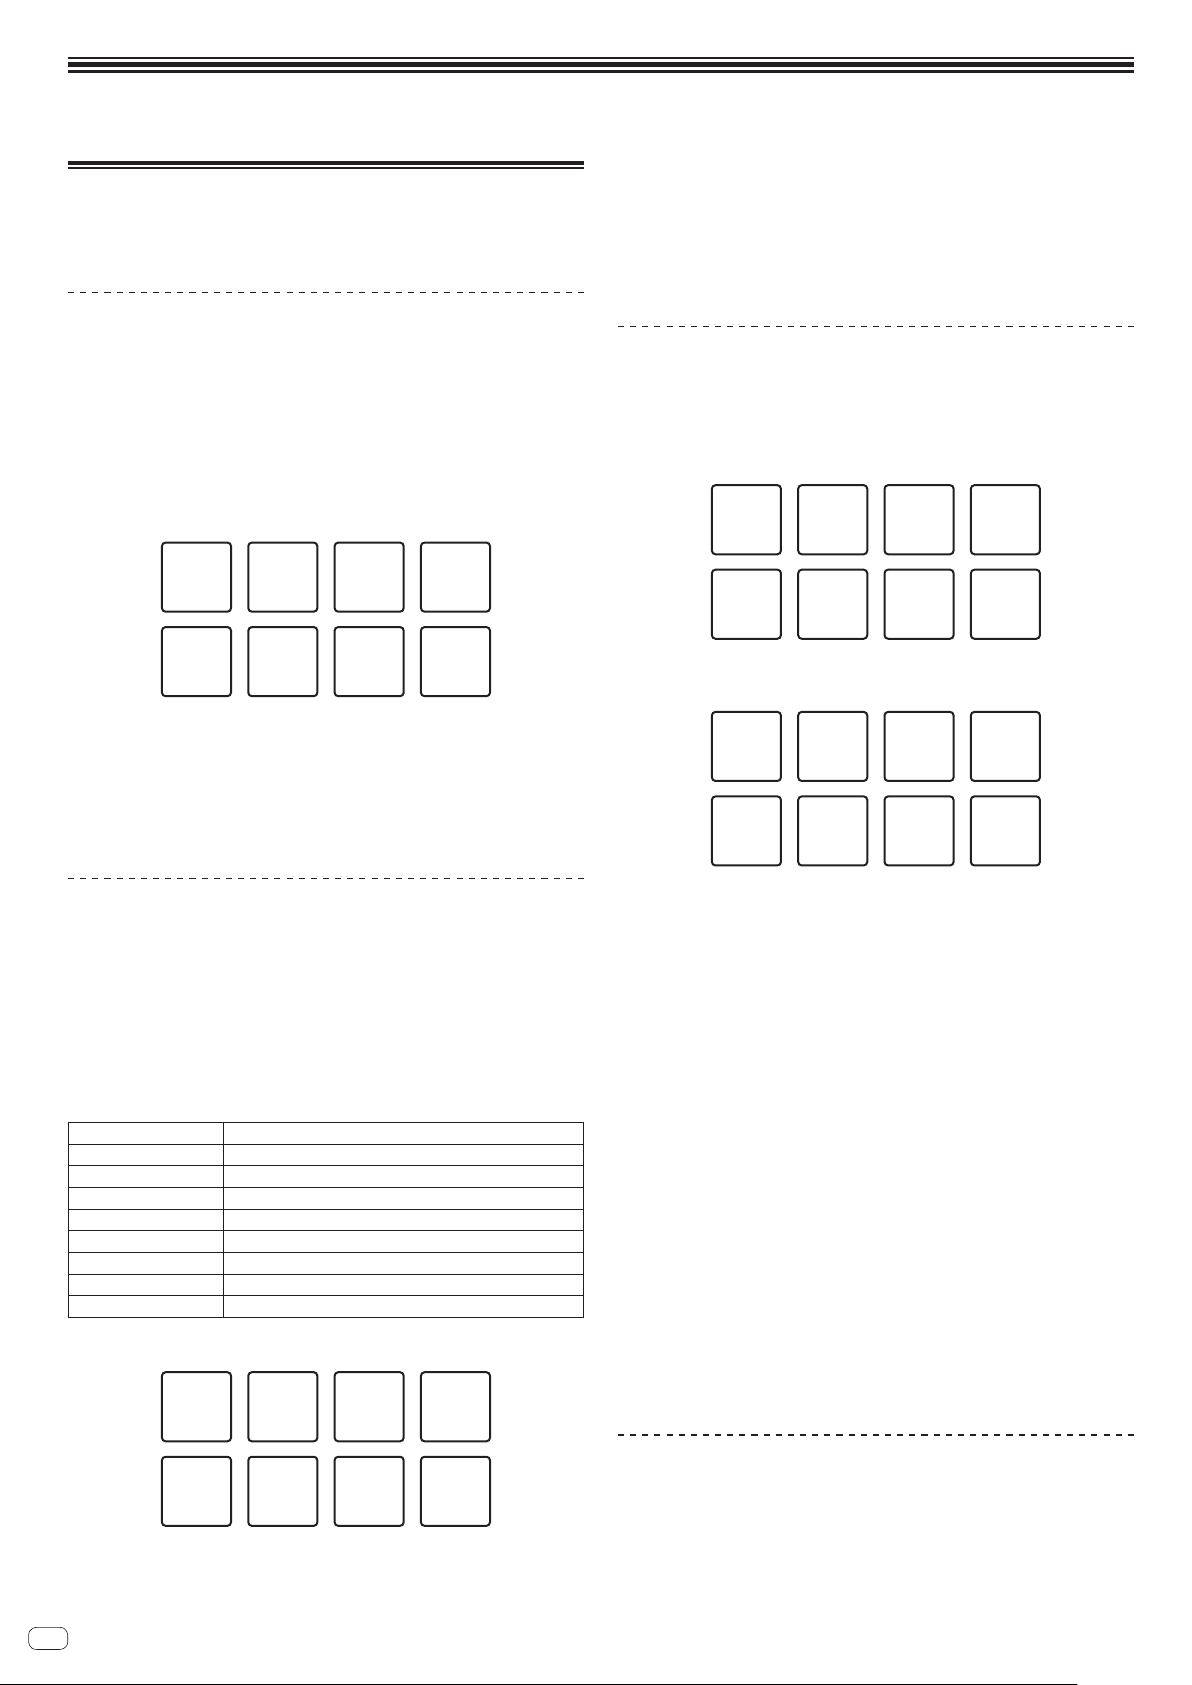
The hot cue points are assigned to the respective performance pads as shown
below.
Hot cue 1 Hot cue 2 Hot cue 3 Hot cue 4
Hot cue 5 Hot cue 6 Hot cue 7 Hot cue 8
A hot loop can be assigned to a performance pad by pressing the pad during loop
playback.
3 Press the performance pad with the hot cue point or hot
loop point set.
Playback starts from the hot cue point or hot loop point.
! Set hot cue points can be cleared by pressing a performance pad while
pressing the [SHIFT] button.
Using beat jump
The playback position can be moved instantaneously without breaking the rhythm of
the track being played back.
1 Press the [HOT CUE] mode button while pressing the
[SHIFT] button.
The mode switches to the beat jump mode.
2 Press the [PARAMETERc] or [PARAMETERd] button.
The movement amount (number of beats or number of bars) of the playback position
assigned to the performance pad changes each time a button is pressed.
The following nine settings can be made.
page1
FINE/1/8 beat/1/4 beat/1/2 beat
page2
1/8 beat/1/4 beat/1/2 beat/1 beat
page3
1/4 beat/1/2 beat/1 beat/2 beats
page4
1/2 beat/1 beat/2 beats/4 beats
page5
1 beat/2 beats/4 beats/8 beats
page6
2 beat/4 beats/8 beats/16 beats
page7
4 beats/8 beats/16 beats/8 bars
page8
8 beats/16 beats/8 bars/16 bars
page9
16 beats/8 bars/16 bars/32 bars
For example, when set to “1 beats from 1/8 beat”, the pad’s setting is as shown
below.
1/8 beat
(reverse
direction)
1/2 beat
(reverse
direction)
1/2 beat
(forward
direction)
1 beat
(reverse
direction)
1 beat
(forward
direction)
1/8 beat
(forward
direction)
1/4 beat
(reverse
direction)
1/4 beat
(forward
direction)
! If a button is pressed while pressing [SHIFT], only [page1], [page5], and
[page9] can be selected.
3 Press pad 1, pad 3, pad 5, or pad 7.
The playback position moves in the reverse direction by the number of beats or
number of bars assigned to the pad that was pressed.
4 Press pad 2, pad 4, pad 6, or pad 8.
The playback position moves in the forward direction by the number of beats or
number of bars assigned to the pad that was pressed.
Using the pad FX
A wide range of effect performances are possible with just the simple operation of
pressing and releasing performance pads.
1 Press the [PAD FX1] mode button.
The mode switches to pad FX mode 1.
By default, effects are assigned to the performance pads as shown below.
①
Slip
looping
(1/8 beat)
⑤
Delay
⑥
Filter LFO
⑦
Reverber
ation
⑧
Release
FX
②
Slip
looping
(1/4 beat)
③
Slip
looping
(1/2 beat)
④
Slip
looping
(1 beat)
! If the [PAD FX1] mode button is pressed while pressing the [SHIFT] button, the
mode changes to FX mode 2.
By default, effects are assigned to the performance pads as shown below.
①
Trance
(1/8 beat)
⑤
Pitch
⑥
Crash
⑦
Noise
⑧
Release
FX
②
Trance
(1/4 beat)
③
Trance
(1/2 beat)
④
Trance
(1 beat)
! The effects assigned to performance pads can be customized. For details, see
the rekordbox software’s manual.
! The type of release FX assigned to pad 8 cannot be changed by turning the
unit’s [RELEASE FX] control.
To change the type of release FX assigned to pad 8, you need to make the
change in rekordbox dj. For details, see the rekordbox software’s manual.
2 Press and hold one of the performance pads.
The effect turns on according to the effect and number of beats settings assigned to
the pad that was pressed.
3 Press the [PARAMETER c] button or [PARAMETER d]
button while pressing the performance pad.
The number of beats setting for the effect temporarily increases or decreases.
! Depending on the type of effect, changing the setting may not be possible
even by pressing the button.
4 Release your finger from the performance pad.
The effect turns off.
Using the release FX of the pad FX
1 Press and hold one of performance pads 1 to 7.
The effect turns on according to the effect and number of beats settings assigned to
the pad that was pressed.
2 Press performance pad 8.
The pad FX effect that was on up until now turns off and the release FX effect is
added.
Using the Slicer function
The specified range is divided into eight equal sections, and these eight sliced
sections are assigned to the respective performance pads. While one of the perfor-
mance pads is pressed, the sound for the section assigned to that pad is played in
a loop.
During loop playback of the pad’s sound, normal playback with the original rhythm
continues in the background. When the pad is released and loop playback ends,
playback resumes from the position reached at that point.
Loading ...
Loading ...
Loading ...