Loading ...
Loading ...
Loading ...
12
Completing the First-Time Setup Menu
Now that you have attached the TV stand and connected your external devices, it's time to complete the first-time setup menu.
Completing the First-Time Setup Menu
Press the [Power] button on the remote to turn on the TV.
A splash screen that shows the Hisense logo appears. Next, the First-Time Setup Menu begins by prompting you to choose your
Language, Country, and Time Zone. After the splash screen that displays the Hisense logo appears, begin the first-time setup menu.
Screen Task
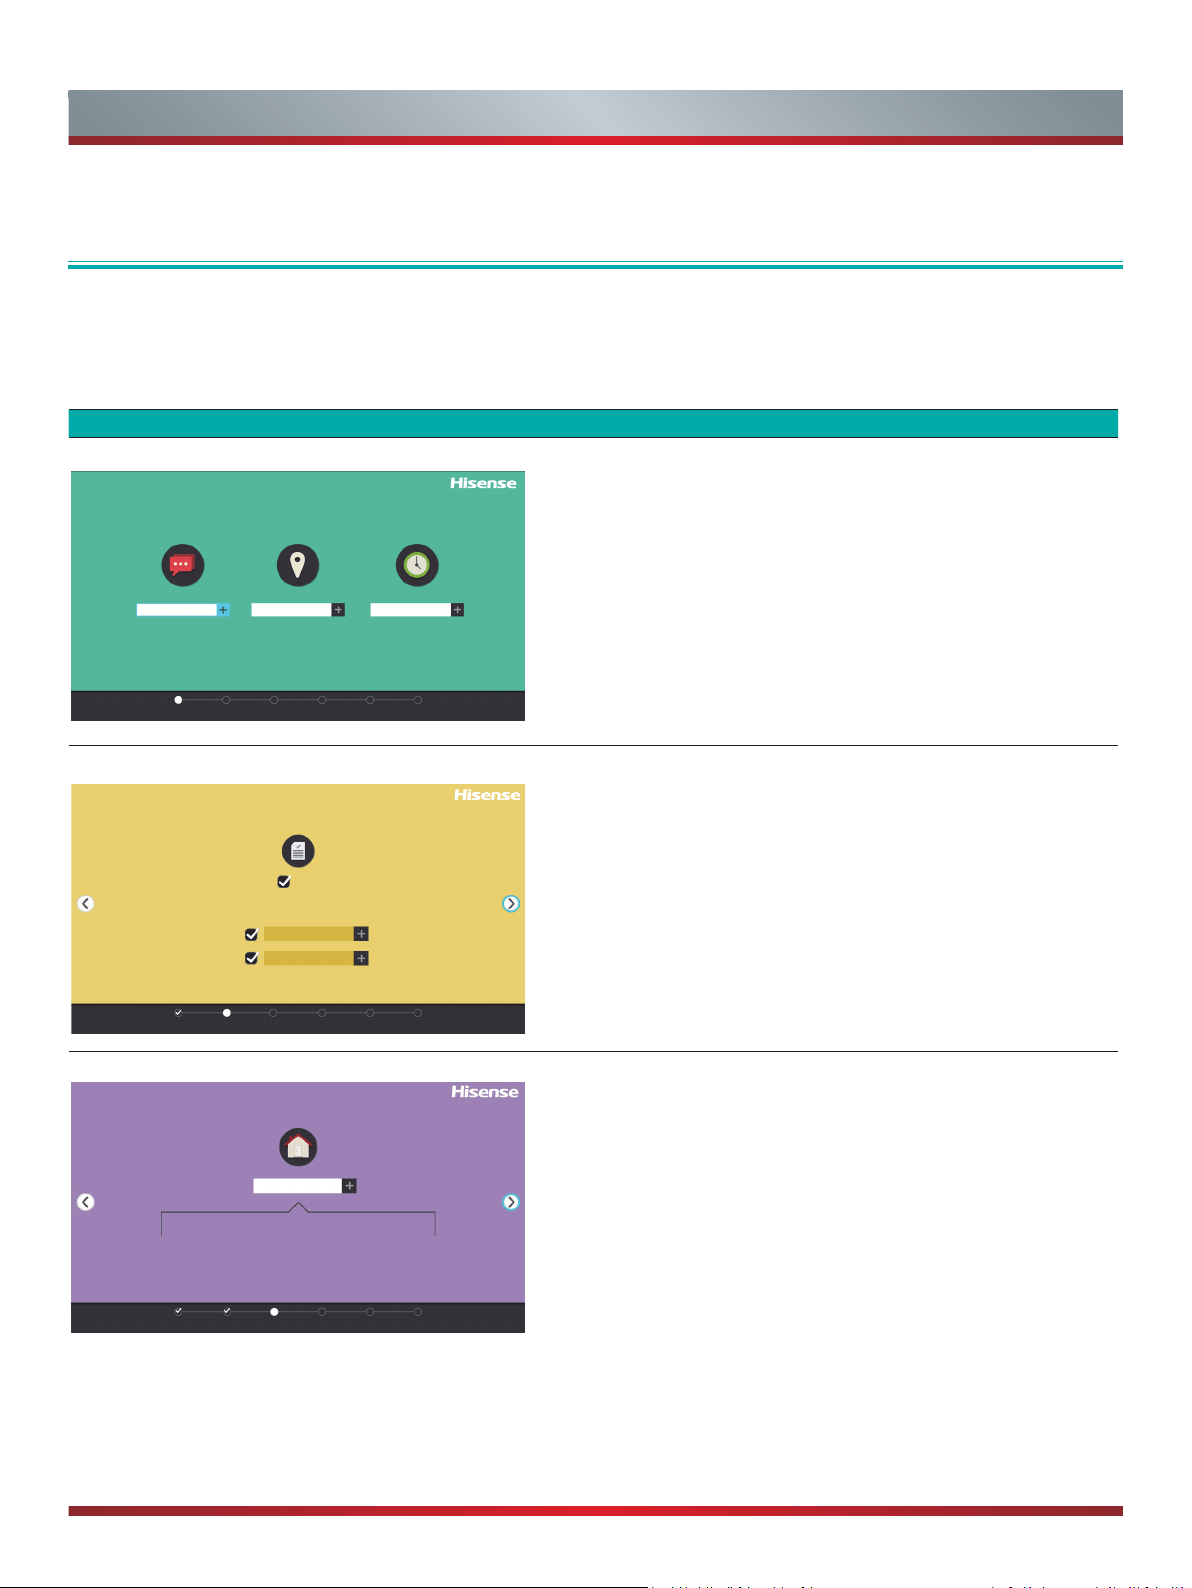
Language and Location
LANGUAGE AND LOCATION
Language
Language ModeTerms Network Input Done
English United State Select
Country Time Zone
1. Using the D-pad arrows of your remote, choose
your Language, Country and Time Zone.
2. Next, navigate to the Forward arrow and press [OK].
TIP: The edge of the drop-down boxes and the back and
forward arrows change to blue when you select them.
Terms of Service
TERMS OF SERVICE
Accept all
Accept EULA
Accept Terms of Serv...
Language ModeTerms Network Input Done
The EULA and Terms must be accepted in
order to continue.
1. Press [OK] on your remote to select Accept All.
2. When you’re done, then navigate to the Forward arrow and
press [OK].
TV Usage Mode
TV USAGE MODE
TV Mode
Home
Language
Home Mode
In Home Mode, your TV will automatically adjust the
brightness of your screen based on the ambient light in
the room.
ModeTerms Network Input Done
Select Home (which appears by default) and then navigate to the
Forward arrow to press [OK].
Note: ‘Store mode’ should only be selected by Retailers who plan
to demonstrate the TV.
Disclaimer:
Images throughout this document are for illustrative purposes only and may differ from the actual product.
Loading ...
Loading ...
Loading ...