Owner's Guide Tools - Home Improvement
GETTING STARTED
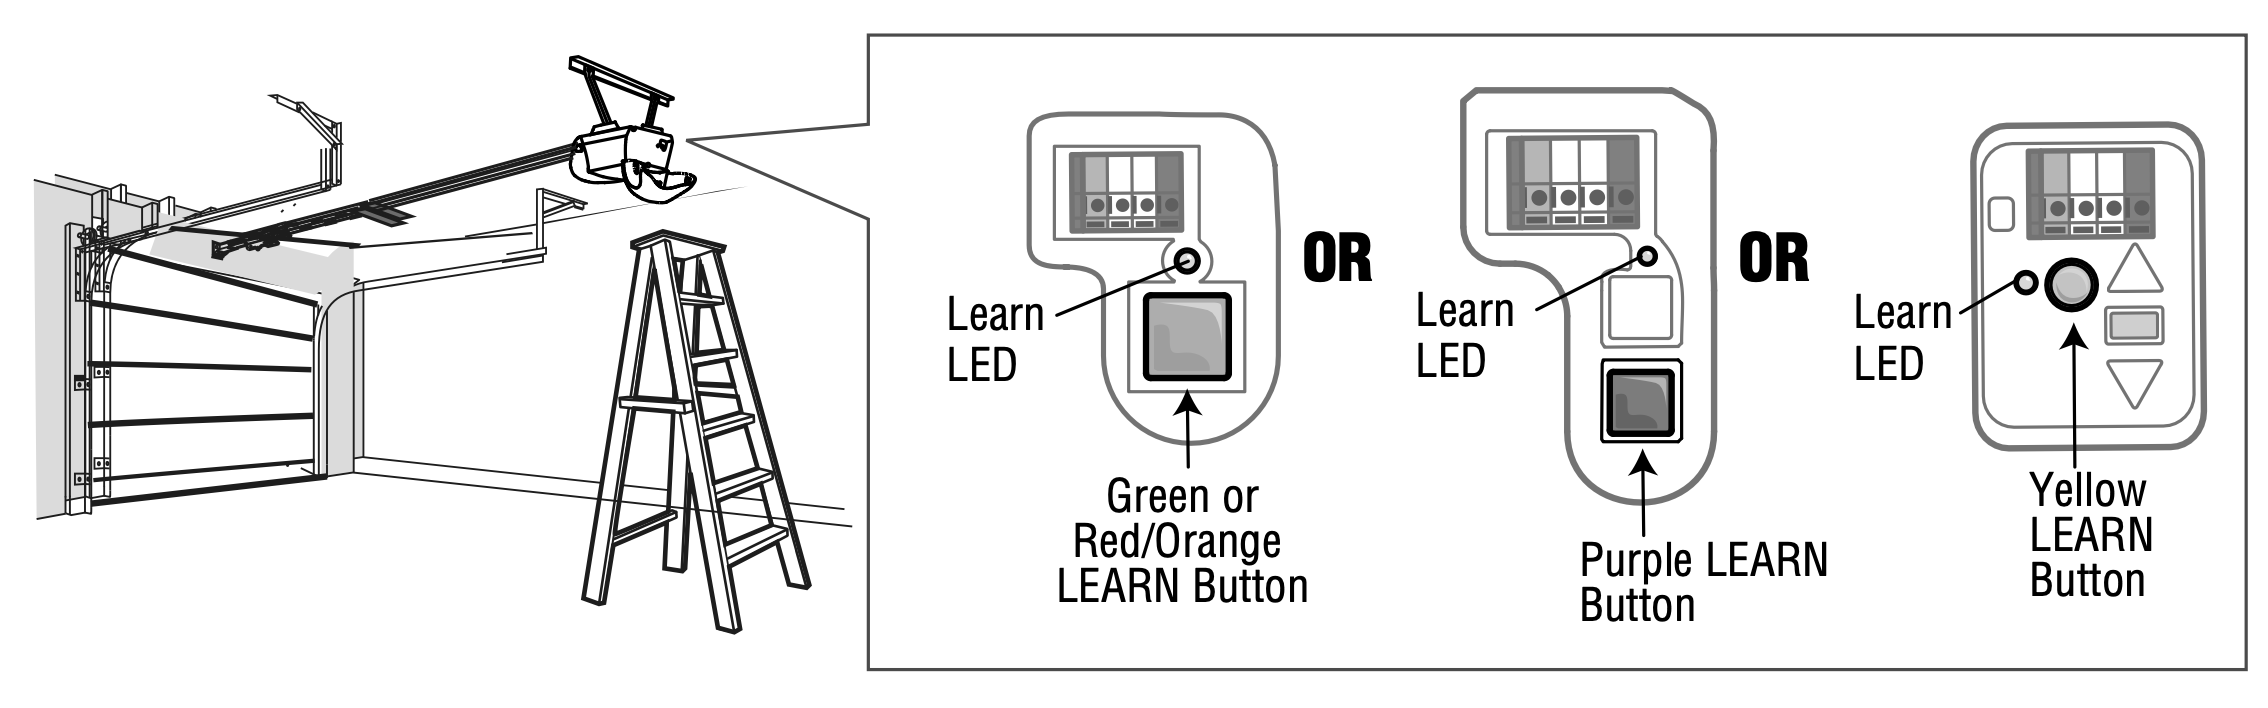
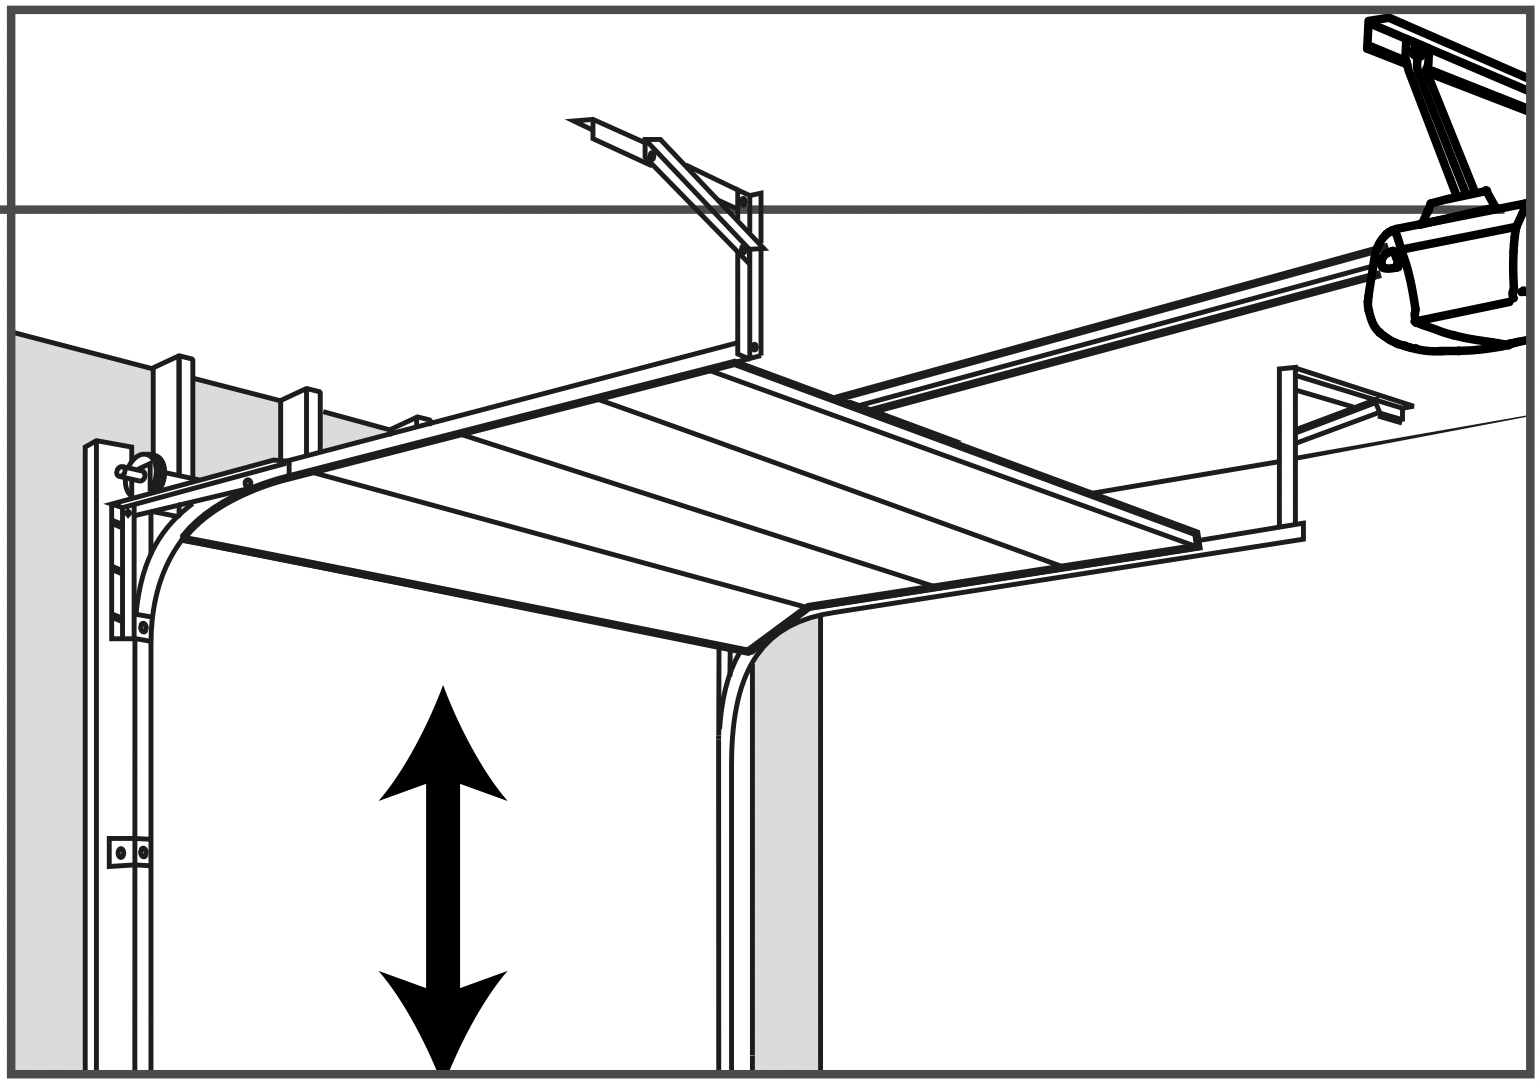
Locate the LEARN button on the garage door opener.
NOTE: Your garage door opener may look different.
WARNING:
To prevent possible SERIOUS INJURY or DEATH from a moving gate or garage door:
- Install keypad within sight of garage door, out of reach of small children at a minimum height of 5 feet (1.5 m) above floors, landings, steps or any other adjacent walking surface, and away from ALL moving parts of door.
- ALWAYS keep remote controls out of reach of children. NEVER permit children to operate, or play with remote controls.
- Activate gate or door ONLY when it can be seen clearly, is properly adjusted, and there are no obstructions to door travel.
- ALWAYS keep gate or garage door in sight until cmpleted closed. NEVER permit anyone to cross path of moving gate or door.
WARNING: This product can expose you to chemicals including lead, which are known to the State of California to cause cancer or birth defects or other reproductive harm.
PROGRAM THE INITIAL PIN
Before You Begin:
- Write a 4-digit PIN# of your choice in steps 4 and 6.
- Find and wirte your opener ID# from the list below to use in step 4.
| ID |
Garage door opener brand and manufacturing dates
|
| 1 |
Linear garage door openers manufactured from 1997 to present.
|
| 2 |
Chamberlain, Sears Craftsman, LiftMaster, Master Mechanic and Do It garage door openers manufactured from 1997 to 2004 [Orange/Red LEARN Button].
|
| 3 |
Chamberlain, Sears Craftsman, LiftMaster, Master Mechanic and Do It garage door openers manufactured from 2005 to present [Purple LEARN Button].
|
| 4 |
Chamberlain, Sears Craftsman, LiftMaster, Master Mechanic and Do It garage door openers manufactured from 1993 to 1996 [Green LEARN Button].
|
| 5 |
Genie Intellicode and Overhead Door garage door openers manufactured from 2005 to present (315 MHz).
|
| 6 |
Genie Intellicode and Overhead Door garage door openers manufactured from 1995 to present (390 MHz).
|
| 7 |
Stanley garage door openers manufactured in 1998 to present.
|
| 8 |
Chamberlain,Sears Craftsman,and LiftMaster garage door openers manufactured 2011 to present [Yellow LEARN Button].
|
| 9 |
Wayne Dalton garage door openers manufactured in 1999 to present (372.5MHz).
|
-
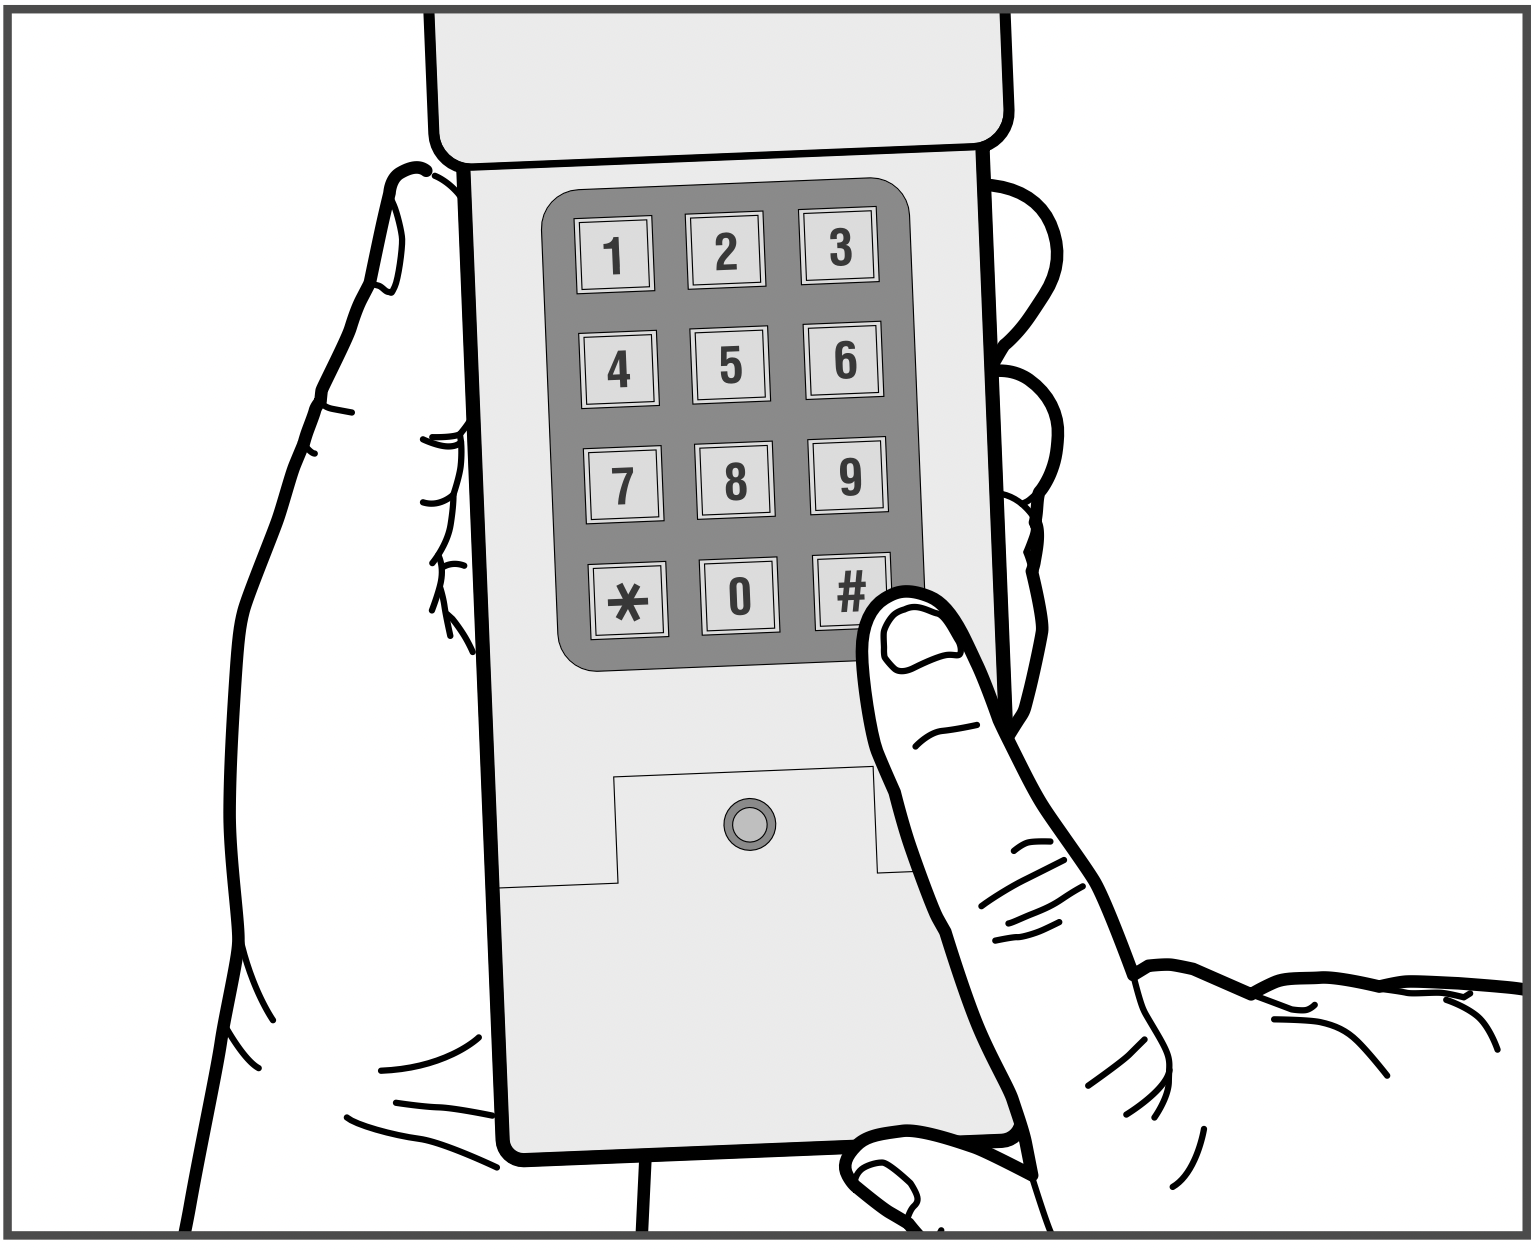
Press and hold the * and # buttons until the keypad stops flashing.
-
IMPORTANT: You have 10 seconds to complete this step. If the keypad light turns off before completing this step, go back to step 3.
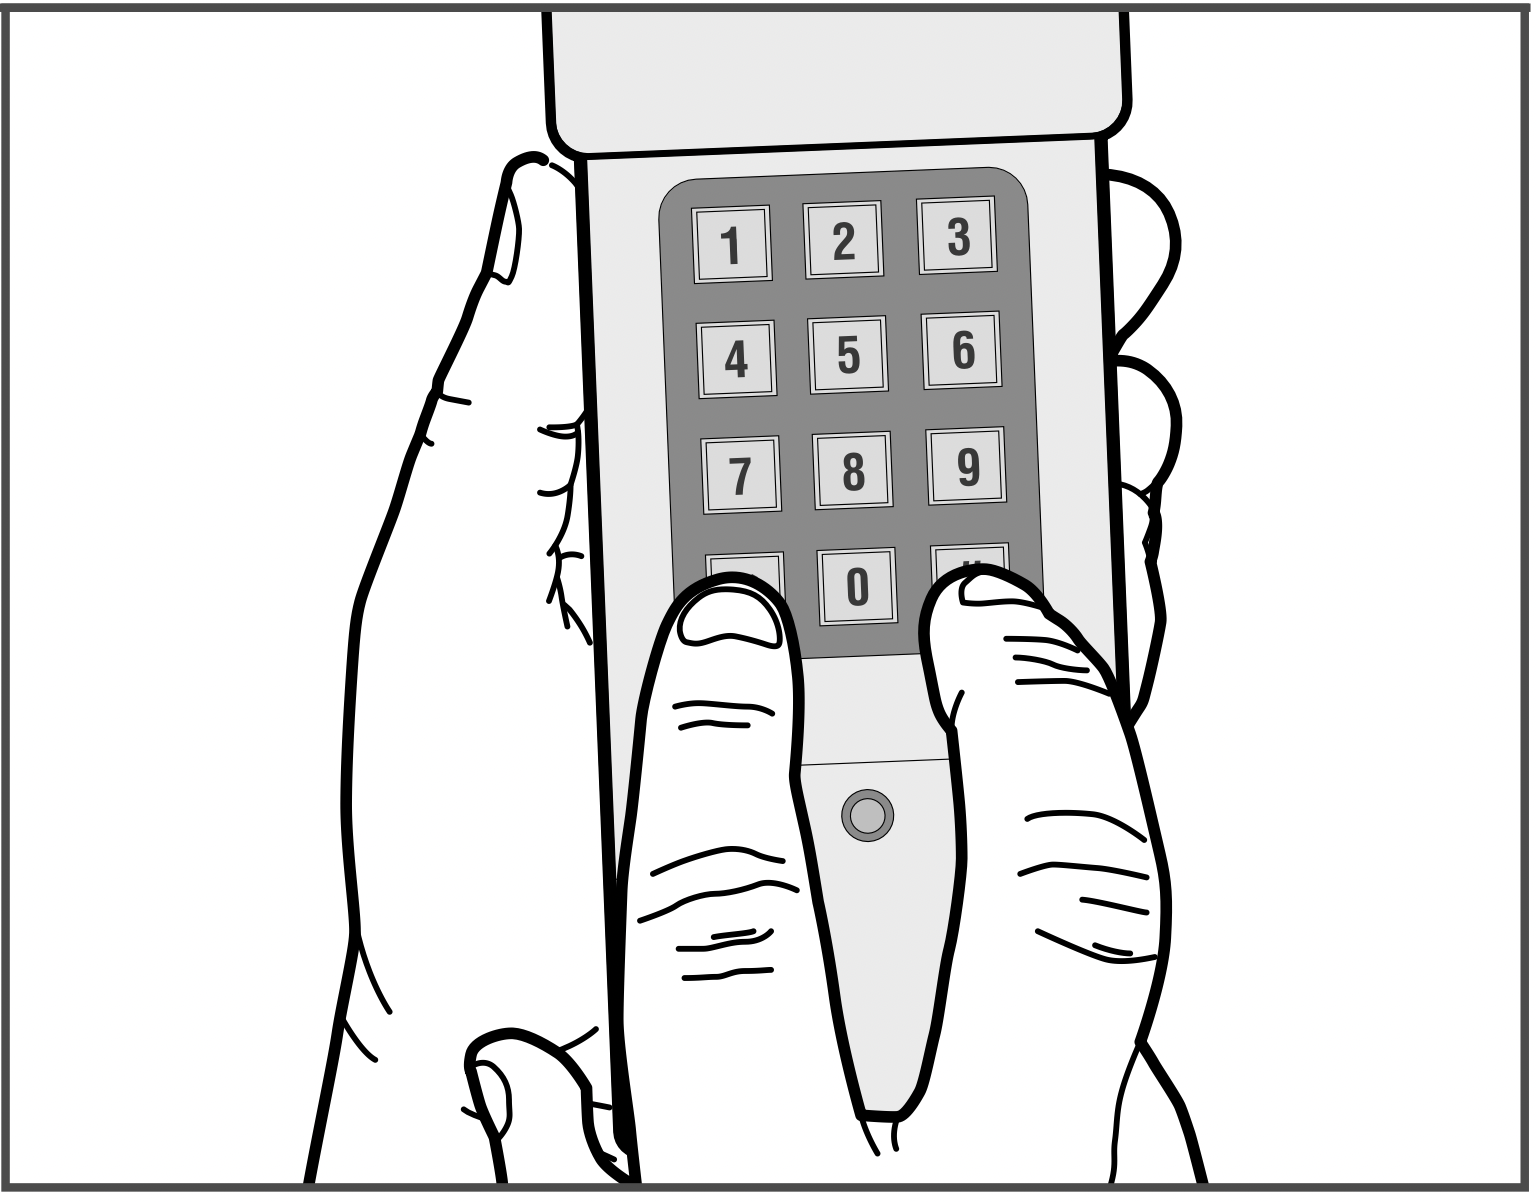
Enter your 4-digit PIN_ _ _ _, and press #.
Enter the opener ID _ , and press #.
-
Press and quick release the LEARN button on the garage door opener.
- Enter your 4-digit PIN_ _ _ _, and press the 0 key.
NOTE: For Genie and Overhead Door units, press the 0 key twice.
- Test by entering your 4-digit PIN, then press and hold the 0 key until door activates.
INSTALLATION
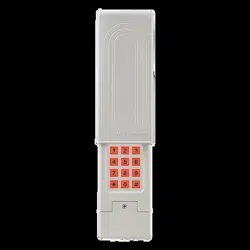
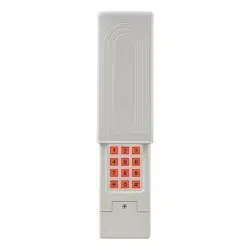
Install out of reach of small children at a minumum height of 5 feet (1.5 m) above floors, landings, steps or any other adjacent walking surface, and away from ALL moving parts of door. Secure keypad to a smooth surface. Mount the keypad out of the path of the moving garage door, but within sight of it (4" [10 cm] clearance is needed for the cover).
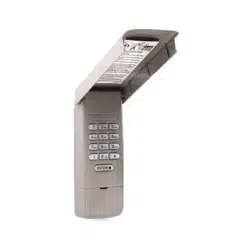
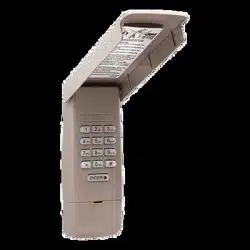
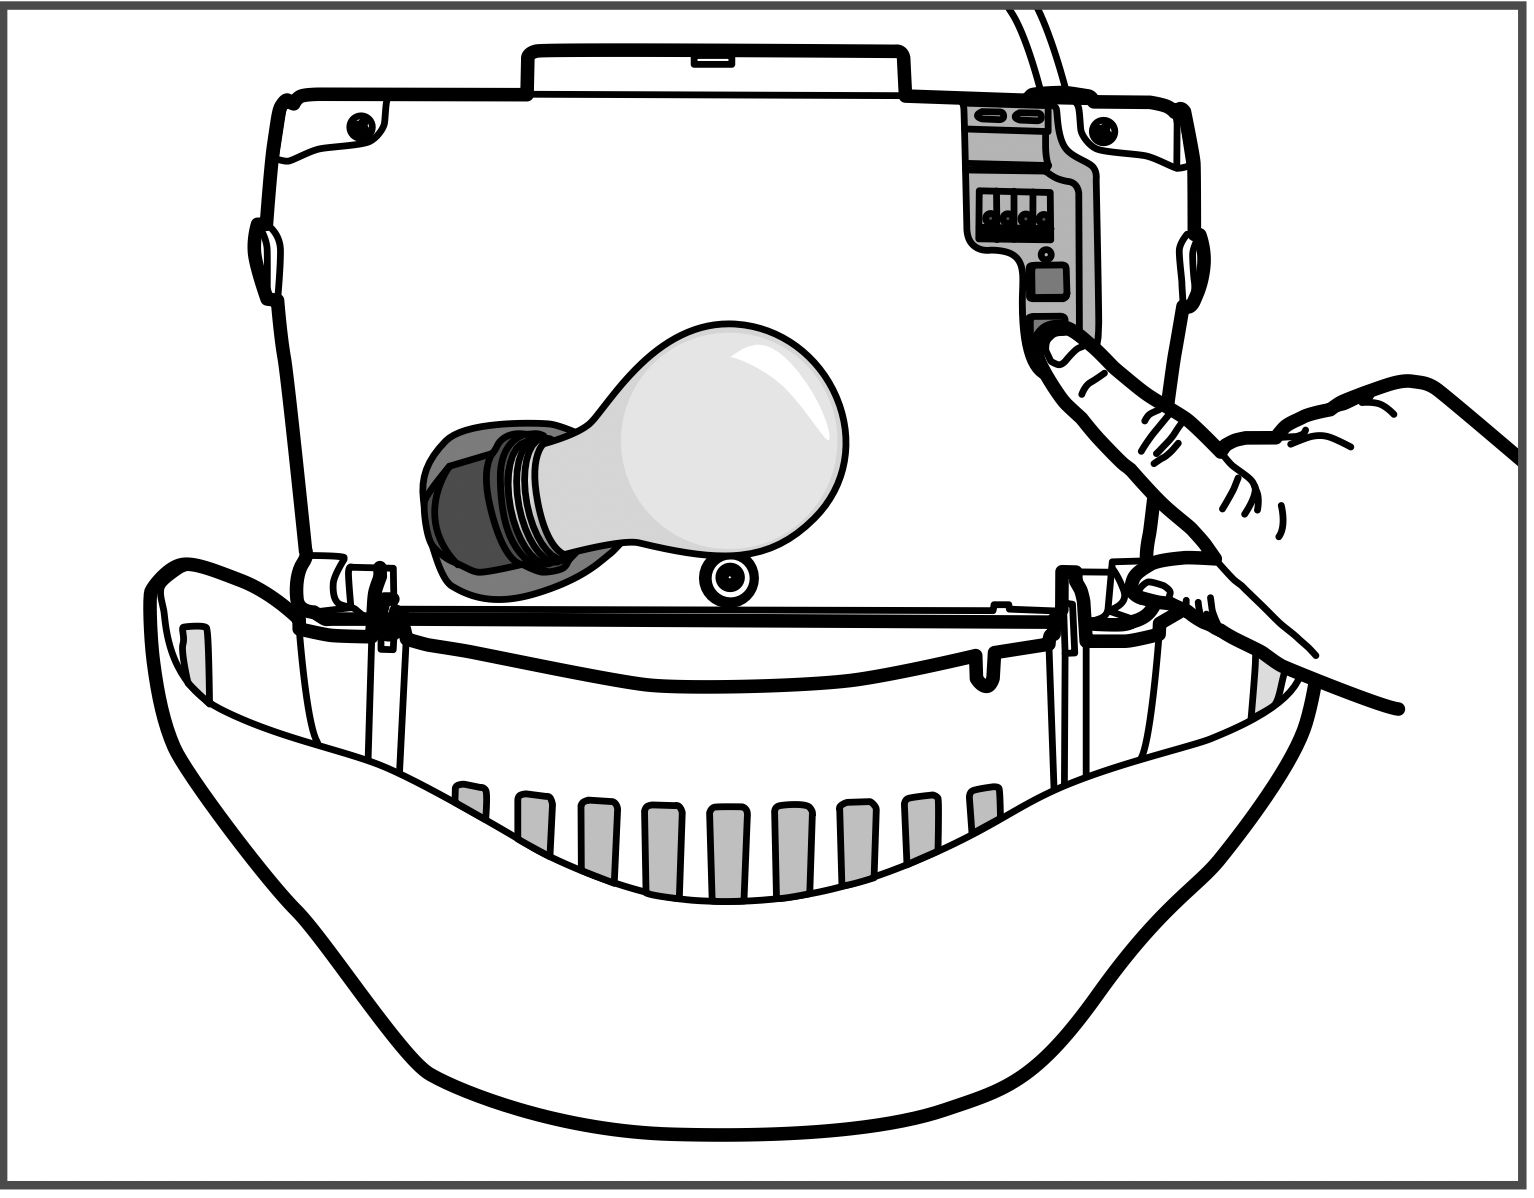
- At the keypad cover bottom, pinch sides and firmly slide the cover from the keypad.
- Remove the battery cover to show mounting holes.
- Remove the battery and mount the keypad using screws provided.
- Reassemble the battery cover and keypad cover.

CHANGING AN EXIST PIN
- Enter the existing 4-digit PIN#, and press *.
- Enter a new 4-digit PIN# _ _ _ _ , and press *.
- Test by entering your new 4-digit PIN# and press the 0 key.
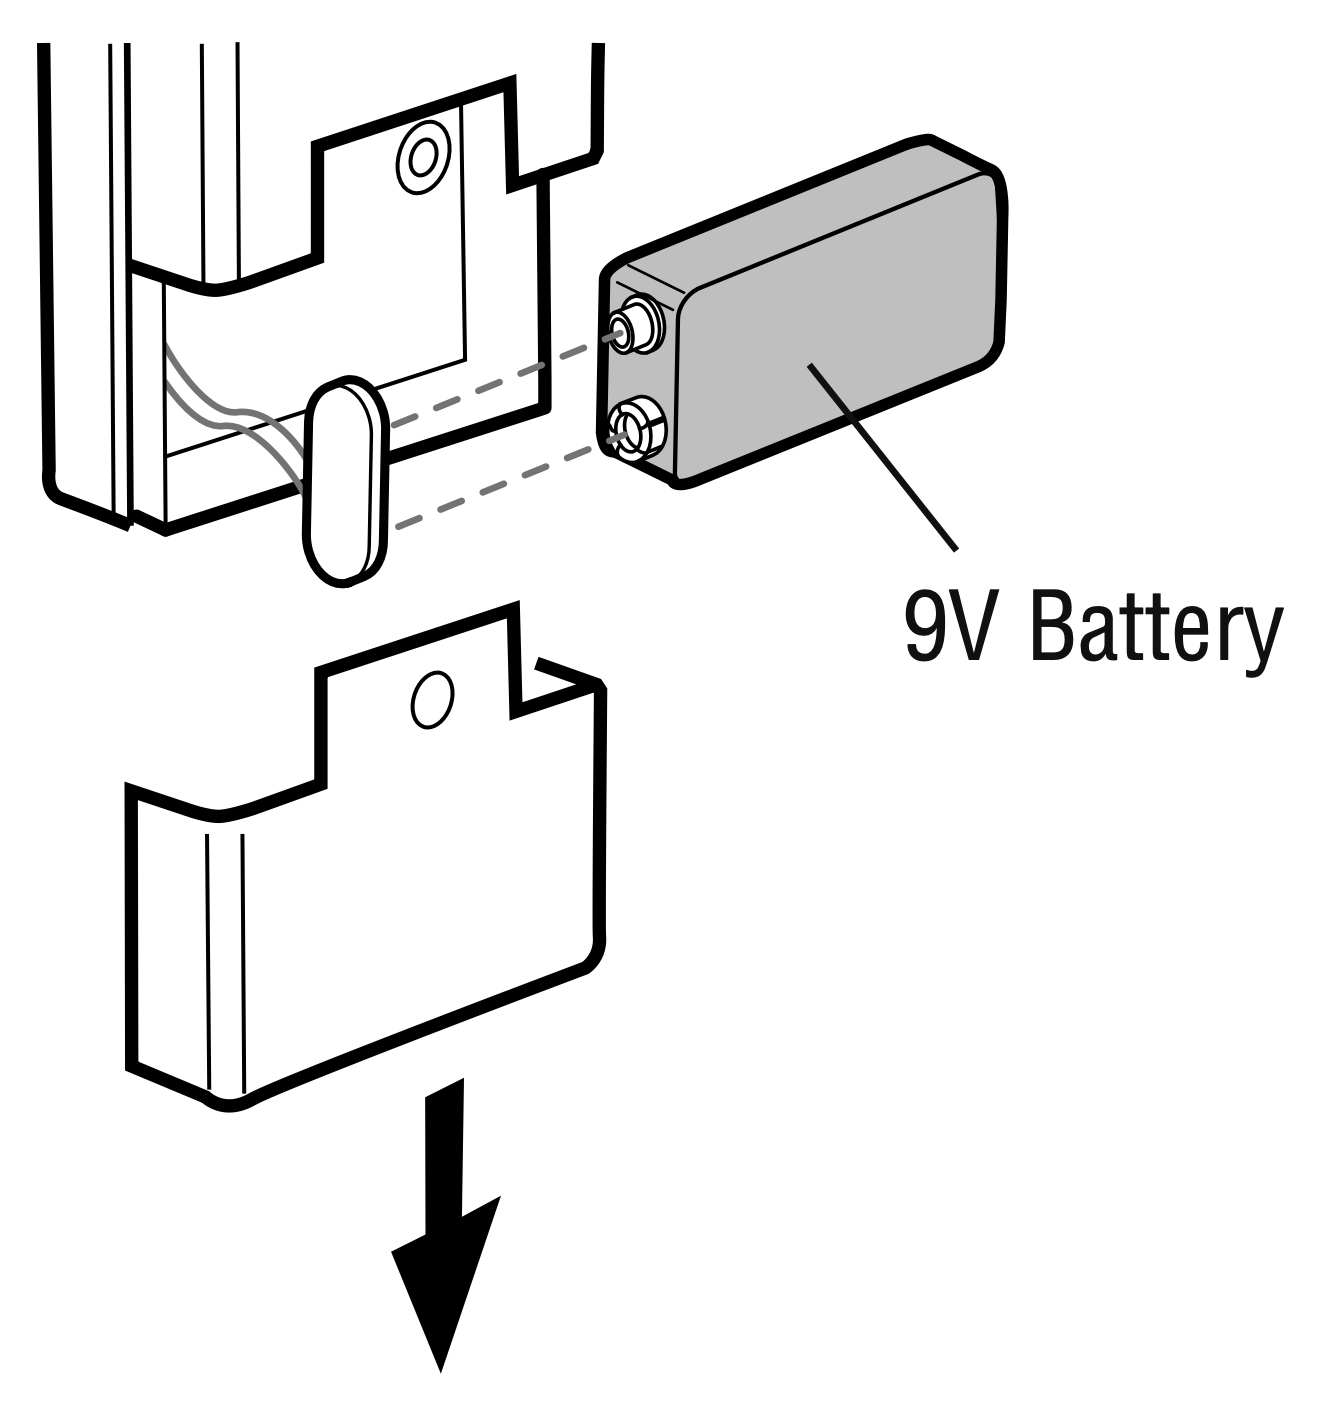
BATTERY
WARNING:
To prevent possible SERIOUS INJURY or DEATH:
- NEVER allow small children near batteries.
- If battery is swallowed, immediately notify doctor.
Replace the 9-Volt battery when keypad light becomes dim or does nit light up. Slice cover up, remove battery cover, and replace battery
NOTICE: This device complies with part 15 of the FCC rules and Innovation, Science and Economic Development Canada license-exempt RSSs. Operation is subject to the following two conditions: (1) this device may not cause harmful interference, and (2) this device must accept any interference received, including interference that may cause undesired operation.
Any changes or modifications not expressly approved by the party responsible for compliance could void the user's authority to operate the equipment.
This device must be installed to ensure a minimum 20 cm (8 in.) distance is maintained between users/bystanders and device.
This device has been tested and found to comply with the limits for a Class B digital device, pursuant to part 15 of the FCC rules and Industry Canada ICES standard. These limits are designed to provide reasonable protection against harmful interference in a residential installation. This equipment generates, uses and can radiate radio frequency energy and, if not installed and used in accordance with the instructions, may cause harmful interference to radio communications. However, there is no guarantee that interference will not occur in a particular installation. If this equipment does cause harmful interference to radio or television reception, which can be determined by turning the equipment off and on, the user is encouraged to try to correct the interference by one or more of the following measures:
- Reorient or relocate the receiving antenna.
- Increase the separation between the equipment and receiver.
- Connect the equipment into an outlet on a circuit different from that to which the receiver is connected.
- Consult the dealer or an experienced radio/TV technician for help.