ID Garage door opener brand and manufacturing dates
1 Linear garage door openers manufactured from 1997 to present.
2 Chamberlain, Sears Craftsman, LiftMaster, Master Mechanic and Do It garage door
openers manufactured from 1997 to 2004 [Orange/Red LEARN Button].
3 Chamberlain, Sears Craftsman, LiftMaster, Master Mechanic and Do It garage door
openers manufactured from 2005 to present [Purple LEARN Button].
4 Chamberlain, Sears Craftsman, LiftMaster, Master Mechanic and Do It garage door
openers manufactured from 1993 to 1996 [Green LEARN Button].
5 Genie Intellicode and Overhead Door garage door openers manufactured from
2005 to present (315 MHz).
6 Genie Intellicode and Overhead Door garage door openers manufactured from
1995 to present (390 MHz).
7 Stanley garage door openers manufactured in 1998 to present.
8 Chamberlain, Sears Craftsman, and LiftMaster garage door openers manufactured
2011 to present [Yellow LEARN Button].
9 Wayne Dalton garage door openers manufactured in 1999 to present (372.5MHz).
10 Xtreme Garage garage door openers manufactured in 2016 to present.
11 Sommer garage door openers manufactured in 2013 to present.
12 Ryobi garage door openers manufactured in 2016 to present.
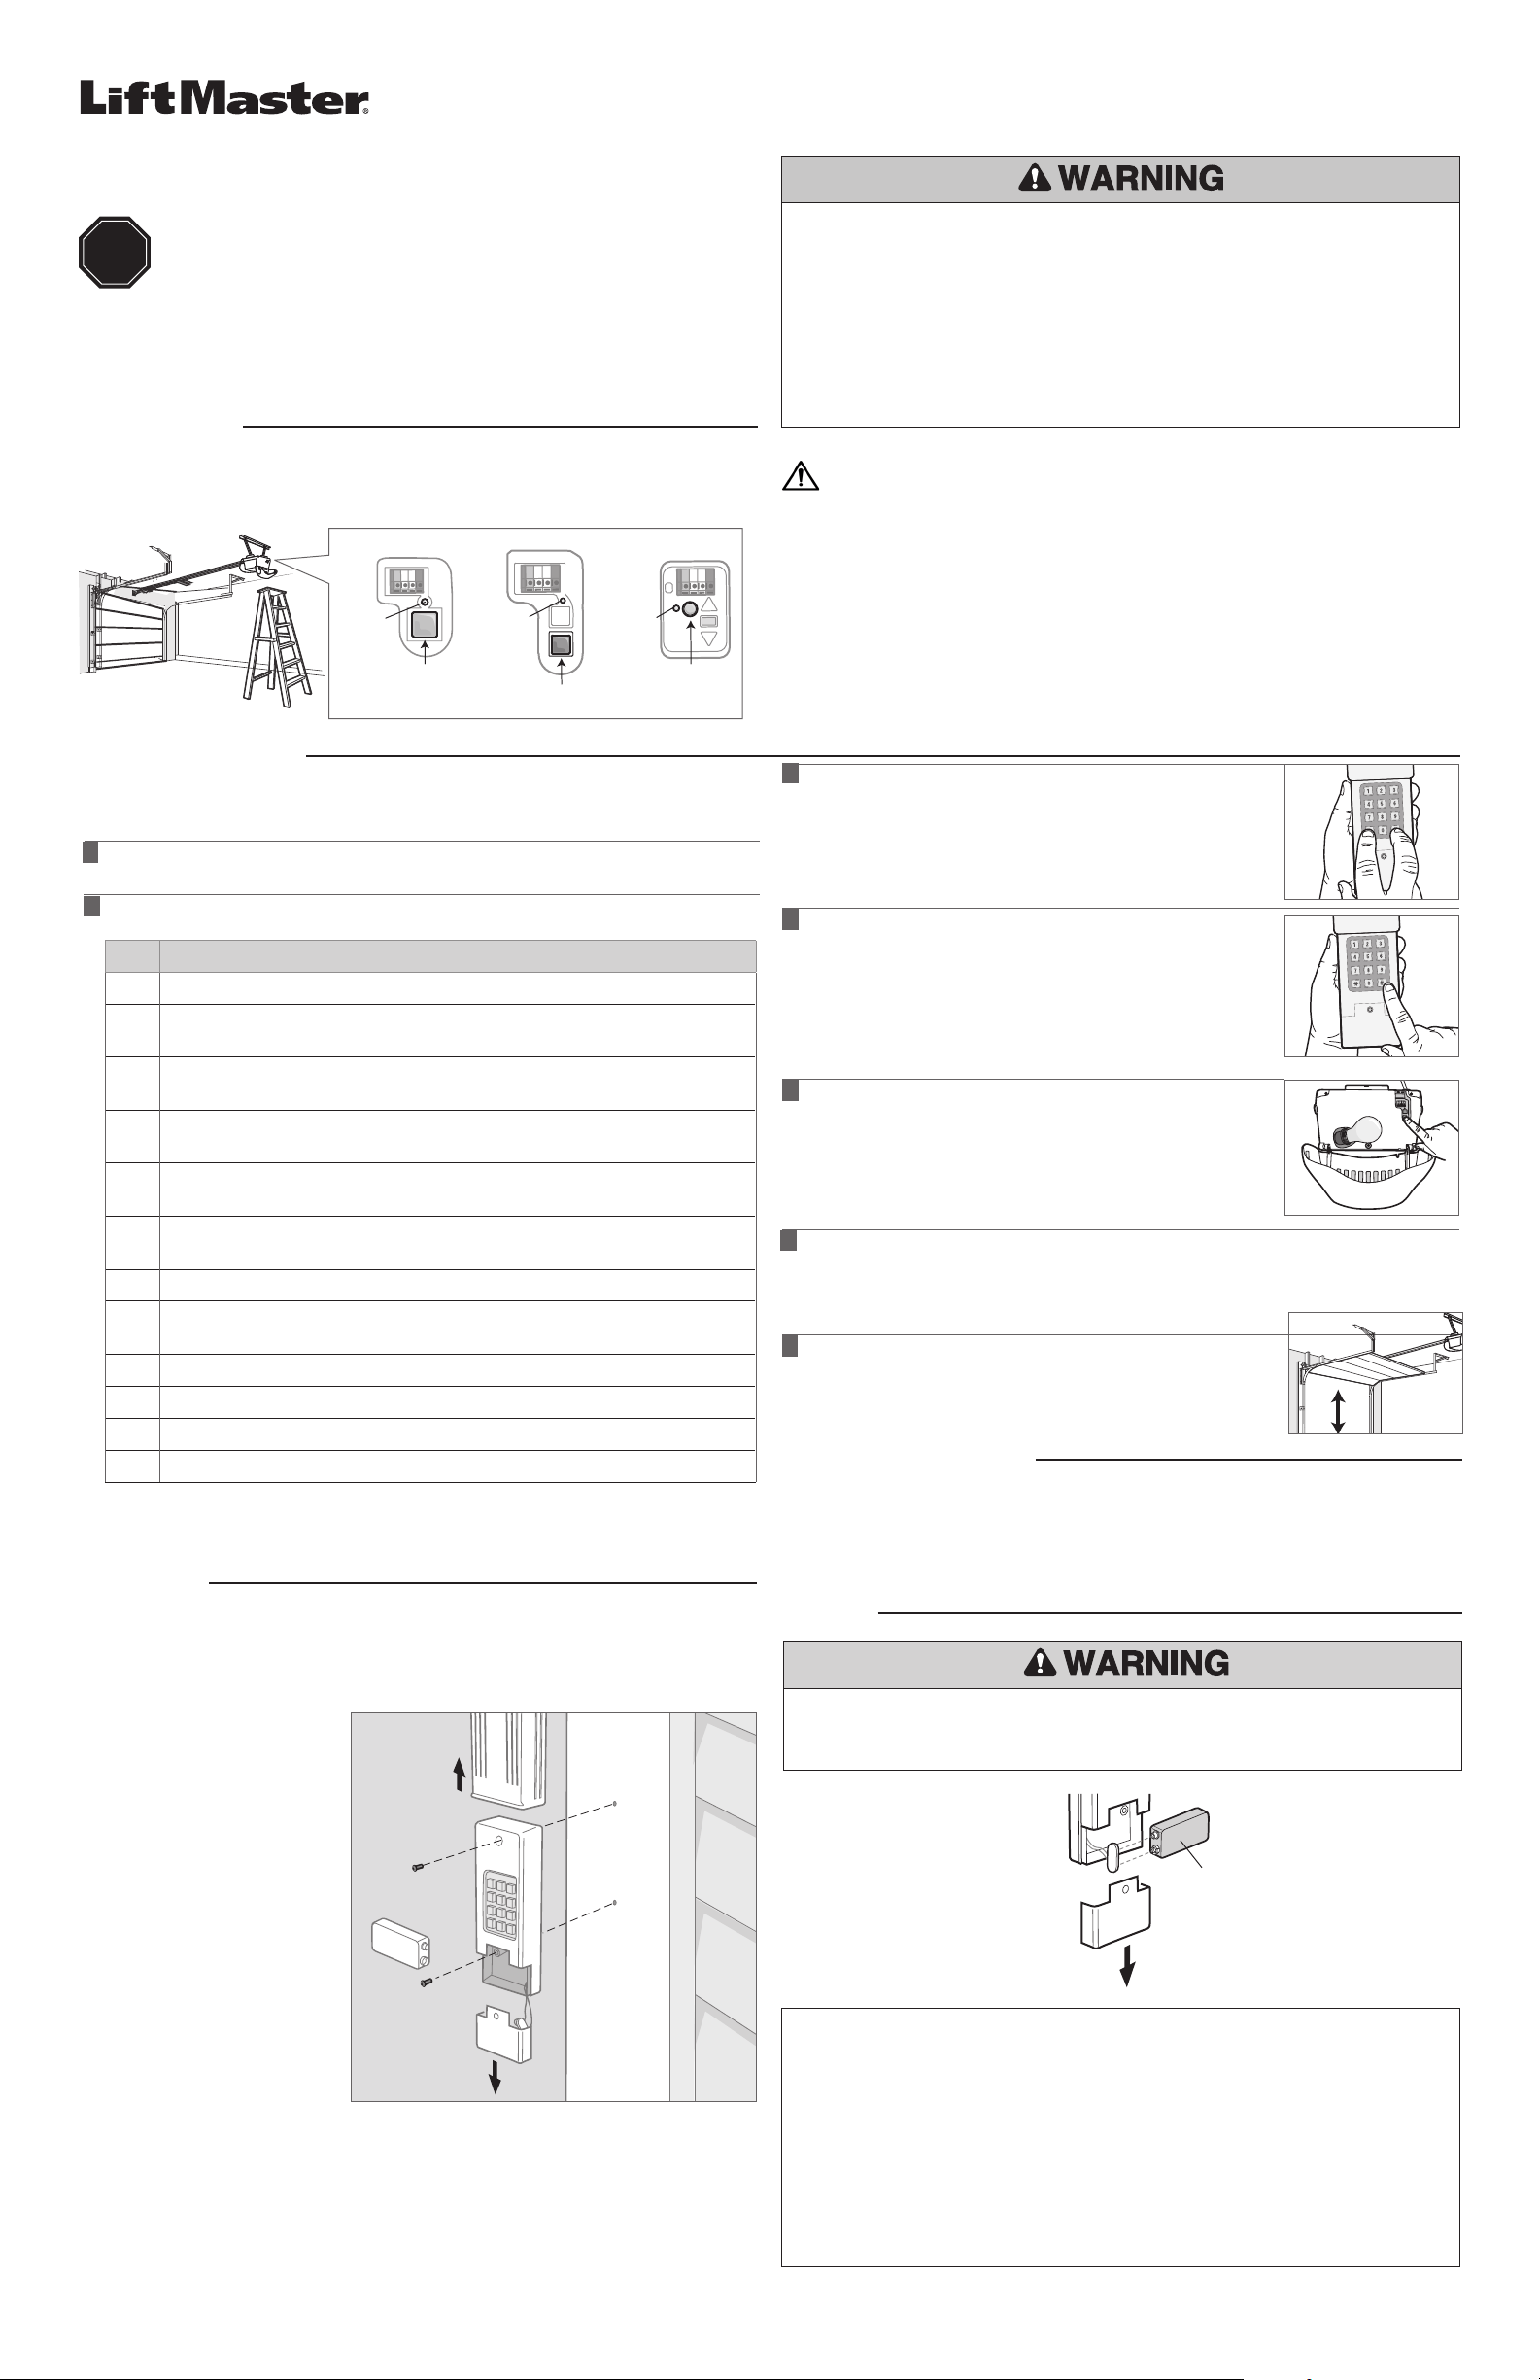
Press and quickly release the LEARN button on the garage door
opener.
Clic
Clic
6
LiftMaster.com
LiftMaster is a Trademark of LiftMaster. Chamberlain and Moore-O-Matic are Trademarks of Chamberlain Group. Genie and Intellicode are
Trademarks of GMI Holdings, Inc. Overhead Door is a Trademark of Overhead Door Corporation. Linear is a Trademark of Linear Corporation.
Master Mechanic is a Trademark of TruServ. Sears is a Trademark of Sears & Roebuck. Stanley is a Trademark of The Stanley Works. Wayne
Dalton is a Trademark of Wayne Dalton Corporation. Do It is a Trademark of Do It Best Corporation. Xtreme Garage is a trademark of Menard, Inc.
Sommer is a trademark of Sommer S.A. Ryobi is a trademark of Ryobi, LTD.
GETTING STARTED
PROGRAM THE INITIAL PIN
To prevent possible SERIOUS INJURY or DEATH from a moving gate or garage door:
• Install keypad within sight of garage door, out of reach of small children at a minimum
height of 5 feet (1.5 m) above floors, landings, steps or any other adjacent walking surface,
and away from ALL moving parts of door.
• ALWAYS keep remote controls out of reach of children. NEVER permit children to operate,
or play with remote controls.
• Activate gate or door ONLY when it can be seen clearly, is properly adjusted, and there are
no obstructions to door travel.
• ALWAYS keep gate or garage door in sight until completely closed. NEVER permit anyone to
cross path of moving gate or door.
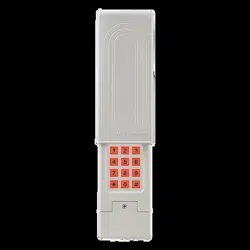
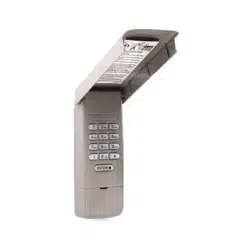
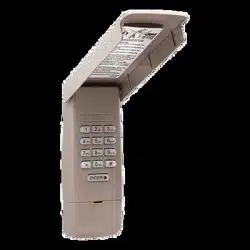
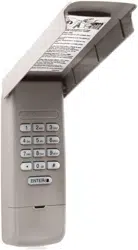
UNIVERSAL WIRELESS KEYPAD
MODELS 387LM, 387LMC
Your universal wireless keyless entry is compatible with LiftMaster, Chamberlain, Sears
Craftsman, Ryobi, Sommer, Xtreme Garage, Master Mechanic, Do It, Genie Intellicode,
Overhead Door, Stanley, Wayne Dalton, or Linear garage door openers with Smart/Learn button.
Read instructions thoroughly BEFORE beginning. If you are using this product with
residential door openers, this product must be used only with door openers
manufactured starting January 1, 1993 that utilize photoelectric sensors located near
the bottom of the door track.
Make sure the garage door opener has a working light because it is a programming indicator.
WARNING: This product can expose you to chemicals including lead, which are known
to the State of California to cause cancer or birth defects or other reproductive harm.
For more information go to www.P65Warnings.ca.gov.
Learn
LED
Learn
LED
OR OR
Learn
LED
Green or
Red/Orange
LEARN Button
Purple LEARN
Button
Yellow
LEARN
Button
Locate the LEARN button on the garage door opener. NOTE: Your garage door opener may look
different.
Write a 4-digit PIN# of your choice in steps 4 and 6.
1
Find and write your opener ID# from the list below to use in step 4.
2
Enter your 4-digit PIN __ __ __ __ , and press #.
Enter the opener ID __ , and press #.
4
5
Enter your 4-digit PIN __ __ __ __, and press the 0 key.
NOTE: For Genie and Overhead Door units, press the 0 key
twice.
7
Press and hold the * and # buttons until the keypad stops flashing.
3
Test by entering your 4-digit PIN, then press and hold
the 0 key until door activates.
Install out of reach of small children at a minimum height of 5 feet (1.5 m) above floors,
landings, steps or any other adjacent walking surface, and away from ALL moving parts of door.
Secure keypad to a smooth surface. Mount the keypad out of the path of the moving garage door,
but within sight of it (4" [10 cm] clearance is needed for the cover).
INSTALLATION
1. At the keypad cover bottom,
pinch sides and firmly slide
the cover from the keypad.
2. Remove the battery cover to
show mounting holes.
3. Remove the battery and mount
the keypad using screws
provided.
4. Reassemble the battery cover
and keypad cover.
1. Enter the existing 4-digit PIN#, and press *.
2. Enter a new 4-digit PIN# __ __ __ __, and press *.
3. Test by entering your new 4-digit PIN# and press the 0 key.
CHANGING AN EXISTING PIN
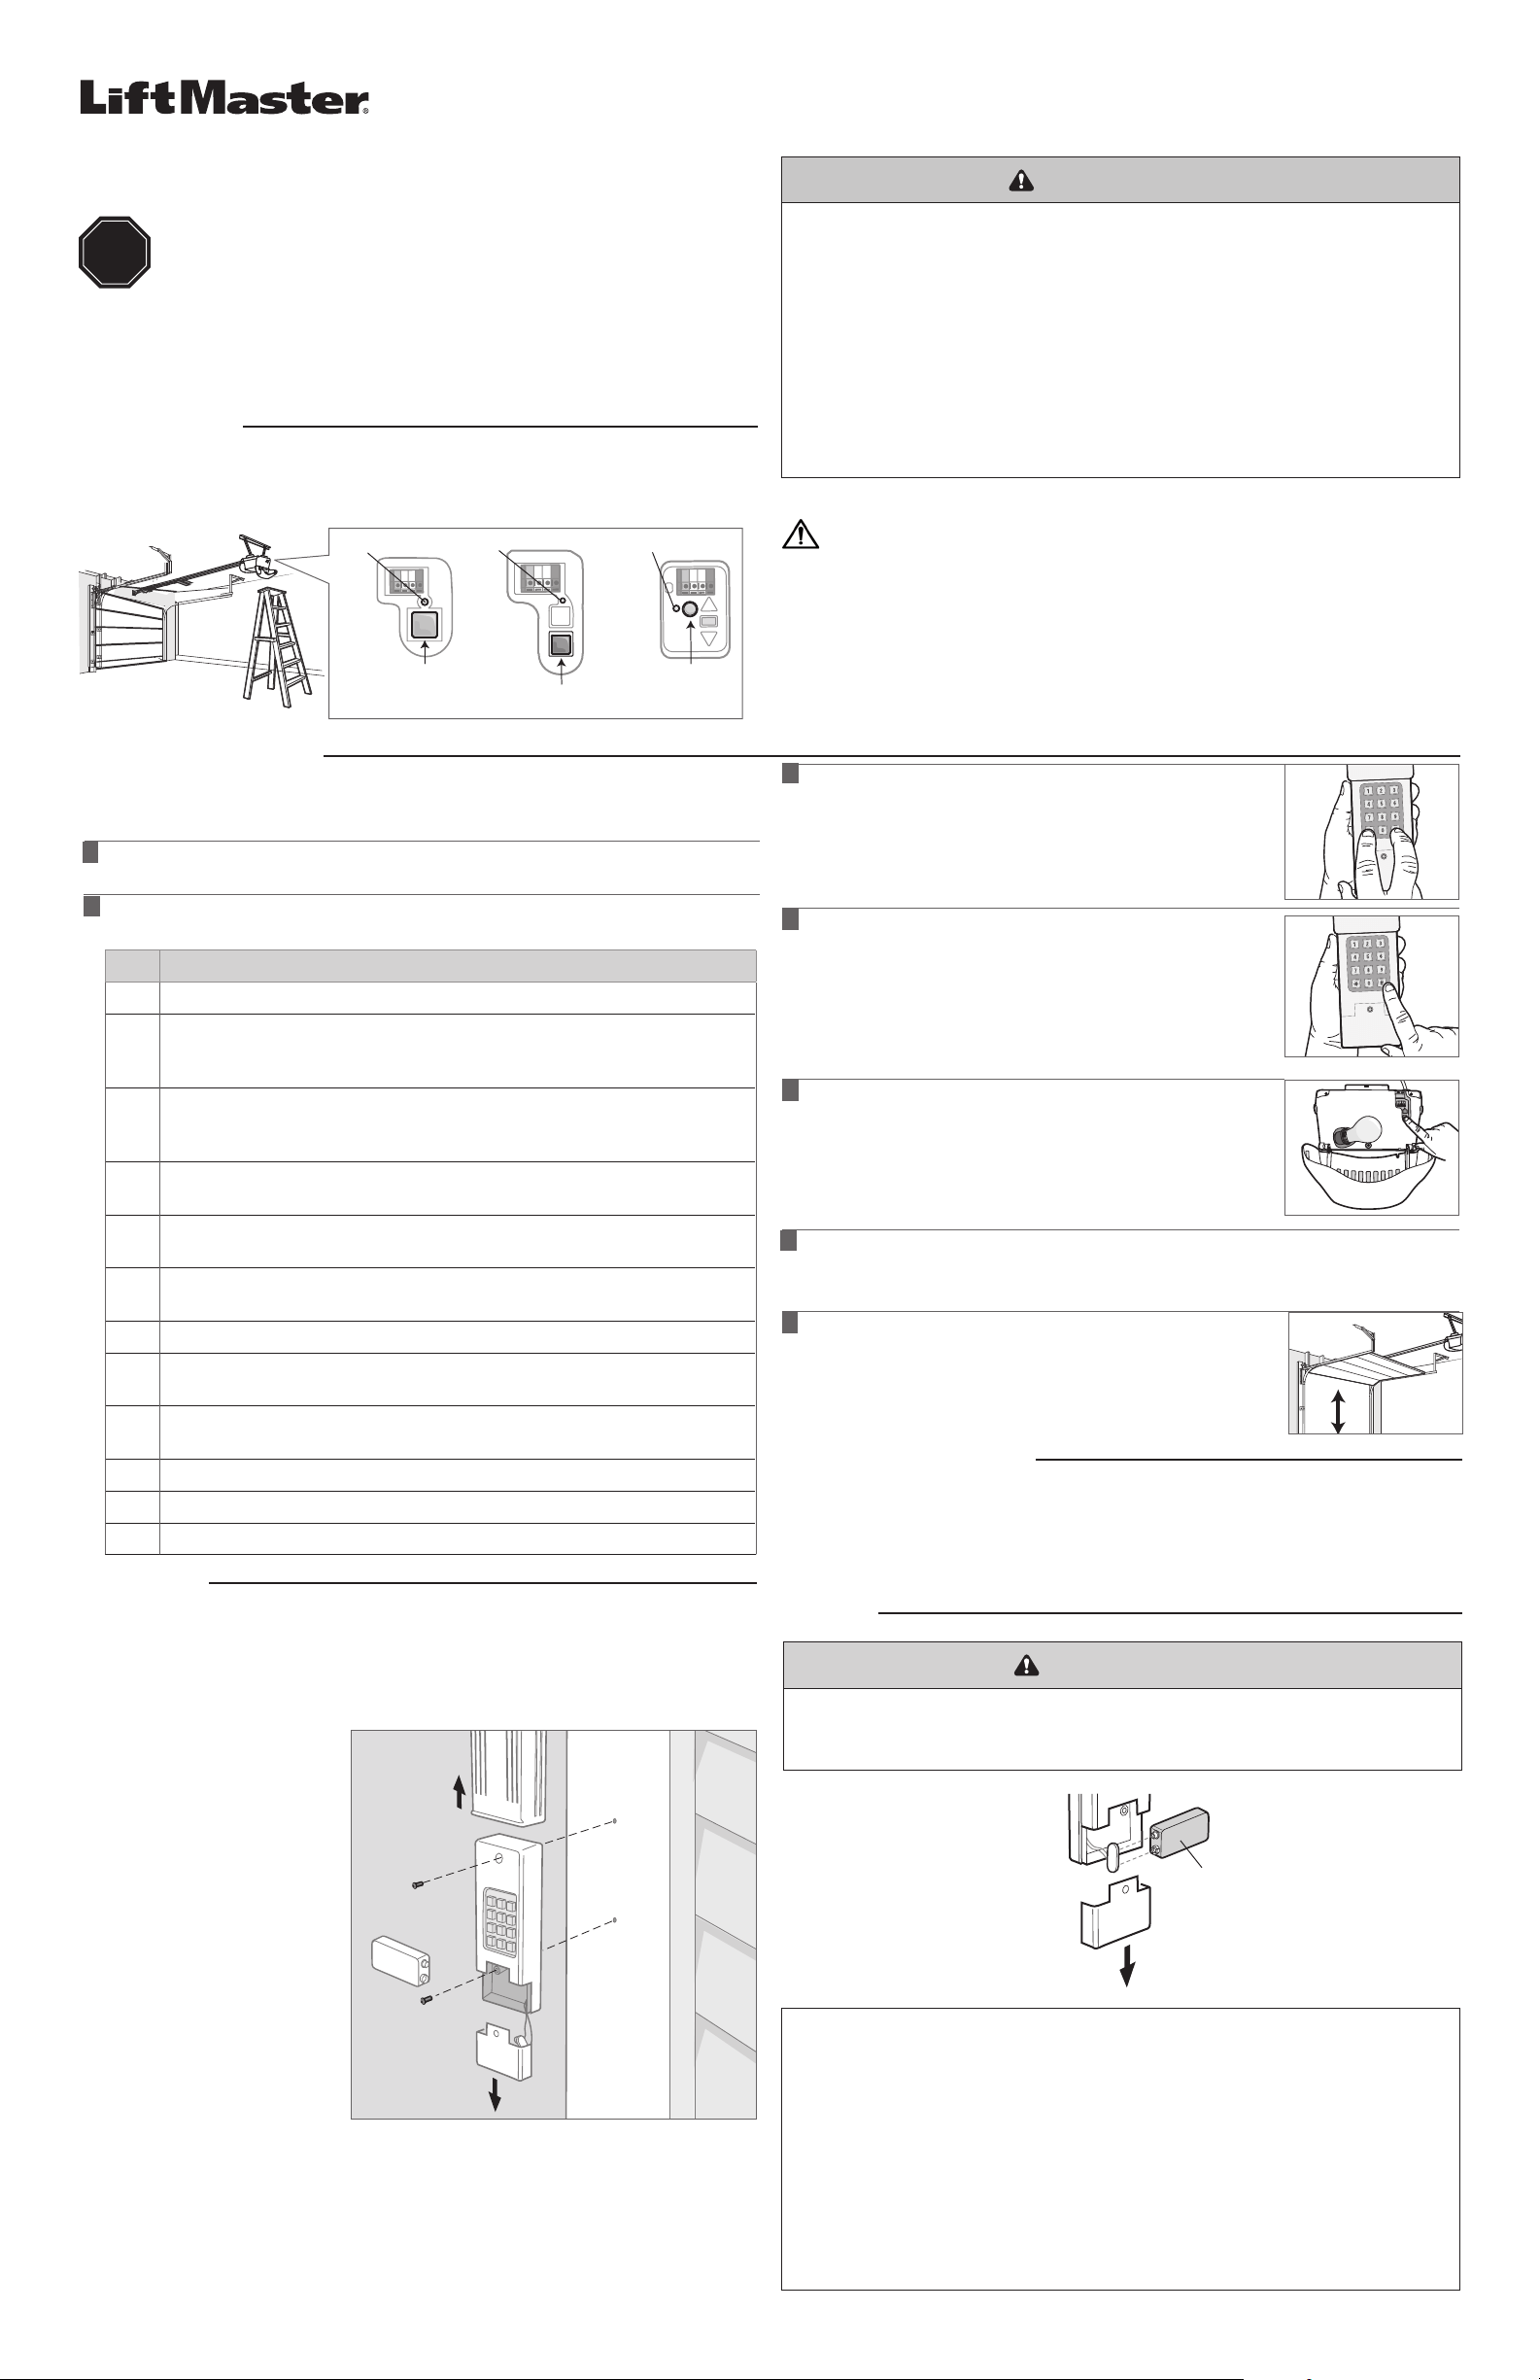
Replace the 9-Volt battery when
keypad light becomes dim or does
not light up. Slide cover up, remove
battery cover, and replace battery.
To prevent possible SERIOUS INJURY or DEATH:
• NEVER allow small children near batteries.
• If battery is swallowed, immediately notify doctor.
BATTERY
9V Battery
1
2
3
STOP
IMPORTANT: You have 10 seconds to complete this step. If the keypad
light turns off before completing this step, go back to step 3.
Before You Begin:
Programming is time-sensitive.
NOTICE: This device complies with part 15 of the FCC rules and Innovation, Science and Economic Development Canada license-exempt RSSs.
Operation is subject to the following two conditions: (1) this device may not cause harmful interference, and (2) this device must accept any
interference received, including interference that may cause undesired operation.
Any changes or modifications not expressly approved by the party responsible for compliance could void the user’s authority to operate the
equipment.
This device must be installed to ensure a minimum 20 cm (8 in.) distance is maintained between users/bystanders and device.
This device has been tested and found to comply with the limits for a Class B digital device, pursuant to part 15 of the FCC rules and Industry
Canada ICES standard. These limits are designed to provide reasonable protection against harmful interference in a residential installation. This
equipment generates, uses and can radiate radio frequency energy and, if not installed and used in accordance with the instructions, may cause
harmful interference to radio communications. However, there is no guarantee that interference will not occur in a particular installation. If this
equipment does cause harmful interference to radio or television reception, which can be determined by turning the equipment off and on, the
user is encouraged to try to correct the interference by one or more of the following measures:
• Reorient or relocate the receiving antenna.
• Increase the separation between the equipment and receiver.
• Connect the equipment into an outlet on a circuit different from that to which the receiver is connected.
• Consult the dealer or an experienced radio/TV technician for help.

ID Marque et dates de fabrication d’ouvre-porte de garage
1 Ouvre-portes de garage linéaires fabriqués de 1997 à aujourd’hui.
2 Ouvre-portes de garage Chamberlain, Sears Craftsman, LiftMaster, Master
Mechanic et Do It fabriqués de 1997 à 2004 [Bouton d’apprentissage orange/
rouge].
3 Ouvre-portes de garage Chamberlain, Sears Craftsman, LiftMaster, Master
Mechanic et Do It fabriqués de 2005 à aujourd’hui [Bouton d’apprentissage
violet].
4 Ouvre-portes de garage Chamberlain, Sears Craftsman, LiftMaster, Master
Mechanic et Do It fabriqués de 1993 à 1996 [Bouton d’apprentissage vert].
5 Ouvre-portes de garage Genie Intellicode et Overhead Door fabriqués de 2005 à
aujourd’hui (315MHz).
6 Ouvre-portes de garage Genie Intellicode et Overhead Door fabriqués de 1995 à
aujourd’hui (390 MHz).
7 Ouvre-portes de garage Stanley fabriqués de 1998 à aujourd’hui.
8 Ouvre-portes de garage Chamberlain, Sears Craftsman et LiftMaster fabriqués de
2011 à aujourd’hui [Bouton d'apprentissage jaune].
9 Ouvre-portes de garage Wayne Dalton fabriqués de 1999 à aujourd’hui
(372,5MHz).
10 Ouvre-portes de garage Xtreme Garage fabriqués de 2016 à aujourd’hui.
11 Ouvre-portes de garage Sommer fabriqués de 2013 à aujourd’hui.
12 Ouvre-portes de garage Ryobi fabriqués de 2016 à aujourd’hui.
Appuyez et relâchez rapidement le bouton LEARN (apprentissage)
de l’ouvre-porte de garage .
Clic
Clic
6
LiftMaster.com
LiftMaster est une marque déposée de LiftMaster. Chamberlain et Moore-O-Matic sont des marques de commerce de Chamberlain Group. Genie et
Intellicode sont des marques de commerce de GMI Holdings, Inc. Overhead Door est une marque de commerce de Overhead Door Corporation.
Linear est une marque de commerce de Linear Corporation. Master Mechanic est une marque de commerce de TruServ. Sears est une marque de
commerce de Sears & Roebuck. Stanley est une marque de commerce de The Stanley Works. Wayne Dalton est une marque de commerce de
Wayne Dalton Corporation. Do It est une marque de commerce de Do It Best Corporation. Xtreme Garage est une marque de commerce de
Menard, Inc. Sommer est une marque de commerce de Sommer S.A. Ryobi est une marque de commerce de Ryobi, LTD.
POUR COMMENCER
PROGRAMMER LE NIP INITIAL
Pour éviter les risques de BLESSURE GRAVE voir MORTELLE causés par un portail ou une
porte de garage en mouvement:
• Installez le clavier à portée de vue de la porte de garage, hors de portée des jeunes enfants,
à une hauteur minimale de 1,5m au-dessus des planchers, paliers, marches ou toute autre
surface de marche adjacente, et à l’écart de TOUTES les pièces mobiles de la porte.
• Gardez TOUJOURS les télécommandes hors de portée des enfants. Ne laissez JAMAIS les
enfants utiliser les télécommandes ou jouer avec elles.
• Activez la barrière ou la porte UNIQUEMENT lorsqu’elle peut être vue clairement, qu’elle est
correctement réglée et qu’il n’y a pas d’obstacles à son déplacement.
• Gardez TOUJOURS le portail ou la porte de garage en vue jusqu’à ce qu’ils soient
complètement fermés. Ne laissez JAMAIS personne traverser la trajectoire d’une porte ou
d’un portail en mouvement.
AVERTISSEMENT
AVERTISSEMENT
AVERTISSEMENT
CLAVIER UNIVERSEL SANS FIL
MODÈLES 387LM, 387LMC
Votre entrée sans clé universelle sans fil est compatible avec LiftMaster, Chamberlain, Sears
Craftsman, Ryobi, Sommer, Xtreme Garage, Master Mechanic, Do It, Genie Intellicode,
Overhead DoorStanley, Wayne Dalton, ou Linear avec le bouton Smart/Learn.
Lisez attentivement les instructions AVANT de commencer. Si vous utilisez ce
produit avec des ouvre-portes résidentiels, il doit uniquement être utilisé avec ceux
qui ont été fabriqués après le 1ejanvier 1993 et utilisent des capteurs
photoélectriques situés près du bas du rail de la porte.
Assurez-vous que l’ouvre-porte de garage a une lumière qui fonctionne, car c’est un indicateur de
programmation.
DEL d’apprentissage
DEL d’apprentissage
OU OU
DEL d’apprentissage
Bouton LEARN
(apprentissage) vert
ou rouge/orange
Bouton LEARN
(apprentissage) violet
Bouton LEARN
(apprentissage)
jaune
Localisez le bouton LEARN (apprentissage) sur l’ouvre-porte de garage. REMARQUE: Il est
possible que l’ouvre-porte ait un aspect différent.
Écrivez un NIP (numéro d’identification personnelle) de votre choix aux étapes4 et 6.
1
Trouvez et écrivez l’ID (identifiant) de votre ouvre-porte dans la liste ci-dessous pour
l’utiliser à l’étape4.
2
Entrez votre NIP à 4chiffres __ __ __ __ __ , et appuyez sur #.
Entrez l’ID de l’ouvre-porte __ , puis appuyez sur #.
4
5
Entrez votre NIP à 4chiffres __ __ __ __, et appuyez sur la touche 0.
REMARQUE: Pour les unités Genie et Overhead Door, appuyez sur la
touche 0 deux fois.
7
Appuyez sur les boutons * et #, et maintenez-les enfoncés
jusqu’à ce que le clavier cesse de clignoter.
3
Testez en entrant votre NIP à 4chiffres,puis appuyez sur la
touche 0, et maintenez-la enfoncée jusqu’à ce que la porte
soit activée.
Installez l’appareil hors de portée des jeunes enfants, à une hauteur minimale de 5pieds (1,5m)
au-dessus des planchers, paliers, marches ou de toute autre surface de marche adjacente, et loin
de TOUTES les pièces mobiles de la porte Fixez le clavier sur une surface lisse. Installez le clavier
hors de la trajectoire de la porte de garage en mouvement, mais à portée de vue de celle-ci (un
dégagement de 4pouces [10cm] est nécessaire pour le couvercle).
INSTALLATION
1. Au bas du couvercle du
clavier, pincez les côtés et
faites glisser fermement le
couvercle du clavier.
2. Retirez le couvercle de la
batterie pour faire apparaître
les trous de montage.
3. Retirez la pile et montez le
clavier à l’aide des vis
fournies.
4. Réassemblez le couvercle de
la batterie et le couvercle du
clavier.
1. Entrez le NIP (numéro d’identification personnelle) à 4chiffres existant, puis appuyez sur *.
2. Entrez un nouveau NIP à 4chiffres __ __ __ __, puis appuyez sur *.
3. Faites un test en entrant votre nouveau NIP à 4chiffres, puis appuyez sur la touche 0.
MODIFIER UN NIP EXISTANT
Remplacez la pile de 9volts lorsque
la lumière du clavier devient faible
ou ne s’allume pas. Faites glisser le
couvercle vers le haut, retirez le
couvercle de la batterie et remplacez
la batterie.
Pour éviter d’éventuelles BLESSURES GRAVES voire MORTELLES:
• Ne laissez JAMAIS de jeunes enfants s’approcher des piles.
• En cas d’ingestion de la pile, prévenez immédiatement un médecin.
AVERTISSEMENT
AVERTISSEMENT
AVERTISSEMENT
BATTERIE
Pile 9V
1
2
3
AVERTISSEMENT : Ce produit peut vous exposer à des produits chimiques, dont le
plomb, qui sont reconnus par l’État de Californie comme provoquant le cancer, des
malformations congénitales ou d’autres problèmes de reproduction. Pour en savoir plus,
visitez www.P65Warnings.ca.gov.
ARRÊTEZ
IMPORTANT: Vous avez 10secondes pour effectuer cette étape. Si le
voyant du clavier s’éteint avant la fin de cette étape, revenez à
l’étape3.
Avant de commencer:
La programmation est sensible au temps.
AVIS: Cet appareil est conforme à la partie15 du règlement de la FCC ainsi qu’au CNR exempt de licence d’Innovation, Science et
Développement économique Canada. Son utilisation est sujette aux deux conditions suivantes: (1)cet appareil ne doit pas causer d’interférences
nuisibles, et (2)cet appareil doit accepter toutes les interférences reçues, y compris les interférences qui peuvent causer le fonctionnement
indésirable de l’appareil.
Les modifications ou les changements non expressément approuvés par la partie responsable de la conformité peuvent annuler l’autorité de
l’utilisateur à utiliser l’équipement.
Cet appareil doit être installé pour qu’un minimum de 8po (20cm) de distance soit maintenu entre les utilisateurs, les passants et l’appareil.
Cet appareil été testé et s’est avéré conforme aux limites d’un appareil numérique de classe B selon la partie 15 des règlements de la FCC et
des normes ICES d’Industrie Canada. Ces limites ont pour objet de fournir une protection raisonnable contre les interférences nuisibles dans
une installation résidentielle. Cet équipement produit, utilise et peut rayonner de l’énergie radiofréquente et, s’il n’est pas installé et utilisé
conformément aux instructions, il risque de causer des interférences nuisibles aux communications radio. Toutefois, il n’est pas possible de
garantir l’absence d’interférences dans une installation particulière. Si cet équipement cause des interférences nuisibles à la réception radio ou
TV, ce qui peut être déterminé en l’éteignant puis en le rallumant, l’utilisateur est invité à essayer de corriger l’interférence en prenant au moins
l’une des mesures suivantes:
• Réorientez ou déplacez l’antenne de réception.
• Augmentez la distance entre l’équipement et le récepteur.
• Connectez l’équipement à une prise située sur un circuit différent de celui auquel le récepteur est connecté.
• Consultez le revendeur ou un technicien radio/TV expérimenté pour obtenir de l’aide.