Loading ...
Loading ...
Loading ...
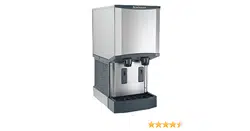
HID312, HID525 and HID540
Installation and User’s Manual
September 2020
Page 8
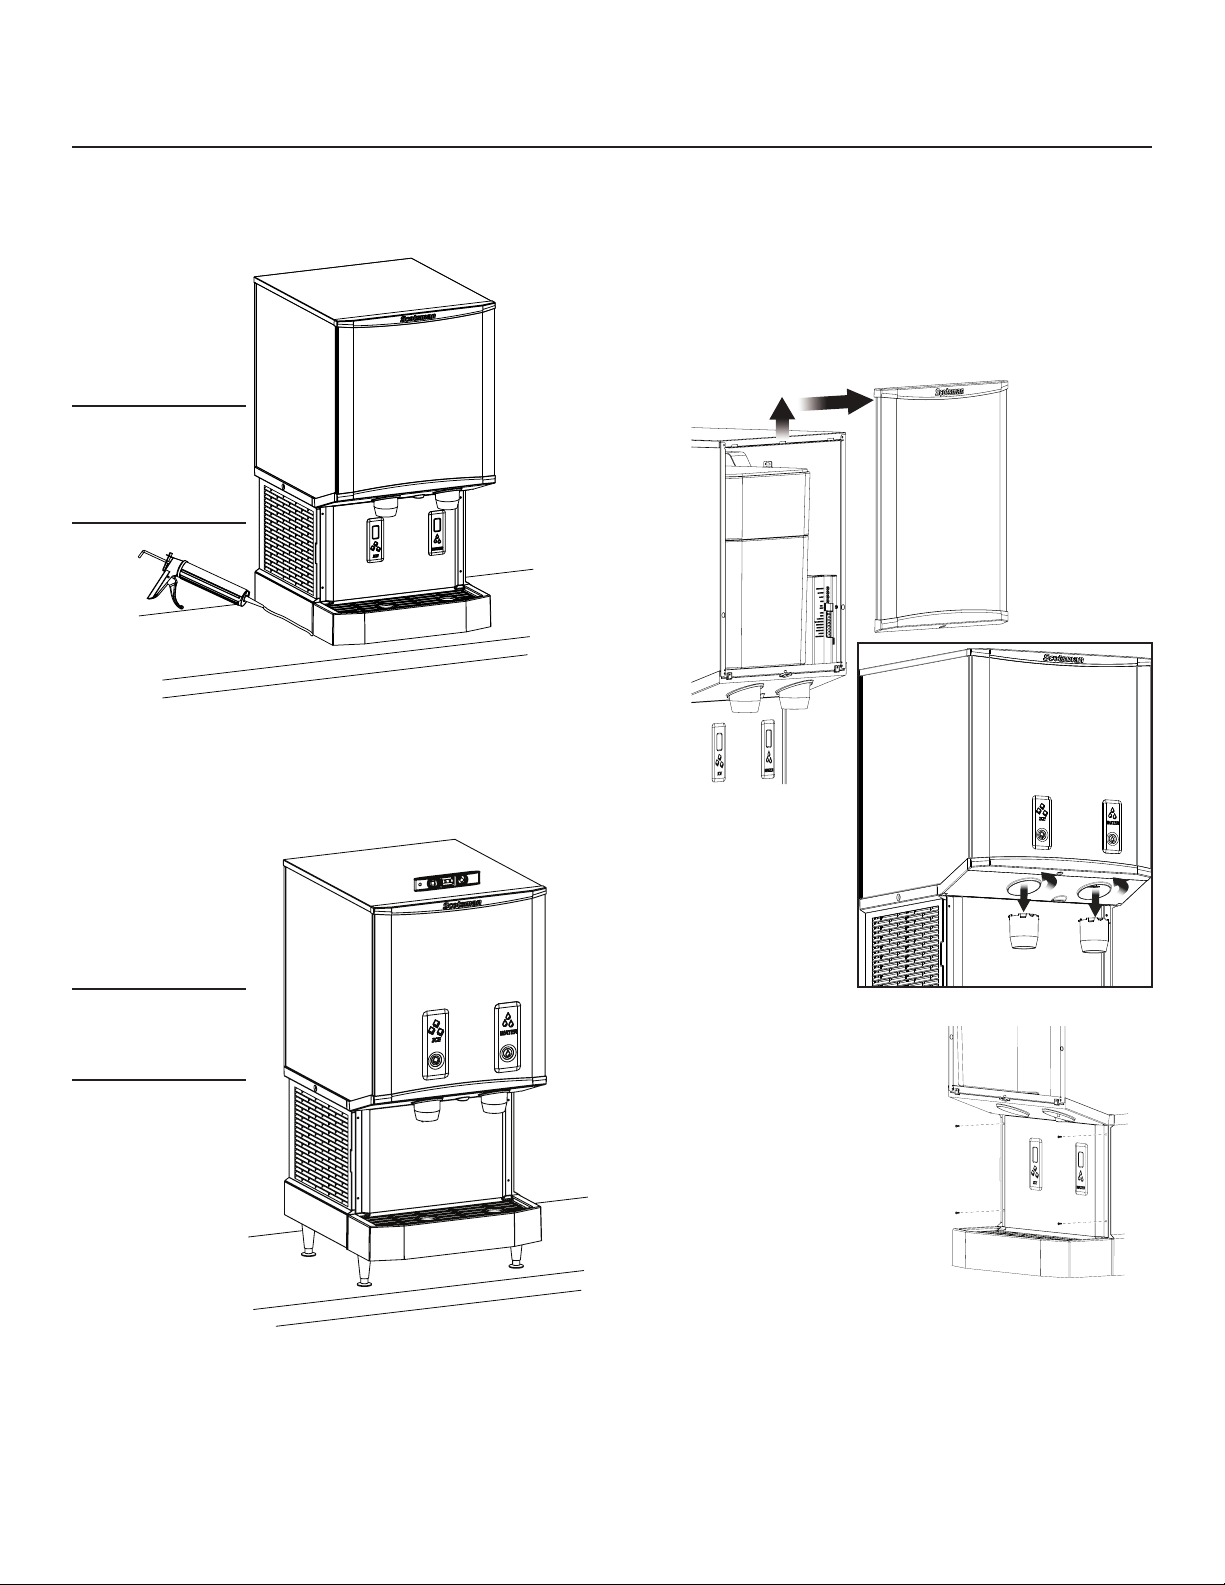
Counter Installations
Units placed on a counter must either use legs or be
sealed to the counter top with food grade sealant per
local codes. To avoid disturbing the seal, complete the
installation prior to sealing.
Legs
4” legs are optional for counter top applications. They
are not to be used on the HID dispenser when it is
placed on a machine stand.
Set Up
The drip tray and cup rest are shipped in place, there
is no need to attach or remove them. It is a good idea
to remove the front panels and inspect for any loose
or rubbing parts prior to installation.
Panel Removal
Remove one screw at bottom front of upper front
panel, swing bottom of panel forward and lift o the
unit. On button activated dispensing models, rest the
panel on the drip try and unplug button connector to
fully remove panel.
Twist ice and
water chutes
counterclockwise and
pull down to remove.
Remove four screws from
sides of lower front panel,
pull forward slightly lift o
the unit. On Touch-Free
dispensing models, rest it
on the drip tray and unplug
sensor connector to fully
remove panel.
Pre-Start Inspection
Level the cabinet front to back and left to right.
Conrm there are no loose or rubbing parts.
Return splash panel and chutes to unit.
Note: Seal
Chassis to
Counter, do NOT
Seal Drip Tray
Note: Use
only legs of 4”
minimum height.
Loading ...
Loading ...
Loading ...