Loading ...
Loading ...
Loading ...
HID312, HID525 and HID540
Installation and User’s Manual
September 2020
Page 7
Placement
The location of the equipment should be selected
with care. Consideration should be given to allow
adequate space on the sides for air cooled models to
breathe.
Minimum clearances for air cooled models:
• 6 inches at each side
• 2 inches above, 10” more to allow auger removal
when ceiling is xed.
• 6 inches at the back.
Air cooled models ow air left to right. More space
than the minimum at the sides will maximize
performance.
The power outlet should be located within the length
of the supplied power cord. If placed on a counter,
the counter must be strong enough to support the
weight of the unit. Space above the cabinet should be
allowed for service and maintenance. If legs will be
used, allow space for the total cabinet height.
Air cooled models in a small room will require
ventilation to exhaust the heat they produce. They
also produce some added noise from the fan.
Noise sensitive areas should consider water cooled
equipment or the machine located where the noise
from ice making is not objectionable.
Touch-Free dispensing models should avoid areas
with nearby infrared emitters or a window that allows
sunlight to shine on a dispensing sensor which may
cause the unit to dispense without a container to
trigger it.
Cafeteria applications.
The unit can be placed in a cafeteria line for ice and
water. As some users sometimes dispense too much
ice, high volume use may require the drip tray to be
occasionally cleared of spilled ice.
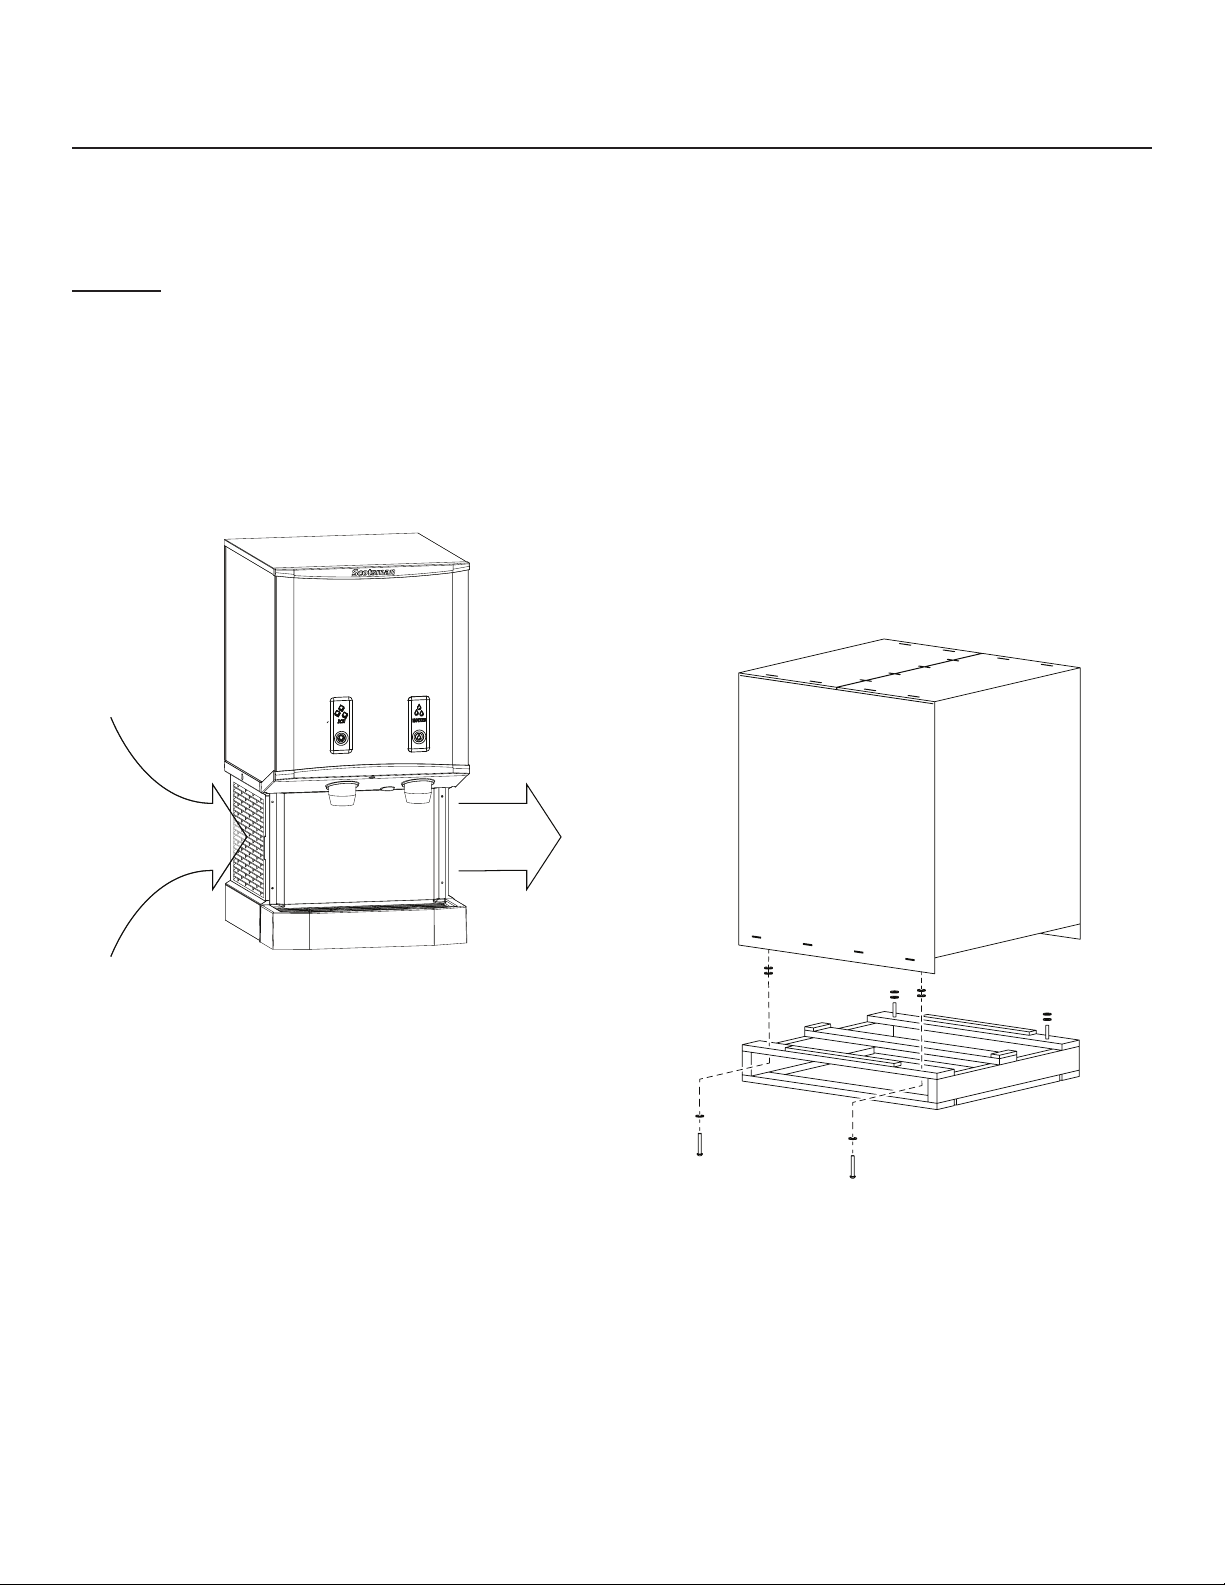
Unpack
1. Separate the carton from the shipping pallet.
2. Remove any strapping holding the cabinet to the
pallet.
3. Inspect for hidden shipping damage. If any is
found, retain carton and notify carrier for potential
claim. Shipping damage is not covered by
warranty.
4. Remove bolts holding machine to pallet. Use
caution to not tip unit too far when removing bolts.
5. Remove plastic covering the drip tray.
6. Remove the protective plastic covering the panels.
The longer it is left on the panel, the harder it will
be to remove it.
7. Place unit on machine stand or on counter. If on
machine stand secure the cabinet to the machine
stand with the required fasteners.
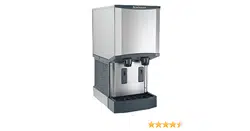
Airow Direction
Unpacking
Loading ...
Loading ...
Loading ...