Loading ...
Loading ...
Loading ...
Initial operation 7
b
• Access and select an input source.
• Quick access to settings options (e.g.
picture and sound options).
c
Confirm a selection or entry.
d
• When browsing apps, access more
options.
• When playing media, access more
options.
e
Access the home menu.
f
/
Increase or decrease volume.
g
Enable or disable the on-screen pointer
.
h
Quick access to apps windows.
i
Start, pause or resume media play.
j
Return to a previous menu screen.
k
Navigation buttons
• Navigate menu options.
• On the home screen, press once
more to display shortcut options; press
once or more to exit shortcut options.
l
Quick access to settings options (e.g.
picture and sound options).
m
Switch the projector on or to standby.
3 Initial operation
Placement
You can install the projector in four different
configuration. Follow the guidelines below for
different projector placement.
Notice
For overhead mounting on ceiling,
purchase a projector mount
recommended by an installation
professional and follow the instructions
that come with the mount.
Before mounting on the ceiling, make
sure the ceiling can support the weight
of the projector and mounting kit.
For ceiling installation, this product
must be securely attached to the ceiling
in accordance with the installation
instructions. An improper ceiling
installation may result in accident, injury
or damage.
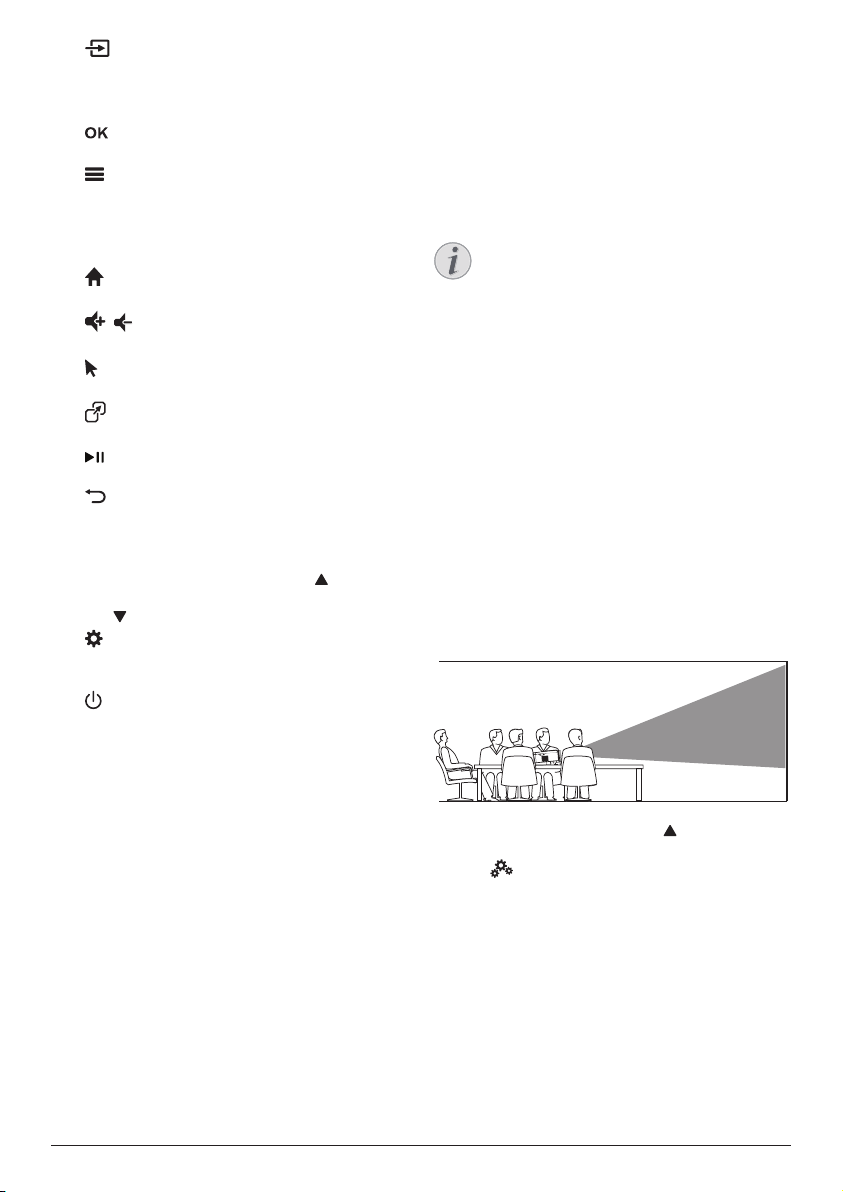
Front table
1 Place the projector on a table in front of the
projection screen. This is the most common
way to position the projector for quick
setup and portability.
2 On the home screen, press once or more
to display the shortcut options. Then select
the icon on the upper right of the home
screen and press OK, then go to Projection
Image Setting - Projection Mode - Front-
Desktop.
Front ceiling
1 Mount the projector on the ceiling with
upside up in front of the projection screen.
A projector mount is required to mount the
projector on ceiling.
Loading ...
Loading ...
Loading ...