Loading ...
Loading ...
Loading ...
133
6
Advanced Shooting Techniques
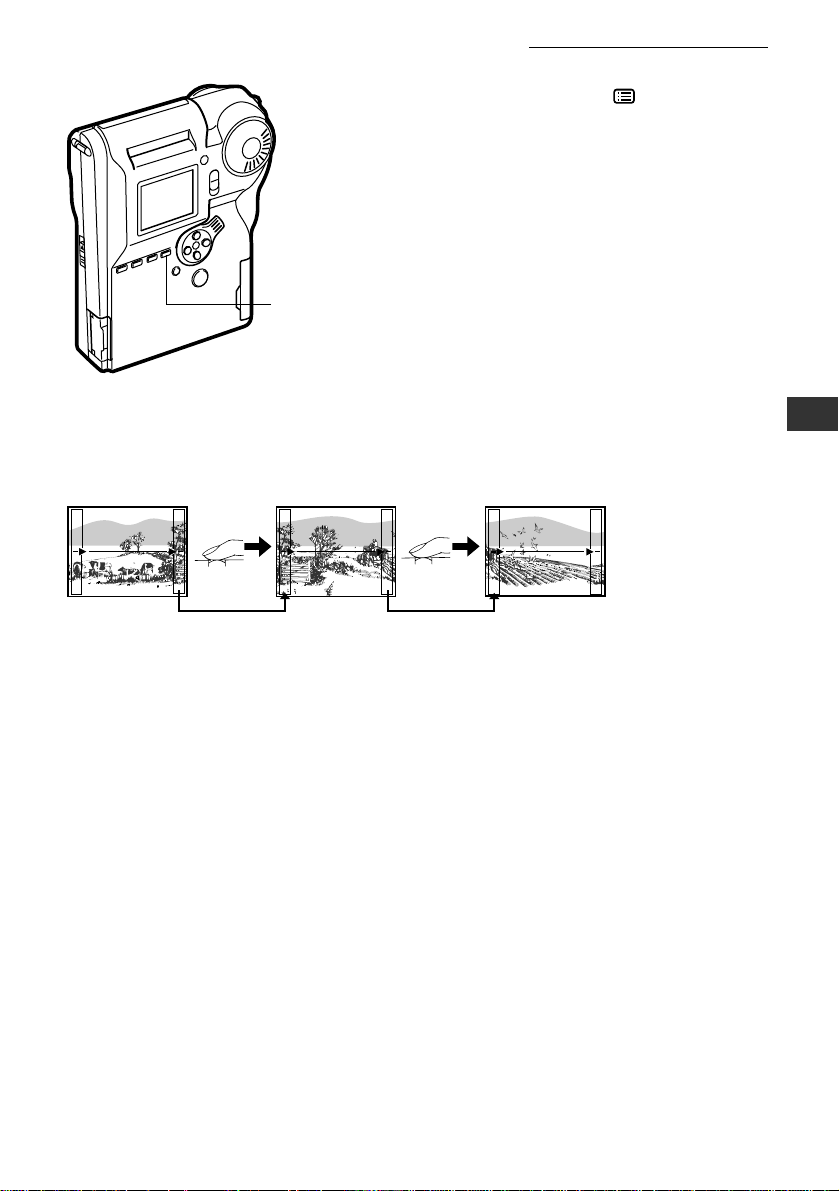
7 Press the MENU button ( ).
• The monitor returns to the Shooting menu.
8 Later, you can transfer the data to your
computer and join the images together
using CAMEDIA Master.
• Final stitching must be carried out at the
computer using the CAMEDIA Master
software.
Panorama mode is automatically cancelled when you change the position of the mode
dial.
If connecting to the right: Shift the camera so that the right edge of
the previous shot becomes the left edge of the next shot. (If you
shift the camera in the wrong direction, you will not be able to
stitch the panorama.)
Taking Panoramas (continued)
7
NOTE
• The focus, exposure, and white balance are determined by the first shot in the
panorama.You can not change these settings for the subsequent shots.
• Be careful to position the camera correctly when taking your second and subsequent
shots (at Step 4 in the procedure above). Panorama stitching will not be possible if
you do not overlap consecutive images correctly within the rectangles.
• The flash does not operate when the camera is in panorama mode.
• It is recommended that you use SQ recording mode when shooting large panoramas.
Use of HQ or SHQ mode may result in huge data sizes that may lead to memory
problems when you stitch the panorama at your computer.
• The camera will not use SHQ-TIFF recording mode when taking a panorama. If you
have set the recording mode to SHQ-TIFF, the camera will use SHQ instead.
Loading ...
Loading ...
Loading ...