Loading ...
Loading ...
Loading ...
15
6. Disconnect the beer line and CO
2
air line from the keg coupler.
7. Remove the beer keg and bottom metal plate.
8. Remove the keg coupler.
9. Disconnect the air line from the CO
2
cylinder.
10. Remove the CO
2
air line from cabinet plug.
11. Replace the air line rear cabinet plug
12. Remove the beer tower. Also pull the beer line thru the top of the cabinet.
13. Replace the top cabinet plug.
14. Remove the guard rail and cover the guard rail installation holes with the plugs provided.
15. Install the two wire shelves to the designated positions.
16. Adjust temperature as desired.
OPERATING YOUR BEER DISPENSER
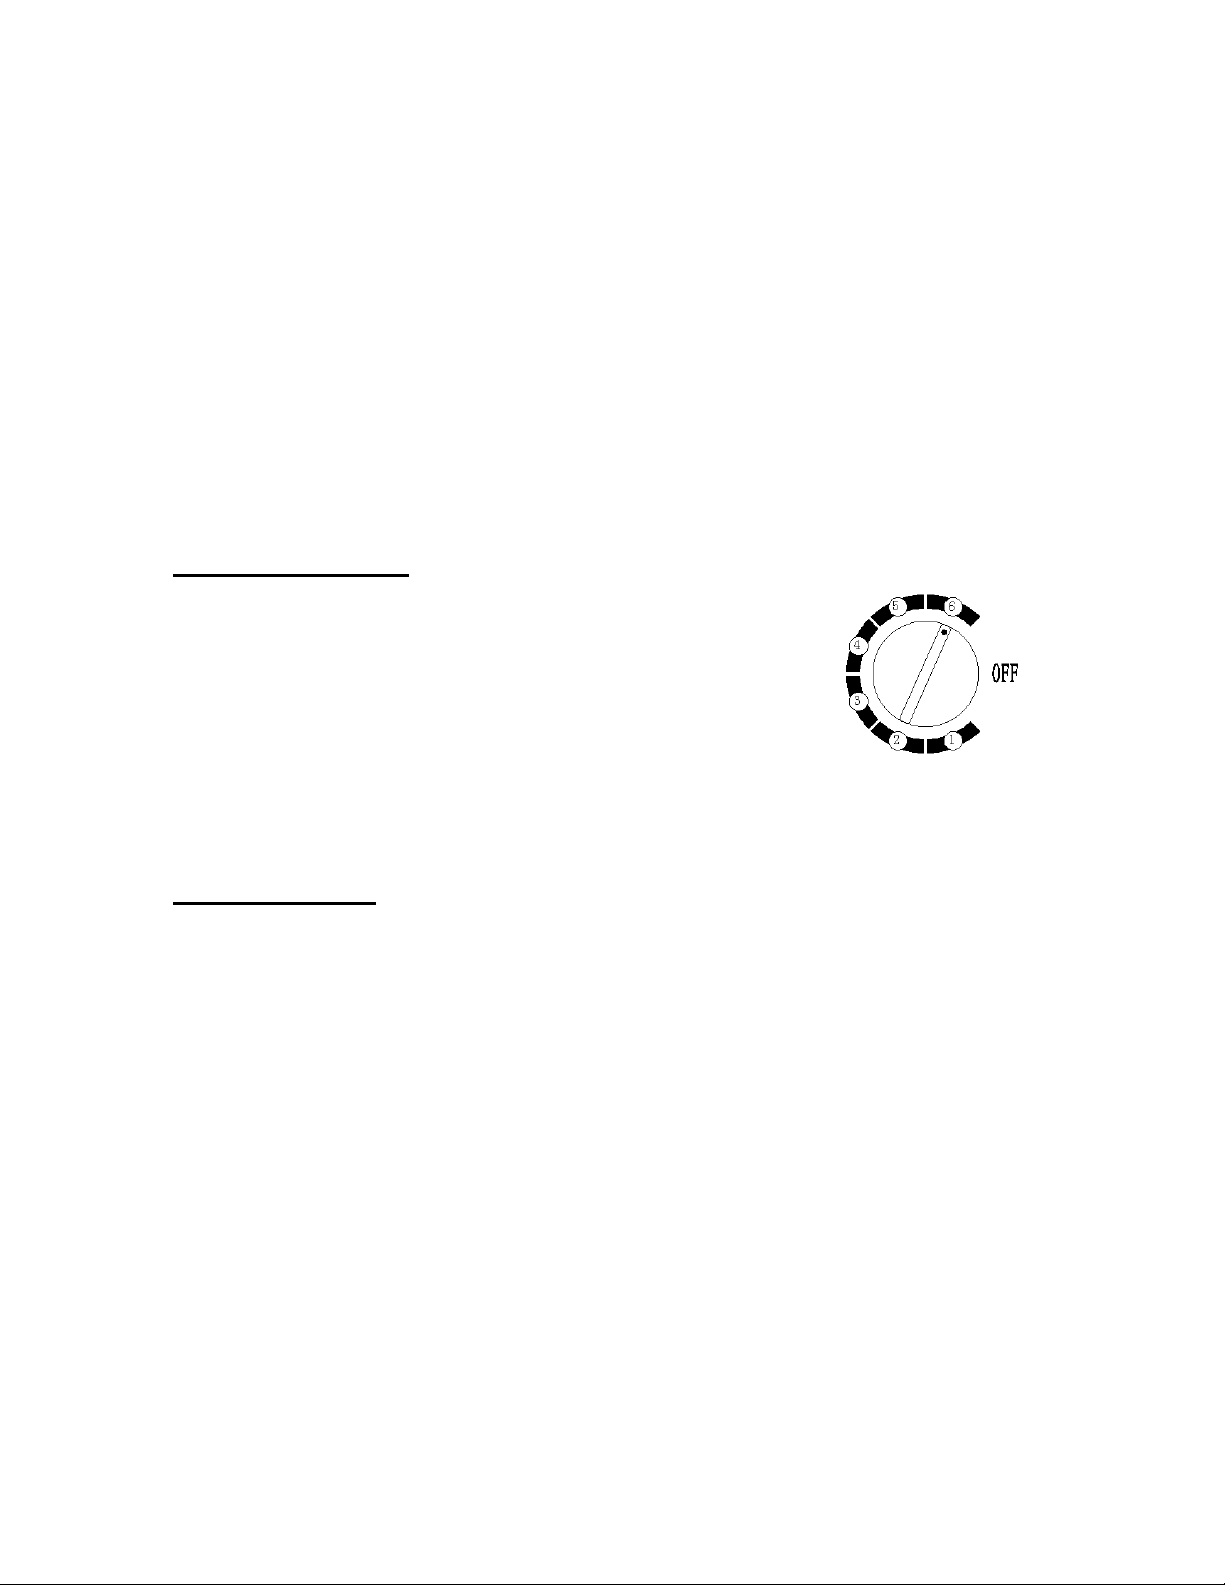
Setting The Temperature
To start, turn the temperature control knob to the maximum setting (6) to
achieve coldest temperature quickly. Allow the unit to run for 3 hours. The
temperature range of the thermostat is 36°F to 45°F (2.2ºC to 7.2ºC).
Optimum temperature for serving draught beer is between 34°F and 38°F
(1.1ºC – 3.3ºC) and that is a key factor to consider in storing and dispensing
draught beer.
To turn off the Beer Dispenser, turn the control knob to the “OFF” position.
NOTE: Keep an accurate thermometer handy and adjust temperature control setting as necessary or
according to your needs.
Automatic Defrosting
There is no need to defrost the beer dispenser. Defrost water collects and passes through the drain outlet
in the rear wall into a tray located above the compressor, where it evaporates.
NOTE:
IF THE UNIT IS UNPLUGGED, HAS LOST POWER, OR IS TURNED OFF, YOU MUST WAIT 3 TO
5 MINUTES BEFORE RESTARTING THE UNIT. IF YOU ATTEMPT TO RESTART BEFORE THIS
TIME DELAY, THE BEER DISPENSER WILL NOT START.
TURNING THE TEMPERATURE CONTROL TO THE “OFF” POSITION STOPS THE COOLING
CYCLE BUT DOES NOT SHUT OFF THE POWER TO THE UNIT.
Loading ...
Loading ...
Loading ...