Loading ...
Loading ...
Loading ...
14
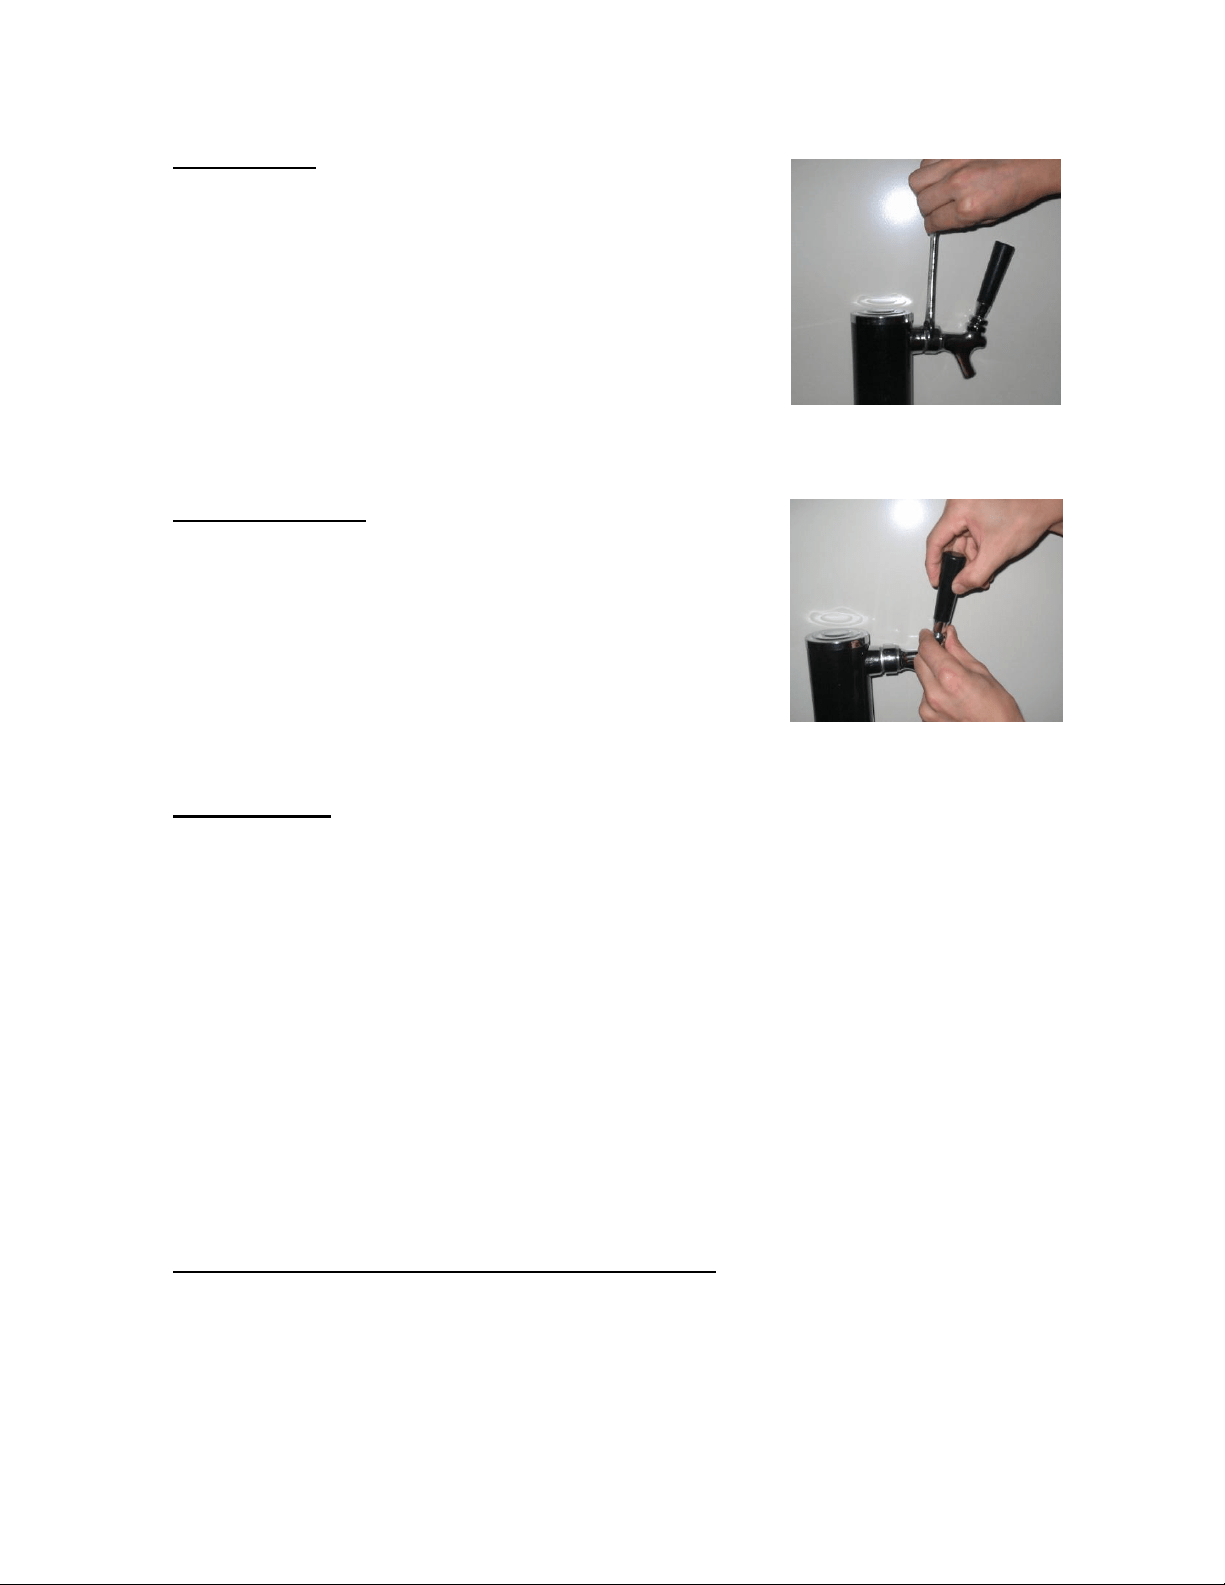
Faucet Wrench
Faucet wrench provided for either removing or tightening
connection. (See Figure 10)
Figure 10
Plastic Faucet Lever
Attach the black plastic lever (pull handle) provided on the top of
the faucet, tightening it by hand clockwise until the end, holding in
the silver snug underneath so it does not move.
If there is still a small drip from the faucet, you may have tightened
the plastic lever too much and may need to unscrew silver snug
counter-clockwise (as shown in Figure 11) one turn. That should
correct the problem.
Figure 11
Dispensing Beer
Keep beer keg refrigerated at all times.
Never allow beer lines to dry out.
Use clean beer glassware before pouring.
Hold glass at a 45° angle when 2/3 full, start to straighten glass and tap it off.
Always make sure the faucet handle is pushed all the way back.
NOTE: Keg sizes that can be used in your beer dispenser.
1/2 barrel 59 Liters 15.5 gals. 1984 oz. 164 / 12-oz. Glass
1/4 barrel 30 Liters 7.8 gals. 992 oz. 82 / 12-oz. Glass
1/6 barrel 20 Liters 5.2 gals. 661 oz. 55 / 12-oz. Glass
1/8 barrel 15 Liters 4.0 gals. 496 oz. 41 / 12-oz. Glass
NOTE: Our beer dispenser accepts almost all Brand Name ½ kegs. However Coors’ kegs do not fit in our
unit.
Converting Your Beer Dispenser To An “All-Refrigerator”
1. Turn the control knob to the “OFF” position.
2. Close the main valve on the CO
2
cylinder.
3. Close the secondary shut-off valve on the regulator pipe.
4. Close the connection between the beer keg and the keg coupler.
5. Drain any remaining beer from the lines.
Loading ...
Loading ...
Loading ...