Loading ...
Loading ...
Loading ...
2
Getting Started
38
1 Use CD to select a color.
Select the display color of the
status screen, control panel, and
menu cursor from colors 1 to 12.
2 Press E.
The camera switches to capture mode and is ready to take
a picture.
t Memo
• You can change the language, text size, and date and time
settings from the D1 menu, and the display color from [Other
Display Settings] of the A5 menu. (p.24, p.28)
• While the GPS is on, the date and time settings are adjusted
using information obtained from satellites. (p.72)
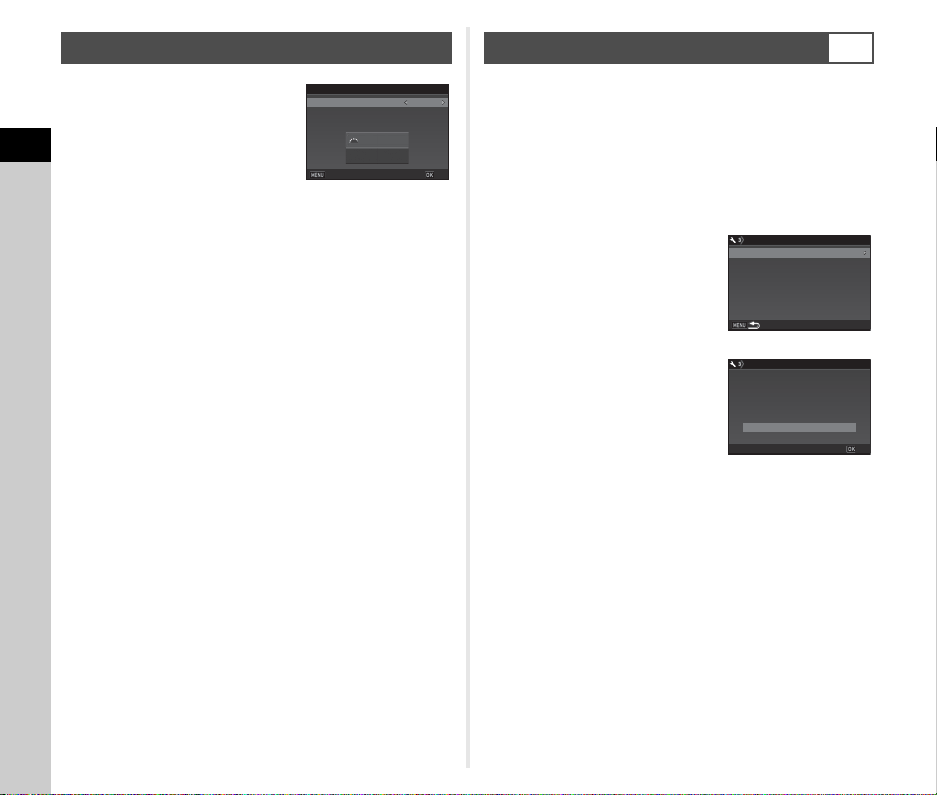
1 Press F.
The A1 menu appears.
2 Use Q or R to display D3 menu.
3 Use AB to select [Format] and press D.
The [Format] screen appears.
4 Use AB to select the
memory card slot in which
the memory card to format
is inserted and press D.
5 Press A to select [Format]
and press E.
Formatting starts. When
formatting is completed, the
screen of Step 4 reappears.
6 Press F twice.
u Caution
• Do not remove the memory card while formatting, or the card
may be damaged.
• Formatting deletes all data, both protected and unprotected.
t Memo
• When a memory card is formatted, the volume label “K-1” is
assigned to the card. When the camera is connected to a
computer, the memory card is recognized as a removable
disk with the name “K-1”.
Setting the LCD Display
1/
1/
12 5
125
F
F
5.6
5.6
1
1
Display Color
Display Color
LCD Display
LCD Display
Cancel
Cancel
OK
OK
Formatting a Memory Card
D3
SD1SD1
SD2SD2
FormatFormat
FormatFormat
FormatFormat
card will be deletedcard will be deleted
All data on SD1 memoryAll data on SD1 memory
CancelCancel
OKOK
Loading ...
Loading ...
Loading ...